GitLab Pipeline Integration with SmartUI
A GitLab Pipeline automates building, testing, and deploying code changes. It's essential for rapid development, improved code quality, and faster delivery by catching errors early and reducing manual work.
This document will show you how to integrate GitLab Pipeline with SmartUI to shorten your test cycles.
Steps to Integrate GitLab Pipeline with SmartUI
To integrate GitLab Pipeline with SmartUI, follow the below steps. You can use your own project to configure and test it. For demo purposes, we are using the sample repository.
Sample repo
Download or Clone the code sample from the LambdaTest GitHub repository to run the tests on the SmartUI.
 View on GitHub
Step 1: Setup your Projects in GitLab
- Click on the New Project > Run CI/CD for external repository.

- Enter your repository URL and click on Create Project.
Step 2: Create a New Workflow
- Navigate to the Build section > Pipelines.

- Select your required template for CI/CD workflow file. For the demo we are using the Test template.
- Now, write your workflow YAML file. Here is the sample file for your reference.
- Commit this yaml file in your repository and make the required changes in your code to automatically trigger the pipeline.
.gitlab-ci.yml
image: node:latest

stages:
  - build

build:
  stage: build
  script:
    - export LT_USERNAME="LT_USERNAME"
    - export LT_ACCESS_KEY="LT_ACCESS_KEY"
    - export PROJECT_TOKEN=PROJECT_TOKEN
    - npm install @lambdatest/smartui-cli
    - npx smartui --version
    - npx smartui config:create smartui-web.json
    - npx smartui --config smartui-web.json exec -- mvn --quiet test -D suite=sdk-cloud.xml
tip
You can also store your LT_USERNAME, LT_ACCESS_KEY and PROJECT_TOKEN as secrets in your GitLab project repository.
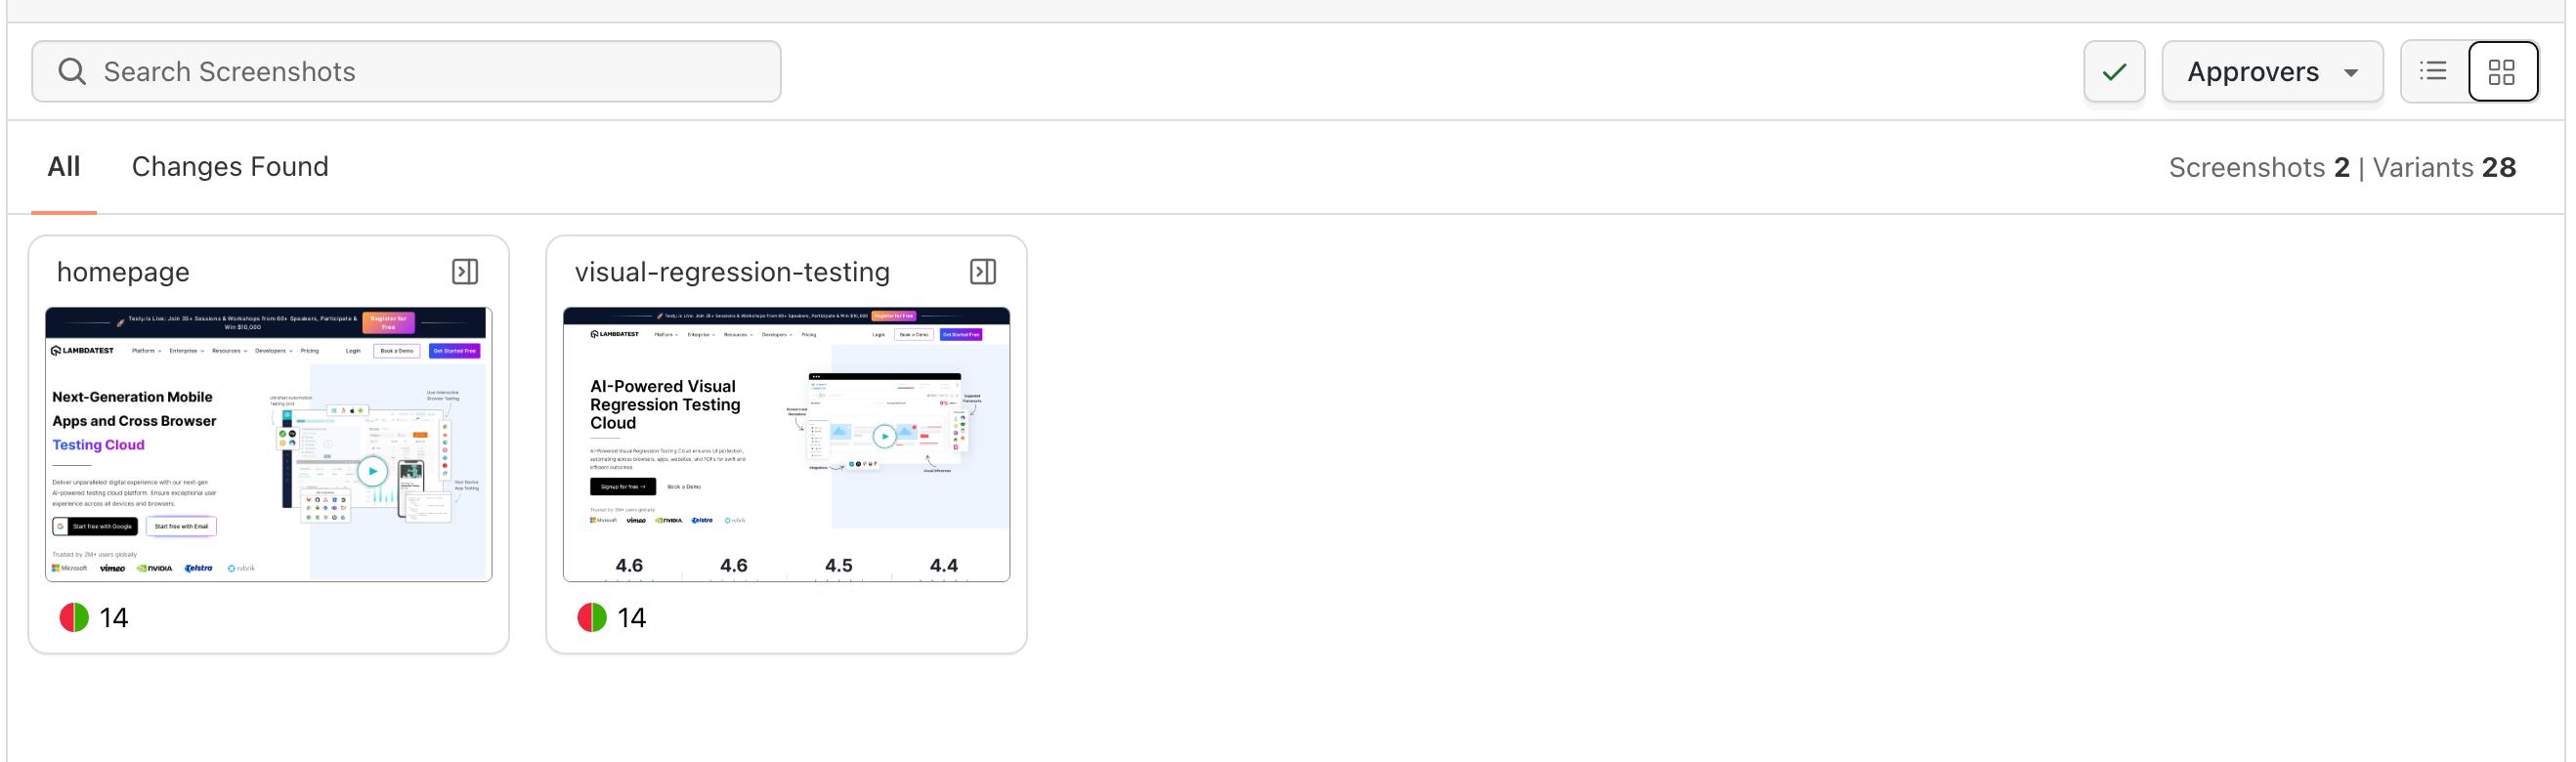
Step 3: Check the output
- After triggering the workflow, check your results in the Smart UI Dashboard