Upload your Screenshots via CLI
With SmartUI CLI, you can seamlessly perform visual regression testing on the LambdaTest platform using your command line, identifying Visual UI Regression bugs effortlessly. This guide will walk you through the process of uploading and comparing images using the SmartUI CLI.
Prerequisites for running SmartUI CLI
- Basic understanding of Command Line Interface is required.
- Login to LambdaTest SmartUI with your credentials.
The following steps will guide you in running your first Visual Regression test on LambdaTest platform using SmartUI CLI.
Create a SmartUI Web-Project
The first step is to create a project with the application in which we will combine all your builds run on the project. To create a SmartUI Project, follow these steps:
- Go to Projects page
- Click on the
new projectbutton - Select the platform as CLI for executing your
CLItests. - Add name of the project, approvers for the changes found, tags for any filter or easy navigation.
- Click on the Submit.
Step 1: Install the Dependencies
Install required NPM modules for LambdaTest Smart UI CLI in your Frontend project.
npm install @lambdatest/smartui-cli
Step 2: Configure your Project Token
Setup your project token show in the SmartUI app after, creating your project.
- MacOS/Linux
- Windows - CMD
export PROJECT_TOKEN="123456#1234abcd-****-****-****-************"
set PROJECT_TOKEN="123456#1234abcd-****-****-****-************"

Step 3: Upload the required directory of images
npx smartui upload <directoryName>
The screenshots in the directory name will be uploaded to SmartUI.
For ignoring the resolutions of the images
By default, SmartUI captures and considers image resolutions. If you prefer to ignore resolutions and compare images solely based on their names, use the following flag:
npx smartui upload <directoryName> --ignoreResolutions
SmartUI CLI Upload Options
Please read the following table for more information about the options available to upload a directory of static images to SmartUI.
| Config Key Shortcut | Configuration Key | Description | Usage |
|---|---|---|---|
| -R | --ignoreResolutions | Ignores resolutions to compare only based on screenshot names | npx smartui upload <directoryName> -R |
| -F | --files extensions | Comma-separated list of allowed file extensions | npx smartui upload <directoryName> -F jpg,png |
| -E | --removeExtensions | Strips file extensions from snapshot names | npx smartui upload <directoryName> -E |
| -i | --ignoreDir patterns | Comma-separated list of directories to ignore | npx smartui upload <directoryName> -i dir1/dir2,dir3 |
| --fetch-results | Live fetched comparison results in a json file | npx smartui upload <directoryName> --fetch-results |
You may use the smartui upload --help command in case you are facing issues during the execution of SmartUI Upload options in the CLI.
Setup with Continuous Integration (CI)
If you are using the Continuous Integration (CI) pipeline for your application and want to integrate SmartUI CLI execution then the following are the steps needs to be added to your .yaml file:
steps:
  - name: Running SmartUI CLI Tests
    - run: |
       npm install @lambdatest/smartui-cli
       npx playwright install-deps
       npx smartui upload <Directory Name> --removeExtensions
SmartUI CLI Options and Keys
The following are supported CLI (Command Line Interface) options for Visual Regression Testing with SmartUI:
| CLI Flag Key | Description | Usage |
|---|---|---|
| --config | This is the reference configuration file containing the SmartUI Cloud Configuration | Optional |
| --help | This will print all help information for the SmartUI CLI options | Optional |
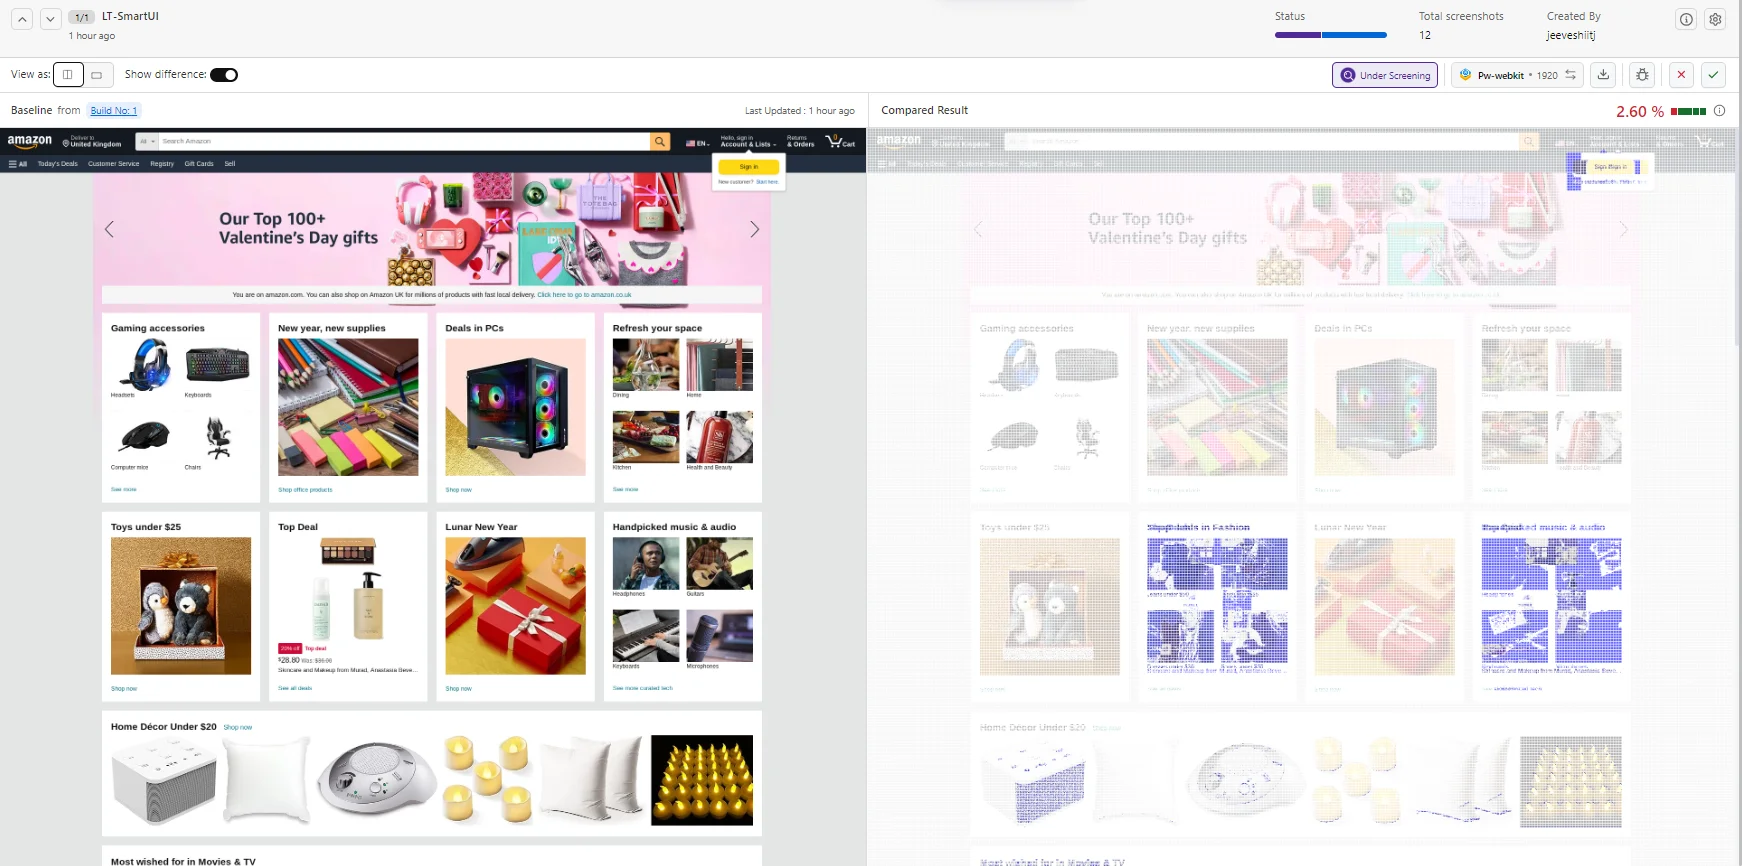
View SmartUI Results
You can see the Smart UI dashboard to view the results. This will help you identify the Mismatches from the existing Baseline build and do the required visual testing.
Fetch results
You can fetch build results by adding the --fetch-results flag to your test execution command. Here are different ways to use this feature:
Default Usage
If no filename is specified, results will be stored in results.json:
npx smartui upload <directoryName> --fetch-results
Custom Filename
Specify a custom filename for your results:
npx smartui upload <directoryName> --fetch-results custom-results.json
Adding a custom build name
You can add a custom build name by adding the --buildName flag to your test execution command. Here is how you can utilise this feature:
Specify a custom build name to group your screenshots in the following way:
npx smartui upload <directoryName> --buildName "Sample Build Name"
Note:
- If no build name is provided, a random name will be automatically assigned to the build.
- Specifying the name of an existing build within the project will append the screenshots to that build.
- Existing screenshots with the same name and configuration in the build will be overwritten during a re-run.
For additional information about SmartUI APIs please explore the documentation here
