SmartUI App SDK Integration Guide
SmartUI App SDK enables you to perform visual regression testing on your mobile applications using any cloud testing provider. This guide will help you integrate SmartUI App SDK with your existing mobile app testing framework.
Prerequisites
- Basic understanding of mobile app testing and Appium
- Login to LambdaTest SmartUI with your credentials
- An active subscription plan with valid screenshots limit
Create a SmartUI Project
The first step is to create a project that will contain all your builds. To create a SmartUI Project:
- Go to Projects page
- Click on the
new projectbutton - Select the platform as CLI for executing your
SDKtests - Add name of the project, approvers for the changes found, and tags for filtering
- Click on Submit
Steps to Run Your First Test
Step 1: Add the SmartUI SDK Dependency
Add the following dependency to your pom.xml file:
<dependency>
    <groupId>io.github.lambdatest</groupId>
    <artifactId>lambdatest-java-sdk</artifactId>
    <version>1.0.8</version>
</dependency>
Step 2: Configure Your Project Token
You can configure your project token in one of two ways:
- Using Environment Variables:
- MacOS/Linux
- Windows - CMD
export PROJECT_TOKEN="123456#1234abcd-****-****-****-************"
set PROJECT_TOKEN="123456#1234abcd-****-****-****-************"
- Directly in the Configuration: You can pass the project token directly in your test configuration as shown in Step 3.
Step 3: Integrate SmartUI in Your Test Script
Import the required SmartUI class and add the screenshot capture code where needed:
import io.github.lambdatest.SmartUIAppSnapshot;

public class YourTestClass {
    @Test
    public void testMethod() {
        // Initialize SmartUI
        SmartUIAppSnapshot SmartUI = new SmartUIAppSnapshot();

        // Configure screenshot settings
        Map<String, String> ssConfig = new HashMap<>();
        // Either use environment variable
        ssConfig.put("projectToken", "your-project-token-here"); // Use this if you are not setting the project token in environment variable
        // ssConfig.put("buildName", "First Build"); // Optional
        ssConfig.put("deviceName", "iPhone 15"); // Required, you can use the variables that you are setting in the cloud capabilities

        ssConfig.put("platform", "iOS"); // Optional,you can use the variables that you are setting in the cloud capabilities

        try {
            // Start SmartUI session
            SmartUI.start(ssConfig);

            // Your test code here
// Your test code here - Example of native app interactions
            driver.findElement(MobileBy.AccessibilityId("username-input")).sendKeys("test@example.com");
            driver.findElement(MobileBy.AccessibilityId("password-input")).sendKeys("password123");

            // Take screenshot of login form
            SmartUI.smartuiAppSnapshot(driver, "Login Form", ssConfig);

            driver.findElement(MobileBy.AccessibilityId("login-button")).click();

            // Wait for home screen to load
            WebDriverWait wait = new WebDriverWait(driver, 10);
            wait.until(ExpectedConditions.presenceOfElementLocated(MobileBy.AccessibilityId("home-screen")));

            // Take screenshot of home screen
            SmartUI.smartuiAppSnapshot(driver, "Home Screen", ssConfig);

            // More test steps...

        } finally {
            // Stop SmartUI session
            SmartUI.stop();
        }
    }
}
Step 4: Execute the Tests
Run your tests as you normally would with your cloud provider. SmartUI will automatically capture and process the screenshots for visual regression testing.
mvn test
Configuration Options
Screenshot Configuration Options
| Key | Description | Required |
|---|---|---|
| projectToken | Your SmartUI project token | Yes |
| deviceName | Name of the device being tested | Yes |
| buildName | Custom name for your build | No |
| platform | Platform being tested (iOS/Android) | No |
Supported Platforms and Devices
The deviceName and platform parameters in SmartUI App SDK are used as metadata to ensure consistent screenshot comparison across builds. You can use any device name and platform that matches your cloud provider's capabilities:
ssConfig.put("deviceName", "iPhone 15");
ssConfig.put("platform", "iOS");
Important Notes:
- It is advised to use the same
deviceNameandplatformcombination across builds to compare screenshots of the same device - These parameters are metadata tags and don't affect the actual device selection on your cloud provider
Example configurations for different cloud providers:
// For an iOS test on LambdaTest
ssConfig.put("deviceName", "iPhone 12");
ssConfig.put("platform", "iOS");

// For an Android test on BrowserStack
ssConfig.put("deviceName", "Samsung Galaxy S22");
ssConfig.put("platform", "Android");

// For a custom device on any cloud provider
ssConfig.put("deviceName", "Custom Device Name"); // Use the same name consistently
ssConfig.put("platform", "iOS/Android"); // Use the actual platform
The device name and platform you specify here are used only for screenshot organization and comparison. The actual device selection is handled by your cloud provider's capabilities configuration.
View SmartUI Results
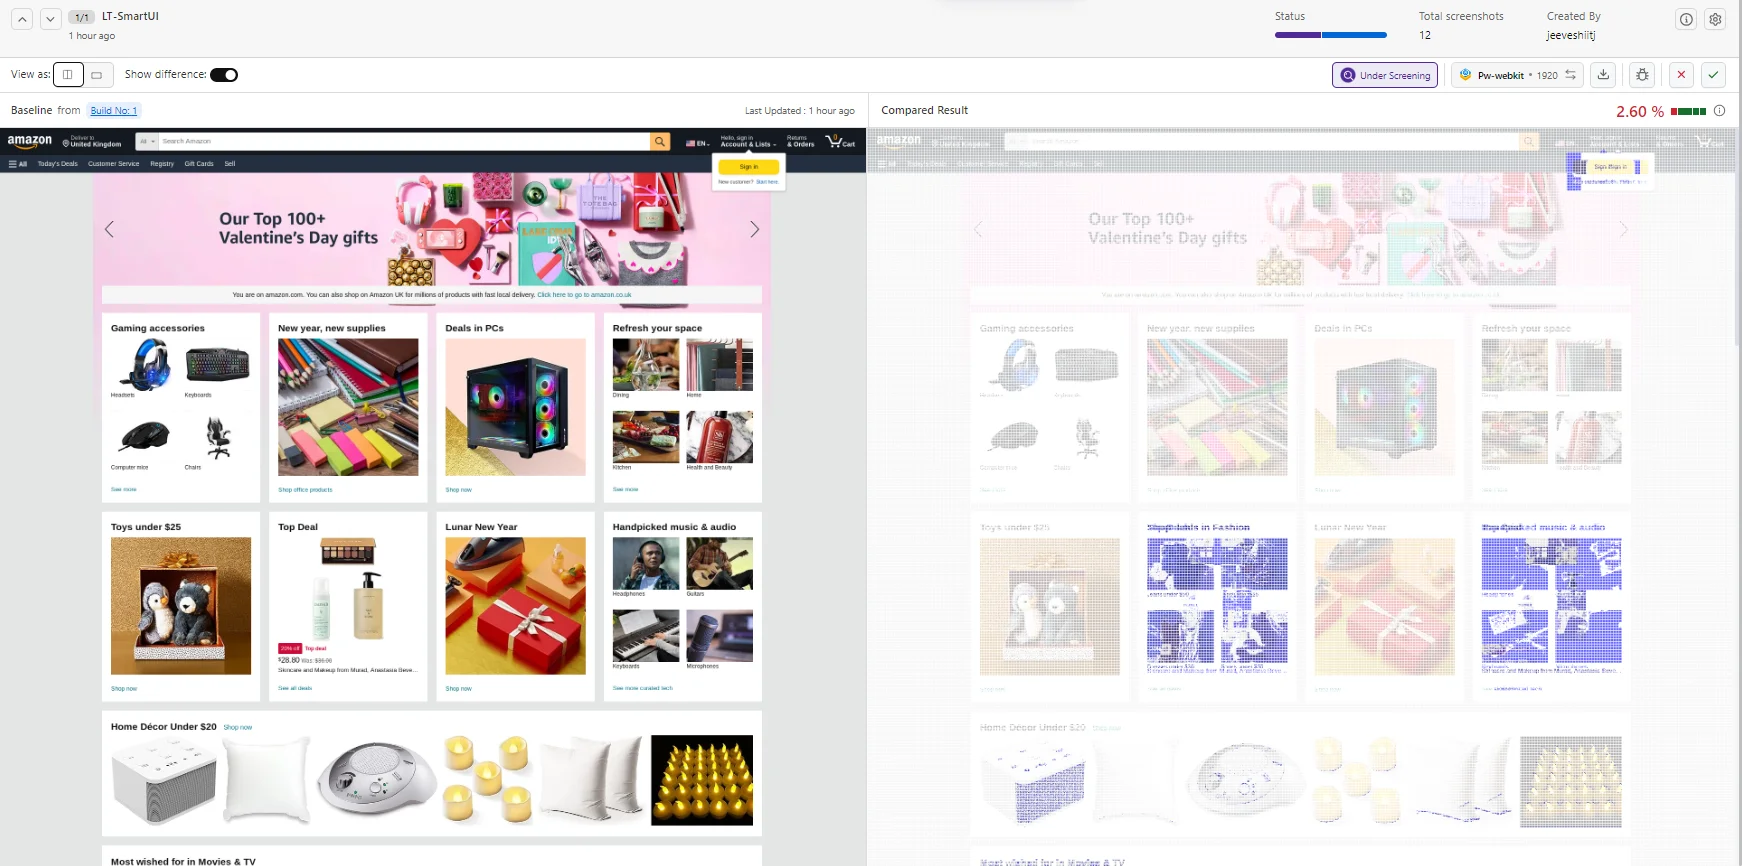
After test execution, visit your SmartUI project dashboard to:
- View all captured screenshots
- Compare against baseline images
- Identify visual regressions
- Approve or reject changes
- Manage baseline images

For additional information about SmartUI APIs, please explore the documentation here
