Getting started with Smart UI using Storybook On LambdaTest
Using the LambdaTest platform, perform regression testing in just one click and find Visual UI Regression bugs easily with the help of Smart Testing. This documentation will act as your step-by-step guide in performing successful Visual Regression tests.
Prerequisites for running SmartUI with StoryBook
- Basic understanding of StoryBook is required.
- Node version installed should be higher than
14.15.0.Click here to know more - StoryBook version installed should be higher than
6.4.0.Click here to know more - Login to LambdaTest SmartUI with your credentials.
The following steps will guide you in running your first Visual Regression test on LambdaTest platform -
Steps to create a SmartUI Project
The first step is to create a project with the application in which we will combine all your builds run on the project. To create a SmartUI Project, follow these steps:
- Go to Projects page
- Click on the
new projectbutton - Select the platform as CLI for executing your
StoryBooktests. - Add name of the project, approvers for the changes found, tags for any filter or easy navigation.
- Click on the Submit.
Steps to run your first test
Please try our StoryBook SmartUI Github sample repository for trying an example.
git clone https://github.com/LambdaTest/smartui-storybook-sample.git
Step 1: Install the Dependencies
Install required NPM modules for LambdaTest Smart UI StoryBook CLI in your Frontend project.
npm install @lambdatest/smartui-storybook -g
Step 2: Setup with StoryBook
Add the following to your .storybook/main.js. You can read more about this here Storybook Feature flags
module.exports = {
  features: {
    buildStoriesJson: true,
  },
};
Step 3: Configure your Project Token
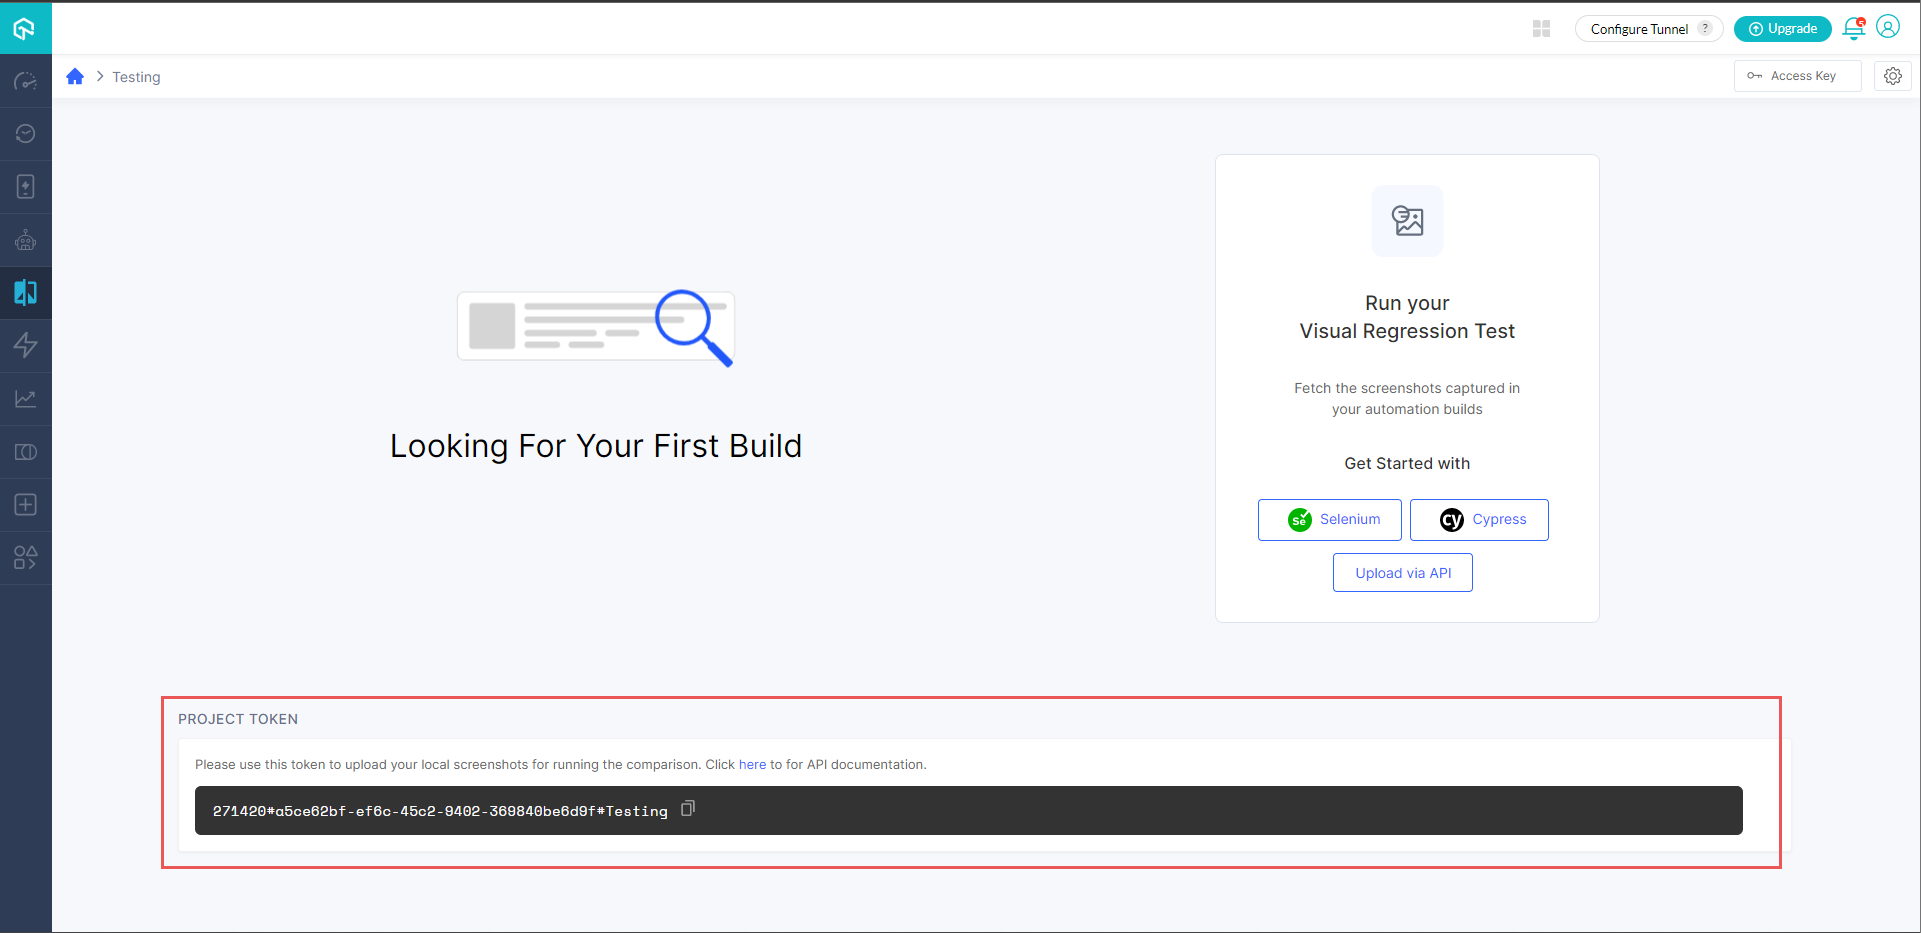
Setup your project token show in the SmartUI app after, creating your project.
- MacOS/Linux
- Windows - CMD
export PROJECT_TOKEN="123456#1234abcd-****-****-****-************"
set PROJECT_TOKEN="123456#1234abcd-****-****-****-************"

Step 4: Create and Configure SmartUI Config
You can now configure your project settings on using various available options to run your tests with the SmartUI integration. To generate the configuration file, please execute the following command:
smartui config create .smartui.json
Once, the configuration file will be created, you will be seeing the default configuration pre-filled in the configuration file:
{
  "storybook": {
    "browsers": [
      "chrome",
      "firefox",
      "safari",
      "edge",
      // Add more browser configuration here
    ],
    "viewports": [
      [1920, 1080]        // Add more view ports to capture here
    ],
    "waitForTimeout": 0, // (Optional) Add wait time for the page to load
    "include": [],       // (Optional) Only compare limited stories
    "exclude": []        // (Optional) Don't compare the stories
  }
}
SmartUI StoryBook Config Options
Please read the following table for more information about the configuration file:
| Config Key | Description | Usage |
|---|---|---|
| browsers | You can add all the supported browsers brands here to run your tests for SmartUI. Ex: "chrome", "firefox", "safari", "edge", etc.. | Mandatory |
| viewports | You can add all the supported browser viewpoints here to run your tests for SmartUI Ex: [1920, 1080],[width, height] etc.. | Mandatory |
| waitForTimeout | You can add wait time for the page to load DOM of your StoryBook components. This can be added globally to your configuration and to individual stories as well. Ex: 3000 | Optional |
| include | Add the stories which should only be included in SmartUI tests Ex: "/dashboard/","/features/" | Optional |
| exclude | Don't compare the stories which should be excluded in SmartUI tests Ex: "/login/","/marketing/" | Optional |
SmartUI Storybook testing now supports Edge browser.
For capturing the stories in full page without limiting the height to the viewport then in the viewports array, you can change the following configuration:
"viewports": [
  [1920],  // Only mention the width of the viewport
  [1440]
]
Custom Viewport Configuration New
To facilitate the visualization of your UI components on various device screens, you can now setup custom viewport configurations. This feature is an extension of Storybook's existing Viewport toolbar item, enabling you to capture and view stories in different dimensions, such as mobile or tablet, with specific orientations like portrait or landscape.
To configure custom viewports for your stories, you can update the .smartui.json file within your project repository.
{
...
...
"customViewports": [
      {
        "stories": [
          "<name of the stories/components>"
        ],
        "styles": {
          "width": 320, //Small mobile view
          "height": 568
        },
      },
      {
        "stories": [
          "<name of the stories/components>"
        ],
        "styles": {
          "width": 834, //Tablet view
          "height": 1112
        },
        "waitForTimeout": 4000 //Story-level waitForTimeout (Applied to all the combinations of the mentioned stories)
      }
      {
        "stories": [
          "<name of the stories/components>"
        ],
        "waitForTimeout": 3000 //Story-level waitForTimeout (Applied to all the combinations of the mentioned stories)
        }
      }
      // Additional custom viewport configurations can be added here
]
...
...
}
The waitForTimeout setting at the story level takes precedence over the global waitForTimeout configuration and only applies to the specific stories to which it is assigned.
For instance, if Story-1 has a story-level waitForTimeout value (T1) set within custom viewport settings, and there exists a global waitForTimeout value (T2) defined in the configuration, all browser and viewport combinations of Story-1 will render with T1. Conversely, all other stories will be rendered with T2 across all combinations.
Step 5: Execute the Tests on SmartUI Cloud using CLI
You can now execute your StoryBook components for Visual Regression Testing using the following options:.
- For Locally Hosted Server
- For Static Build
- For Public Hosted URL
npm run storybook                                                 // Starts your local StoryBook server
smartui storybook http://localhost:6006 --config .smartui.json    // Captures all the stories running on local server
npm run build-storybook                                           // Creates a Static Build Folder of StoryBook Stories
smartui storybook ./storybook-static --config .smartui.json       // Captures all the stories added in the static build folder
smartui storybook https://<your_public_hosted_url> --config .smartui.json // Captures all the stories running on local server
If you are using the Continuous Integration (CI) pipeline for your application and want to integrate SmartUI StoryBook execution then the following are the steps needs to be added to your .yaml file:
- For Static Builds
- For Public Hosted URL
steps:
  - name: Running SmartUI StoryBook Tests
    - run: npm i
    - run: npm install @lambdatest/smartui-storybook -g
    - run: npm run build-storybook
    - run: smartui storybook ./storybook-static --config .smartui.json
steps:
  - name: Running SmartUI StoryBook Tests
    - run: npm i
    - run: npm install @lambdatest/smartui-storybook -g
    - run: smartui storybook https://<replace_with_your_url> --config .smartui.json
CLI Options and Keys
The following are supported CLI (Command Line Interface) options for Visual Regression Testing with SmartUI:
| CLI Flag Key | Description | Usage |
|---|---|---|
| --config | This is the reference configuration file containing the SmartUI Cloud Configuration | Optional |
| --help | This will print all help information for the SmartUI CLI options | Optional |
Step 6: View SmartUI Results
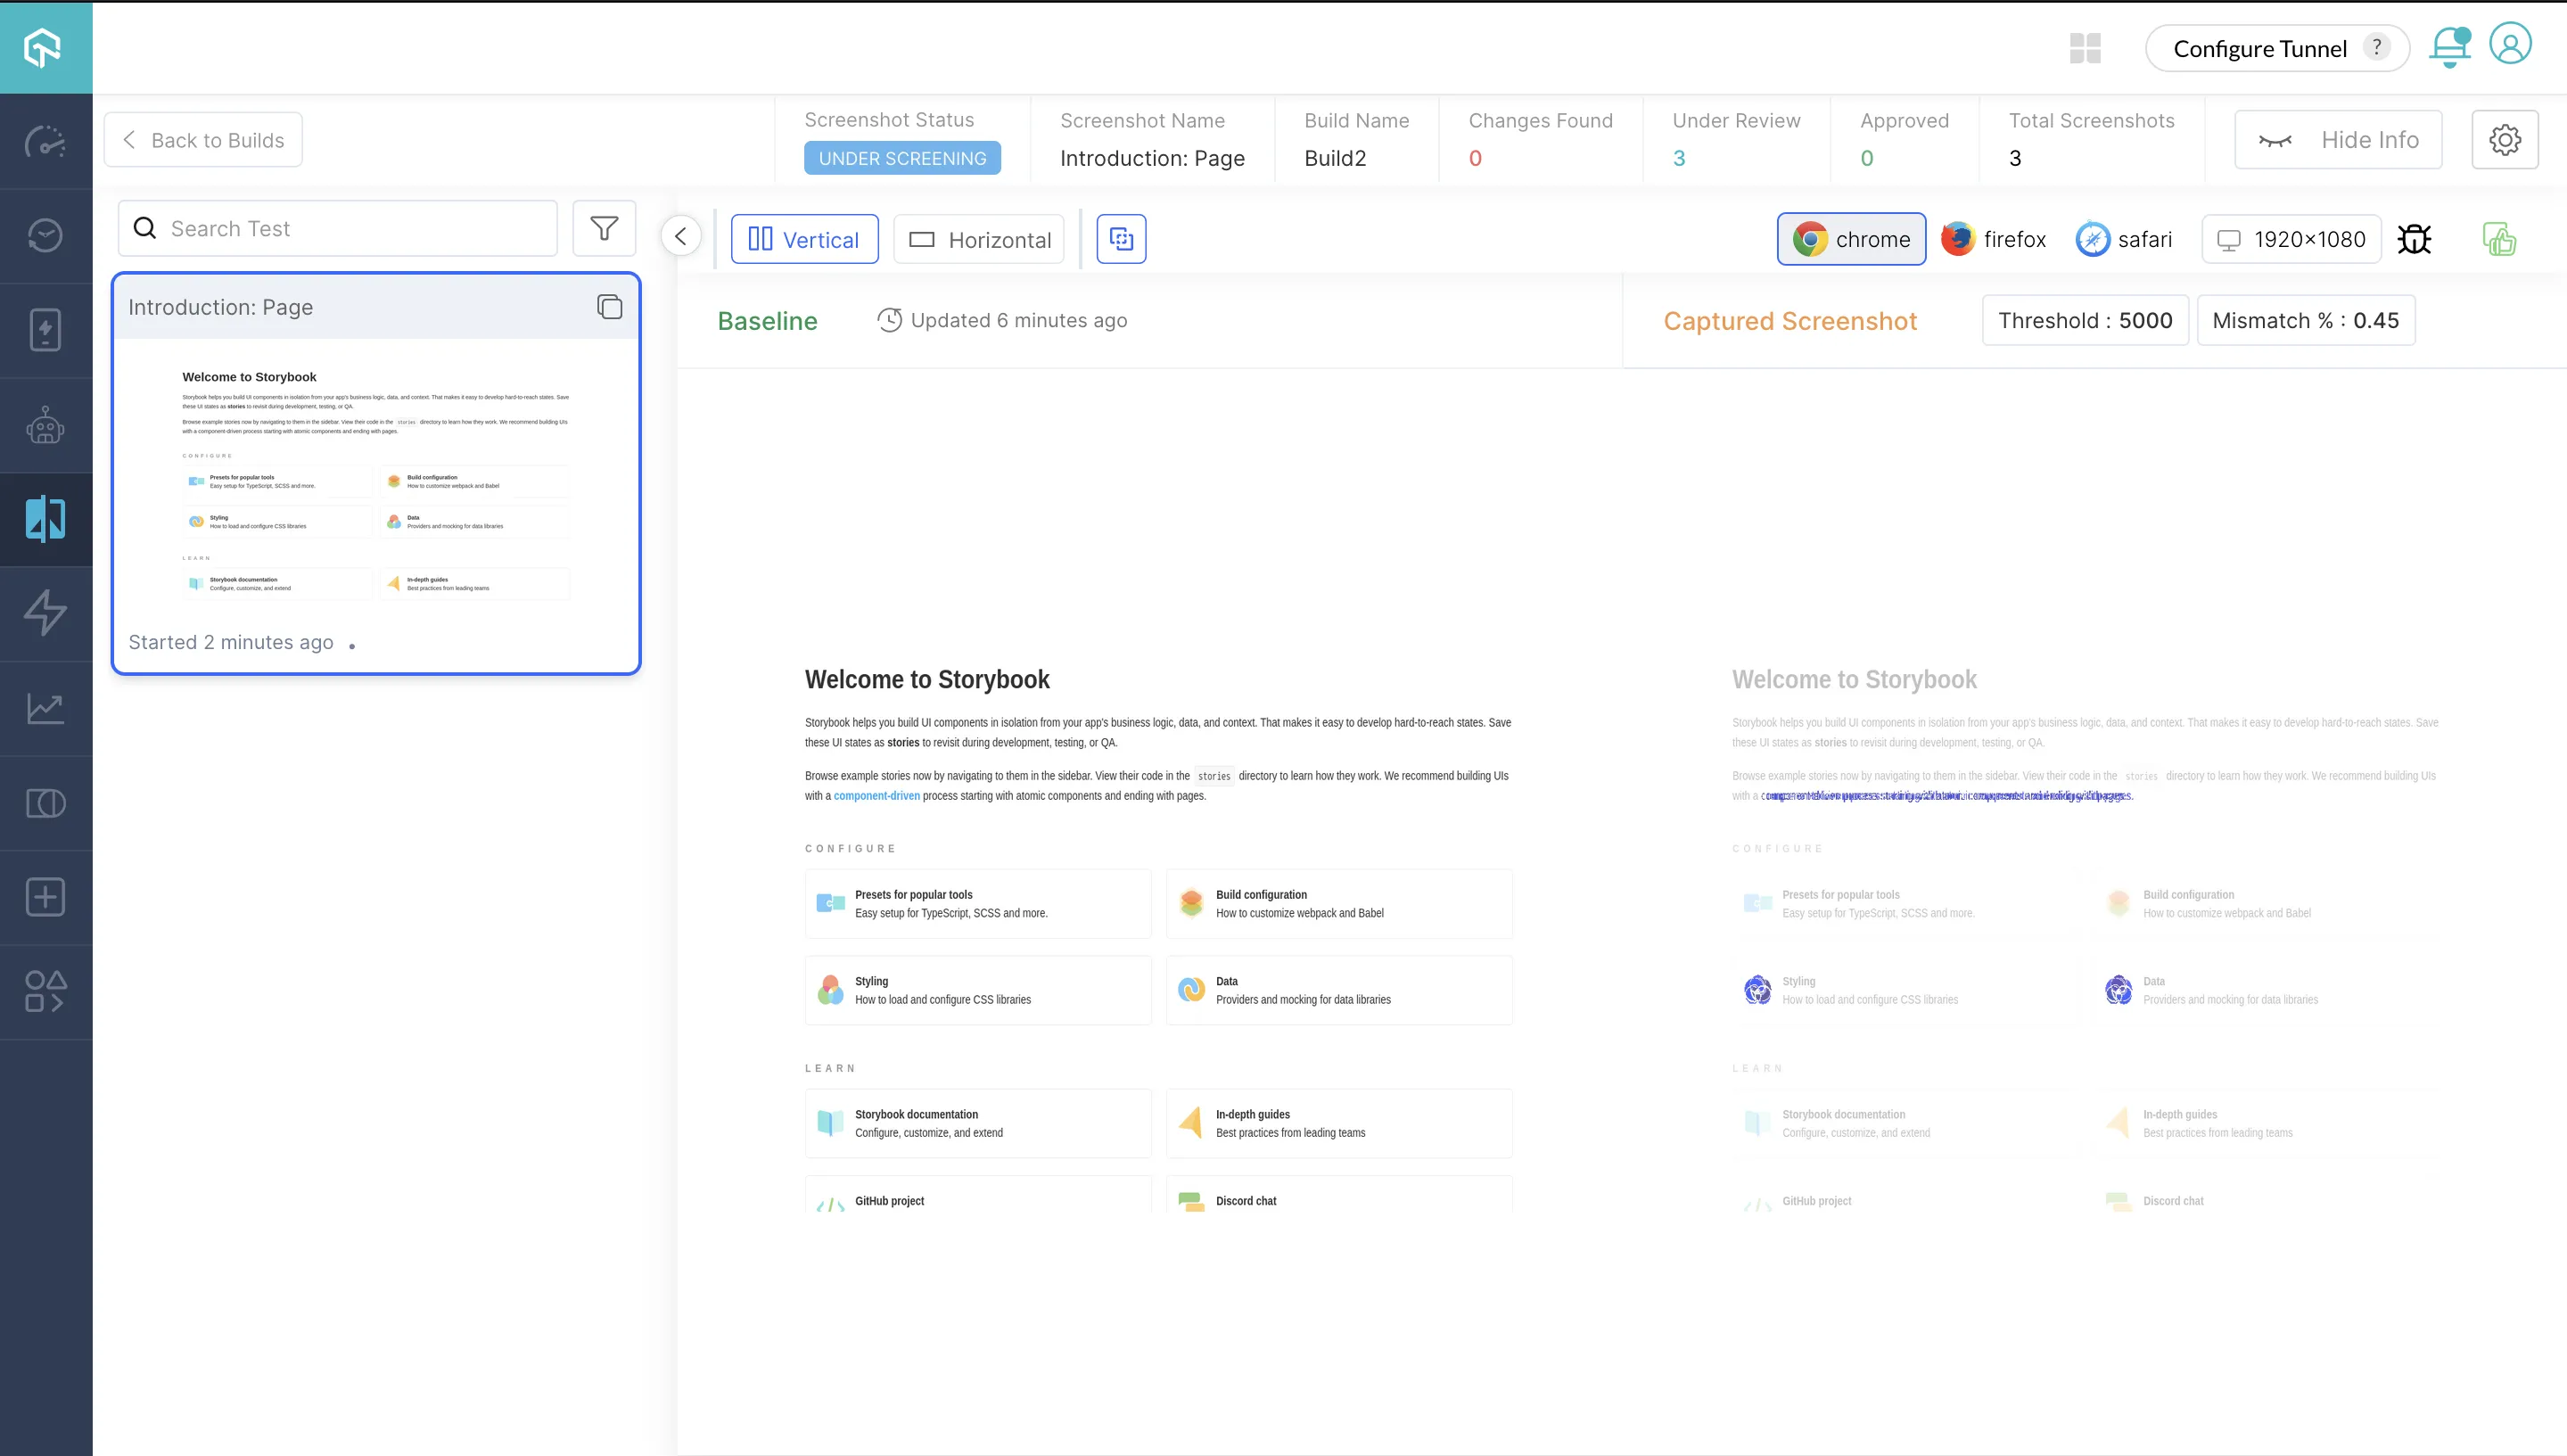
You can now see the Smart UI dashboard to view the results. Can also identify the mis-matches from the existing Baseline build.

For additional information about SmartUI APIs please explore the documentation here
