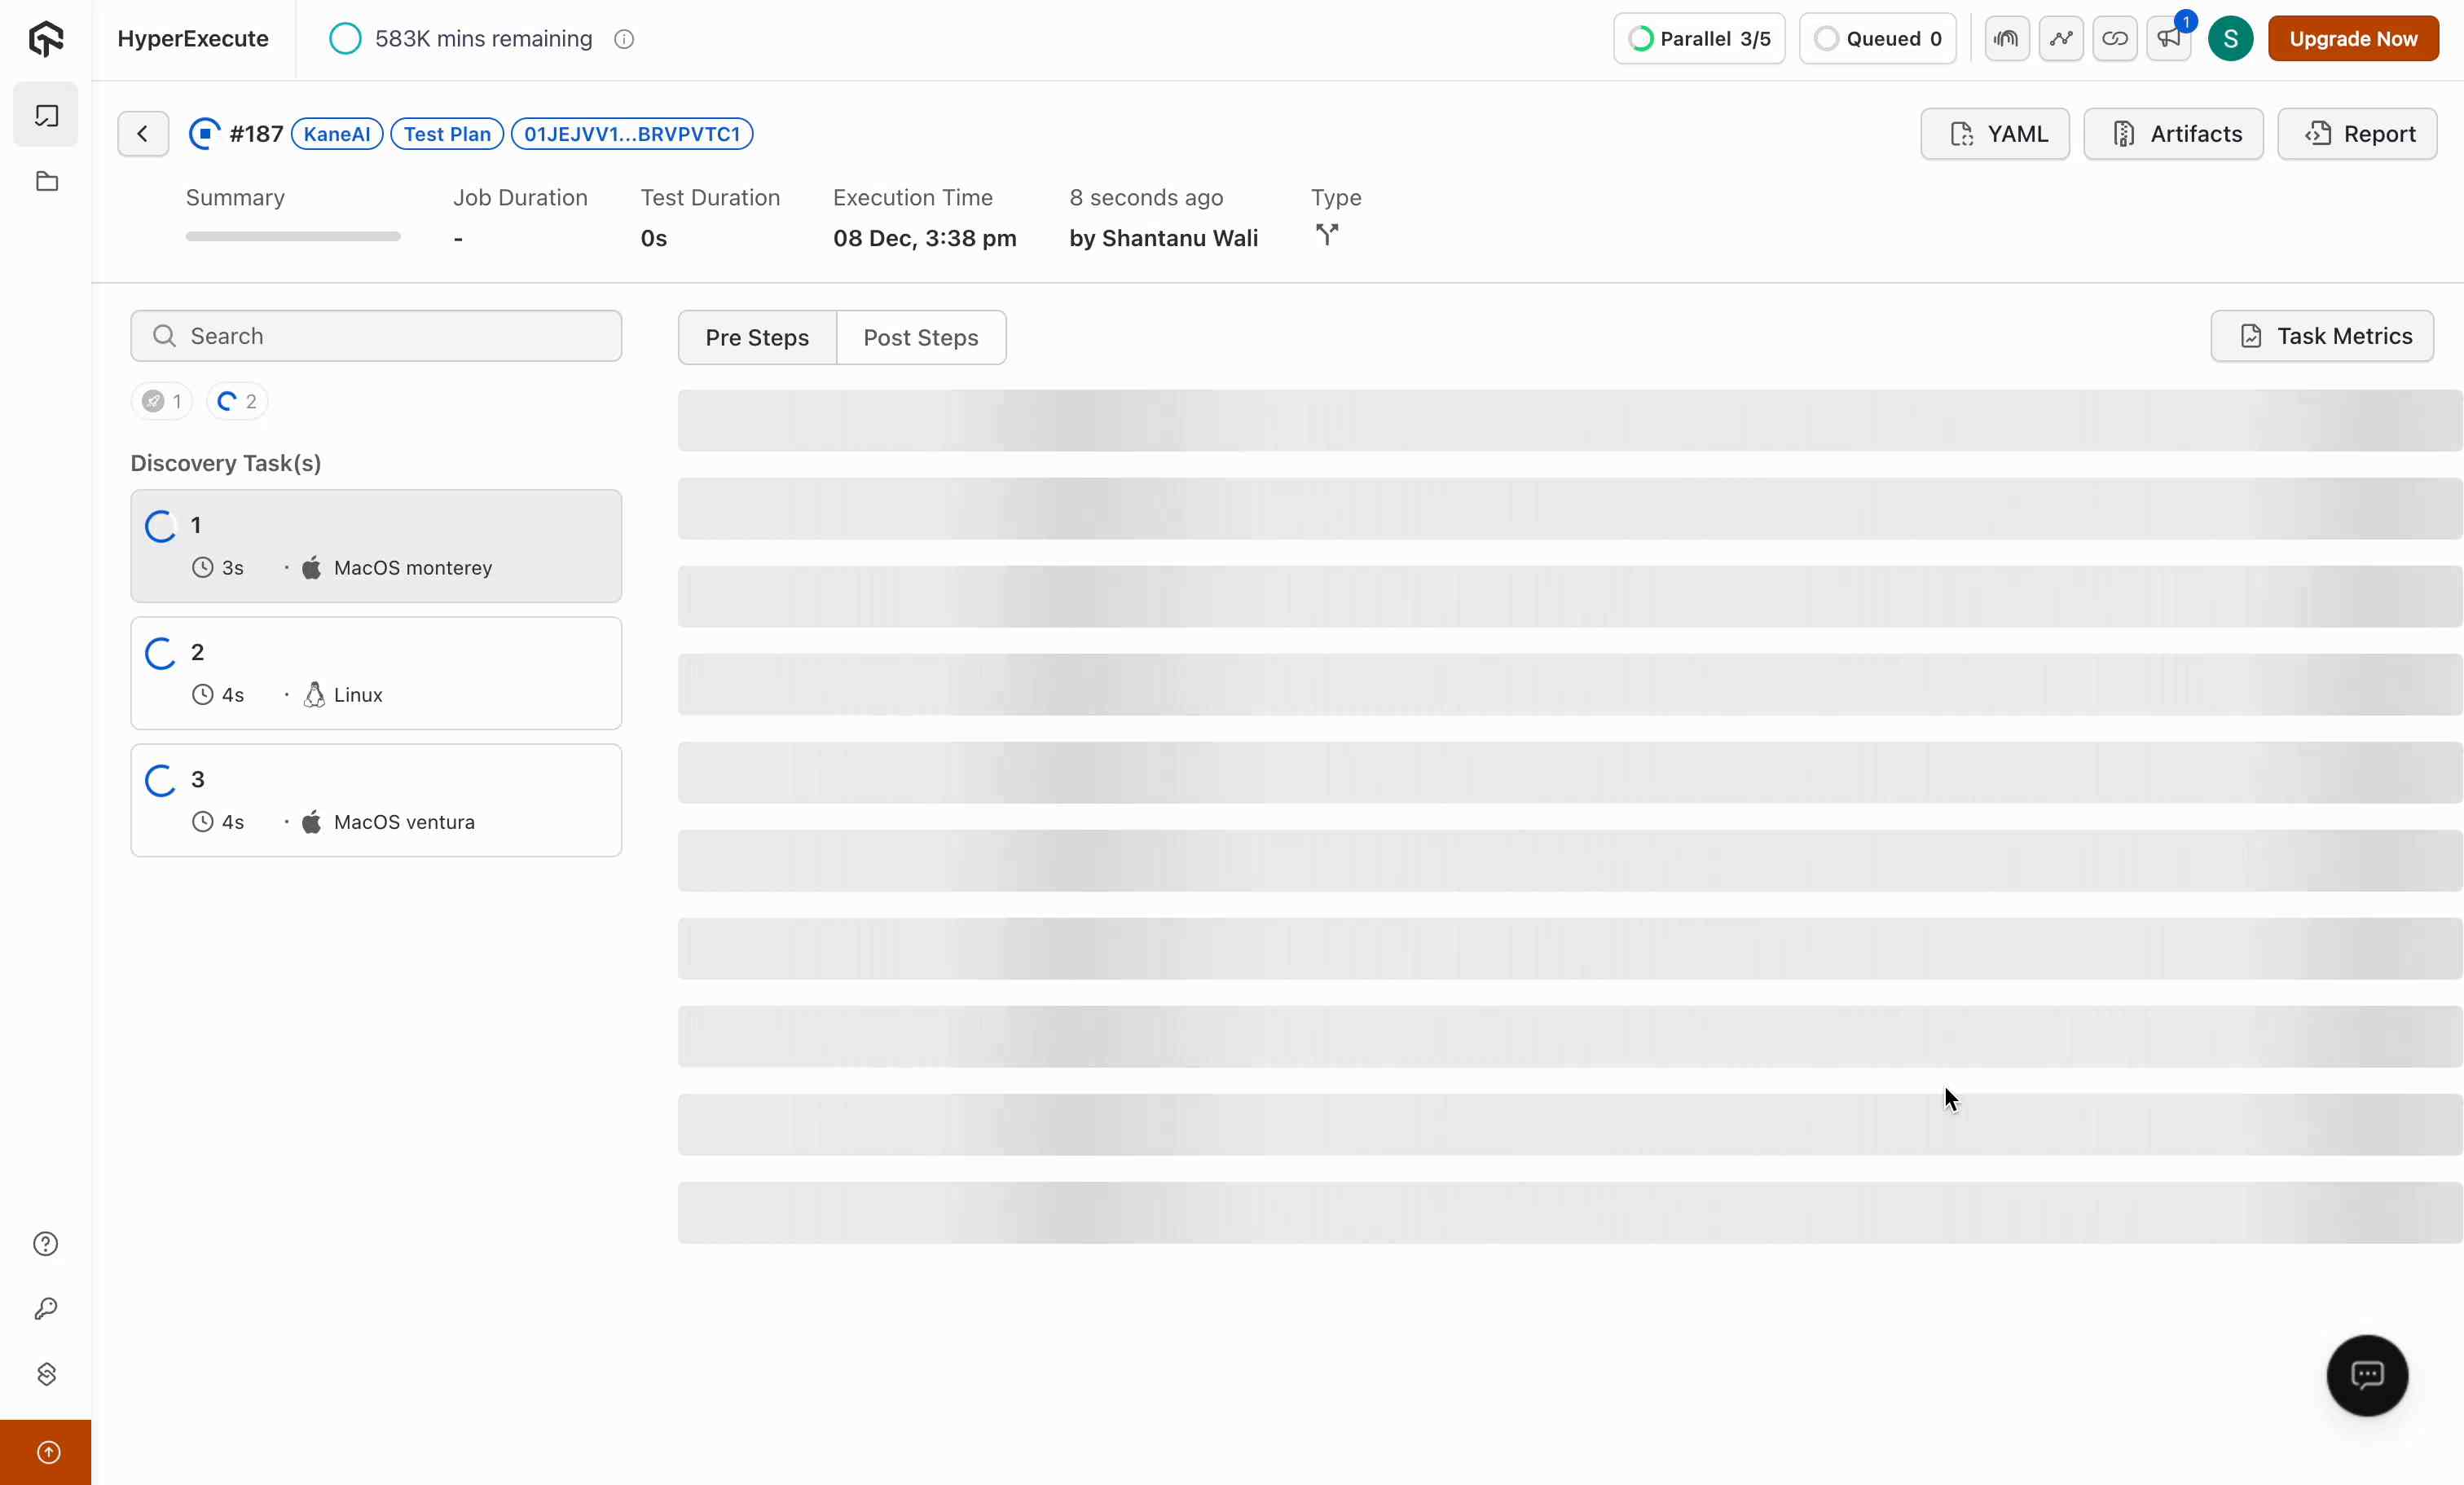
Create and Execute your Test Plan for KaneAI Generated Tests on HyperExecute
This documentation outlines the steps to create a test plan for KaneAI generated tests using Test Manager. The steps include selecting test cases, setting configurations, and running tests with HyperExecute for efficient execution. Follow the instructions carefully to ensure seamless execution of the process.
Prerequisites
- Access to Test Manager.
- A project with KaneAI-generated test cases.
- Credentials for LambdaTest platform.
Step-by-Step Guide
Step 1: Navigate to the Projects Page
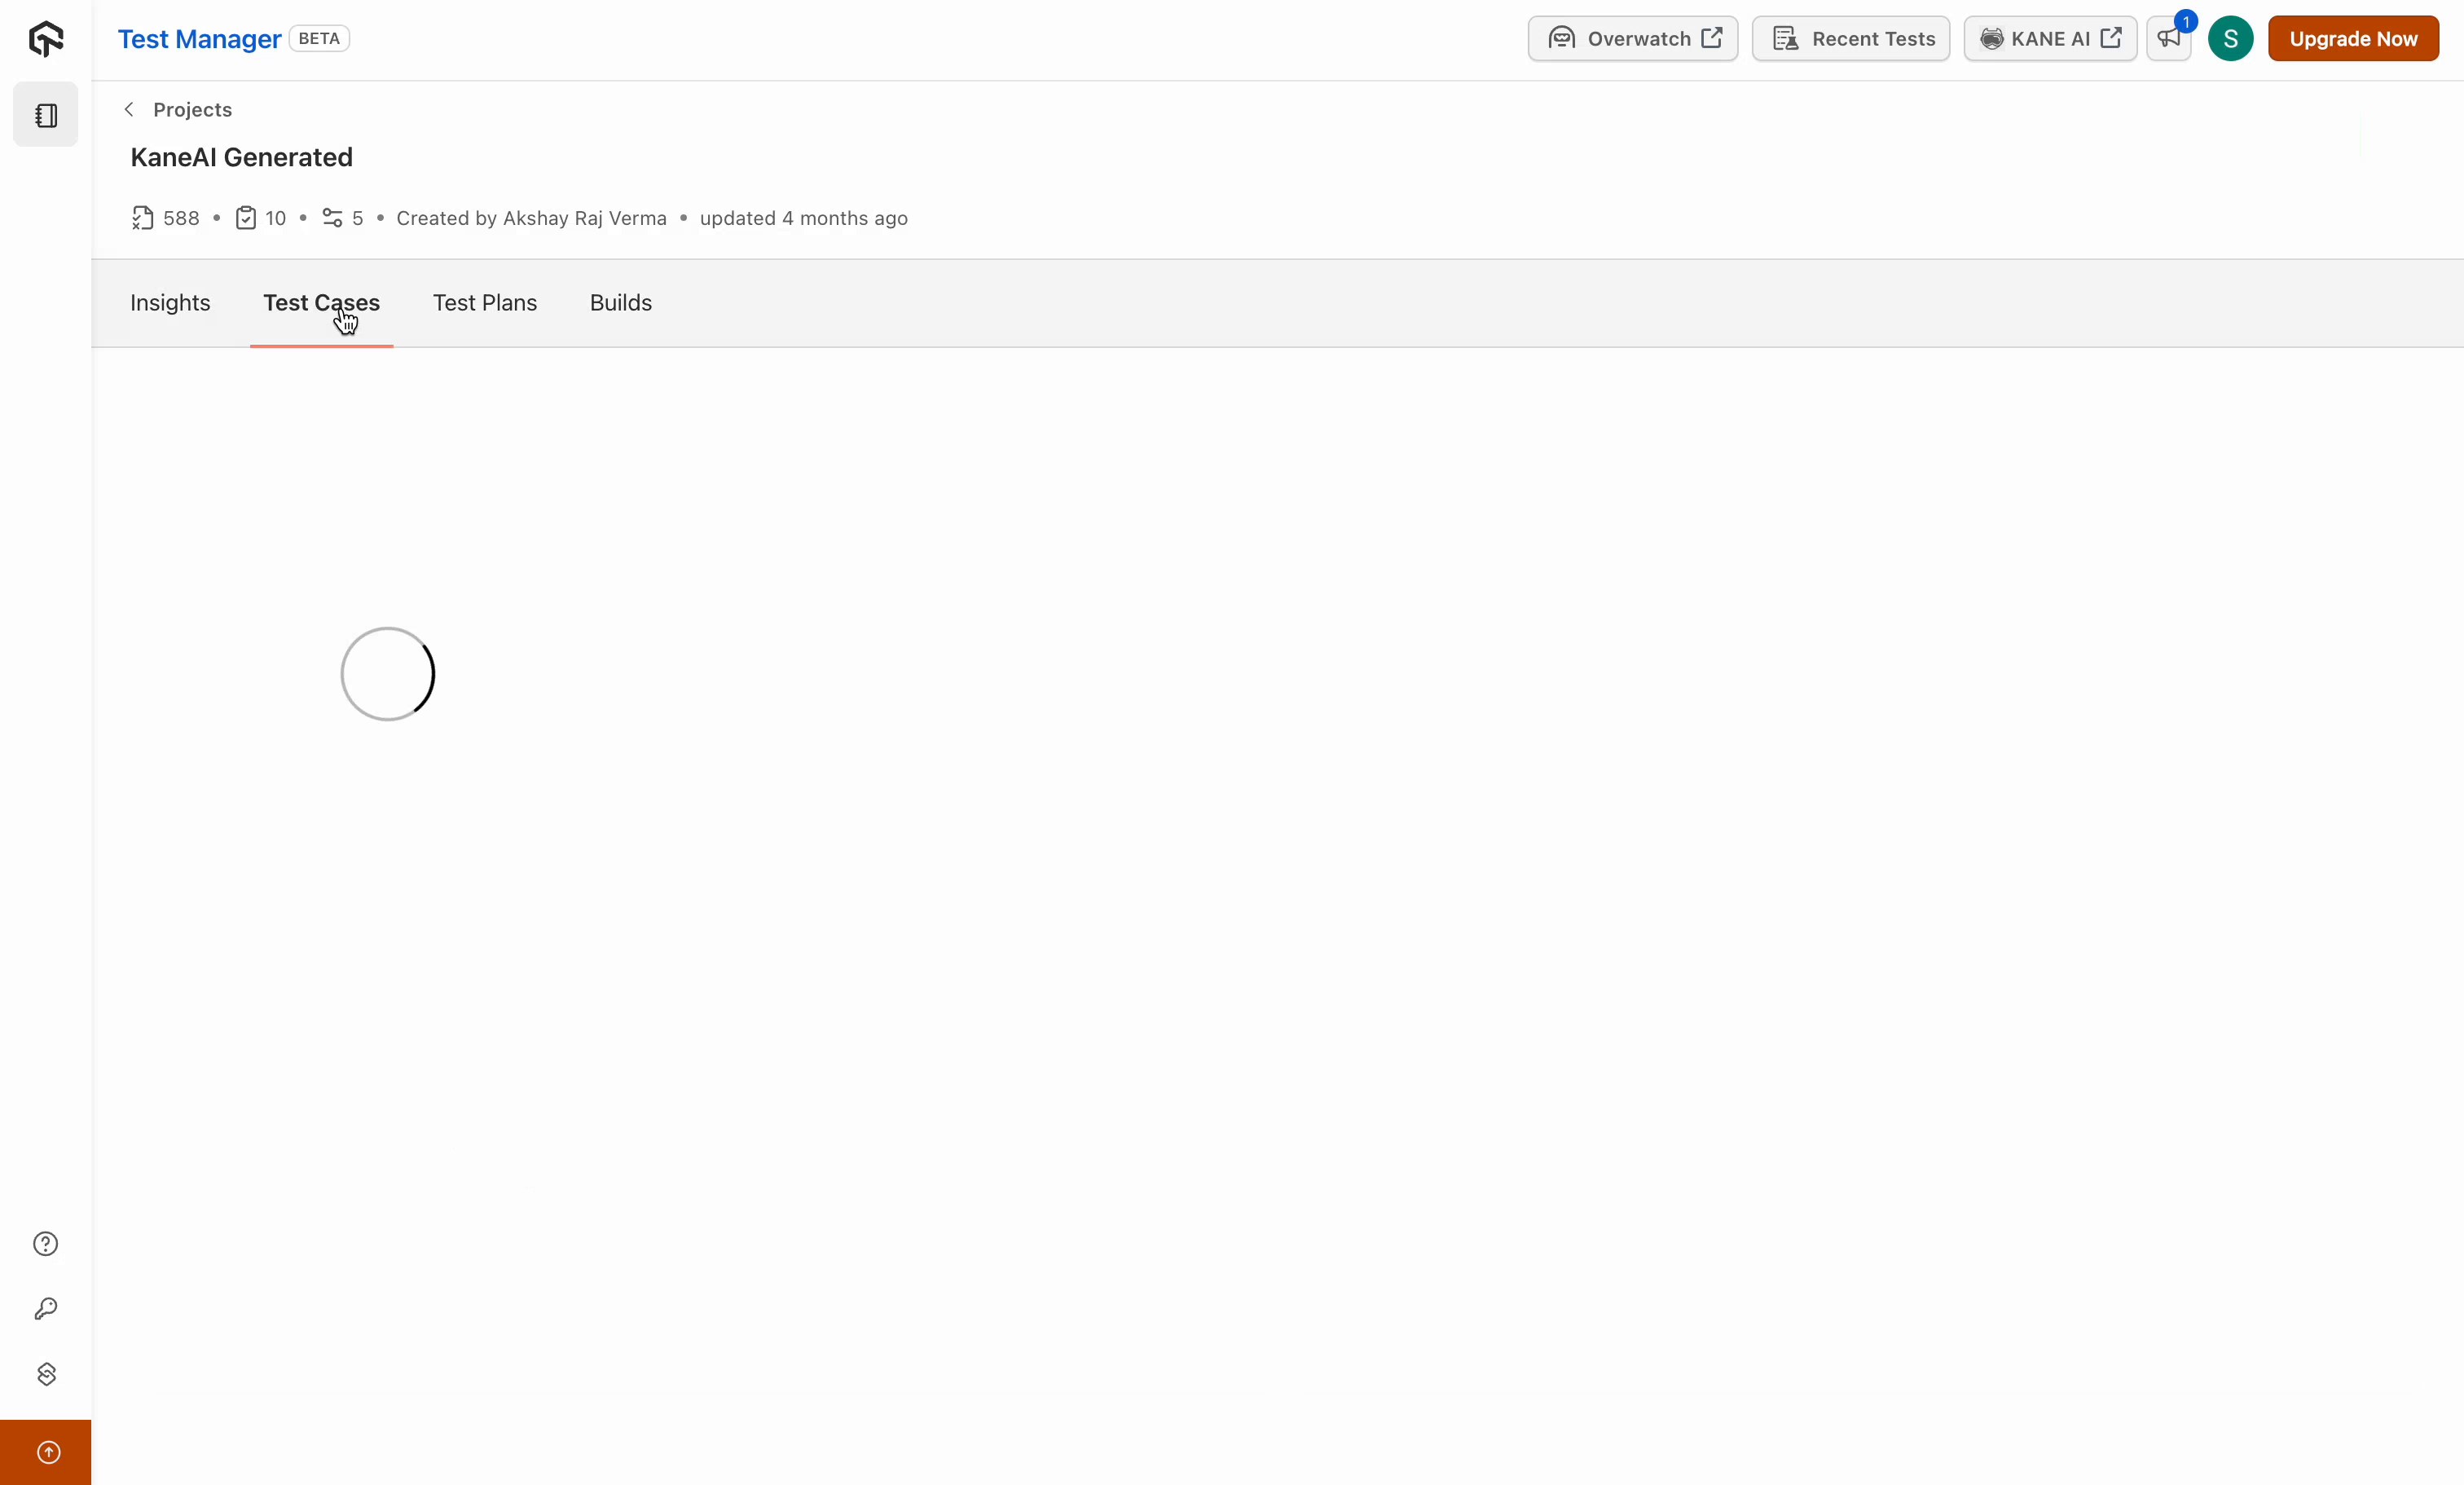
- Log in to Test Manager. Navigate to the Projects page and select the desired project.
- Proceed to the Test Cases section.
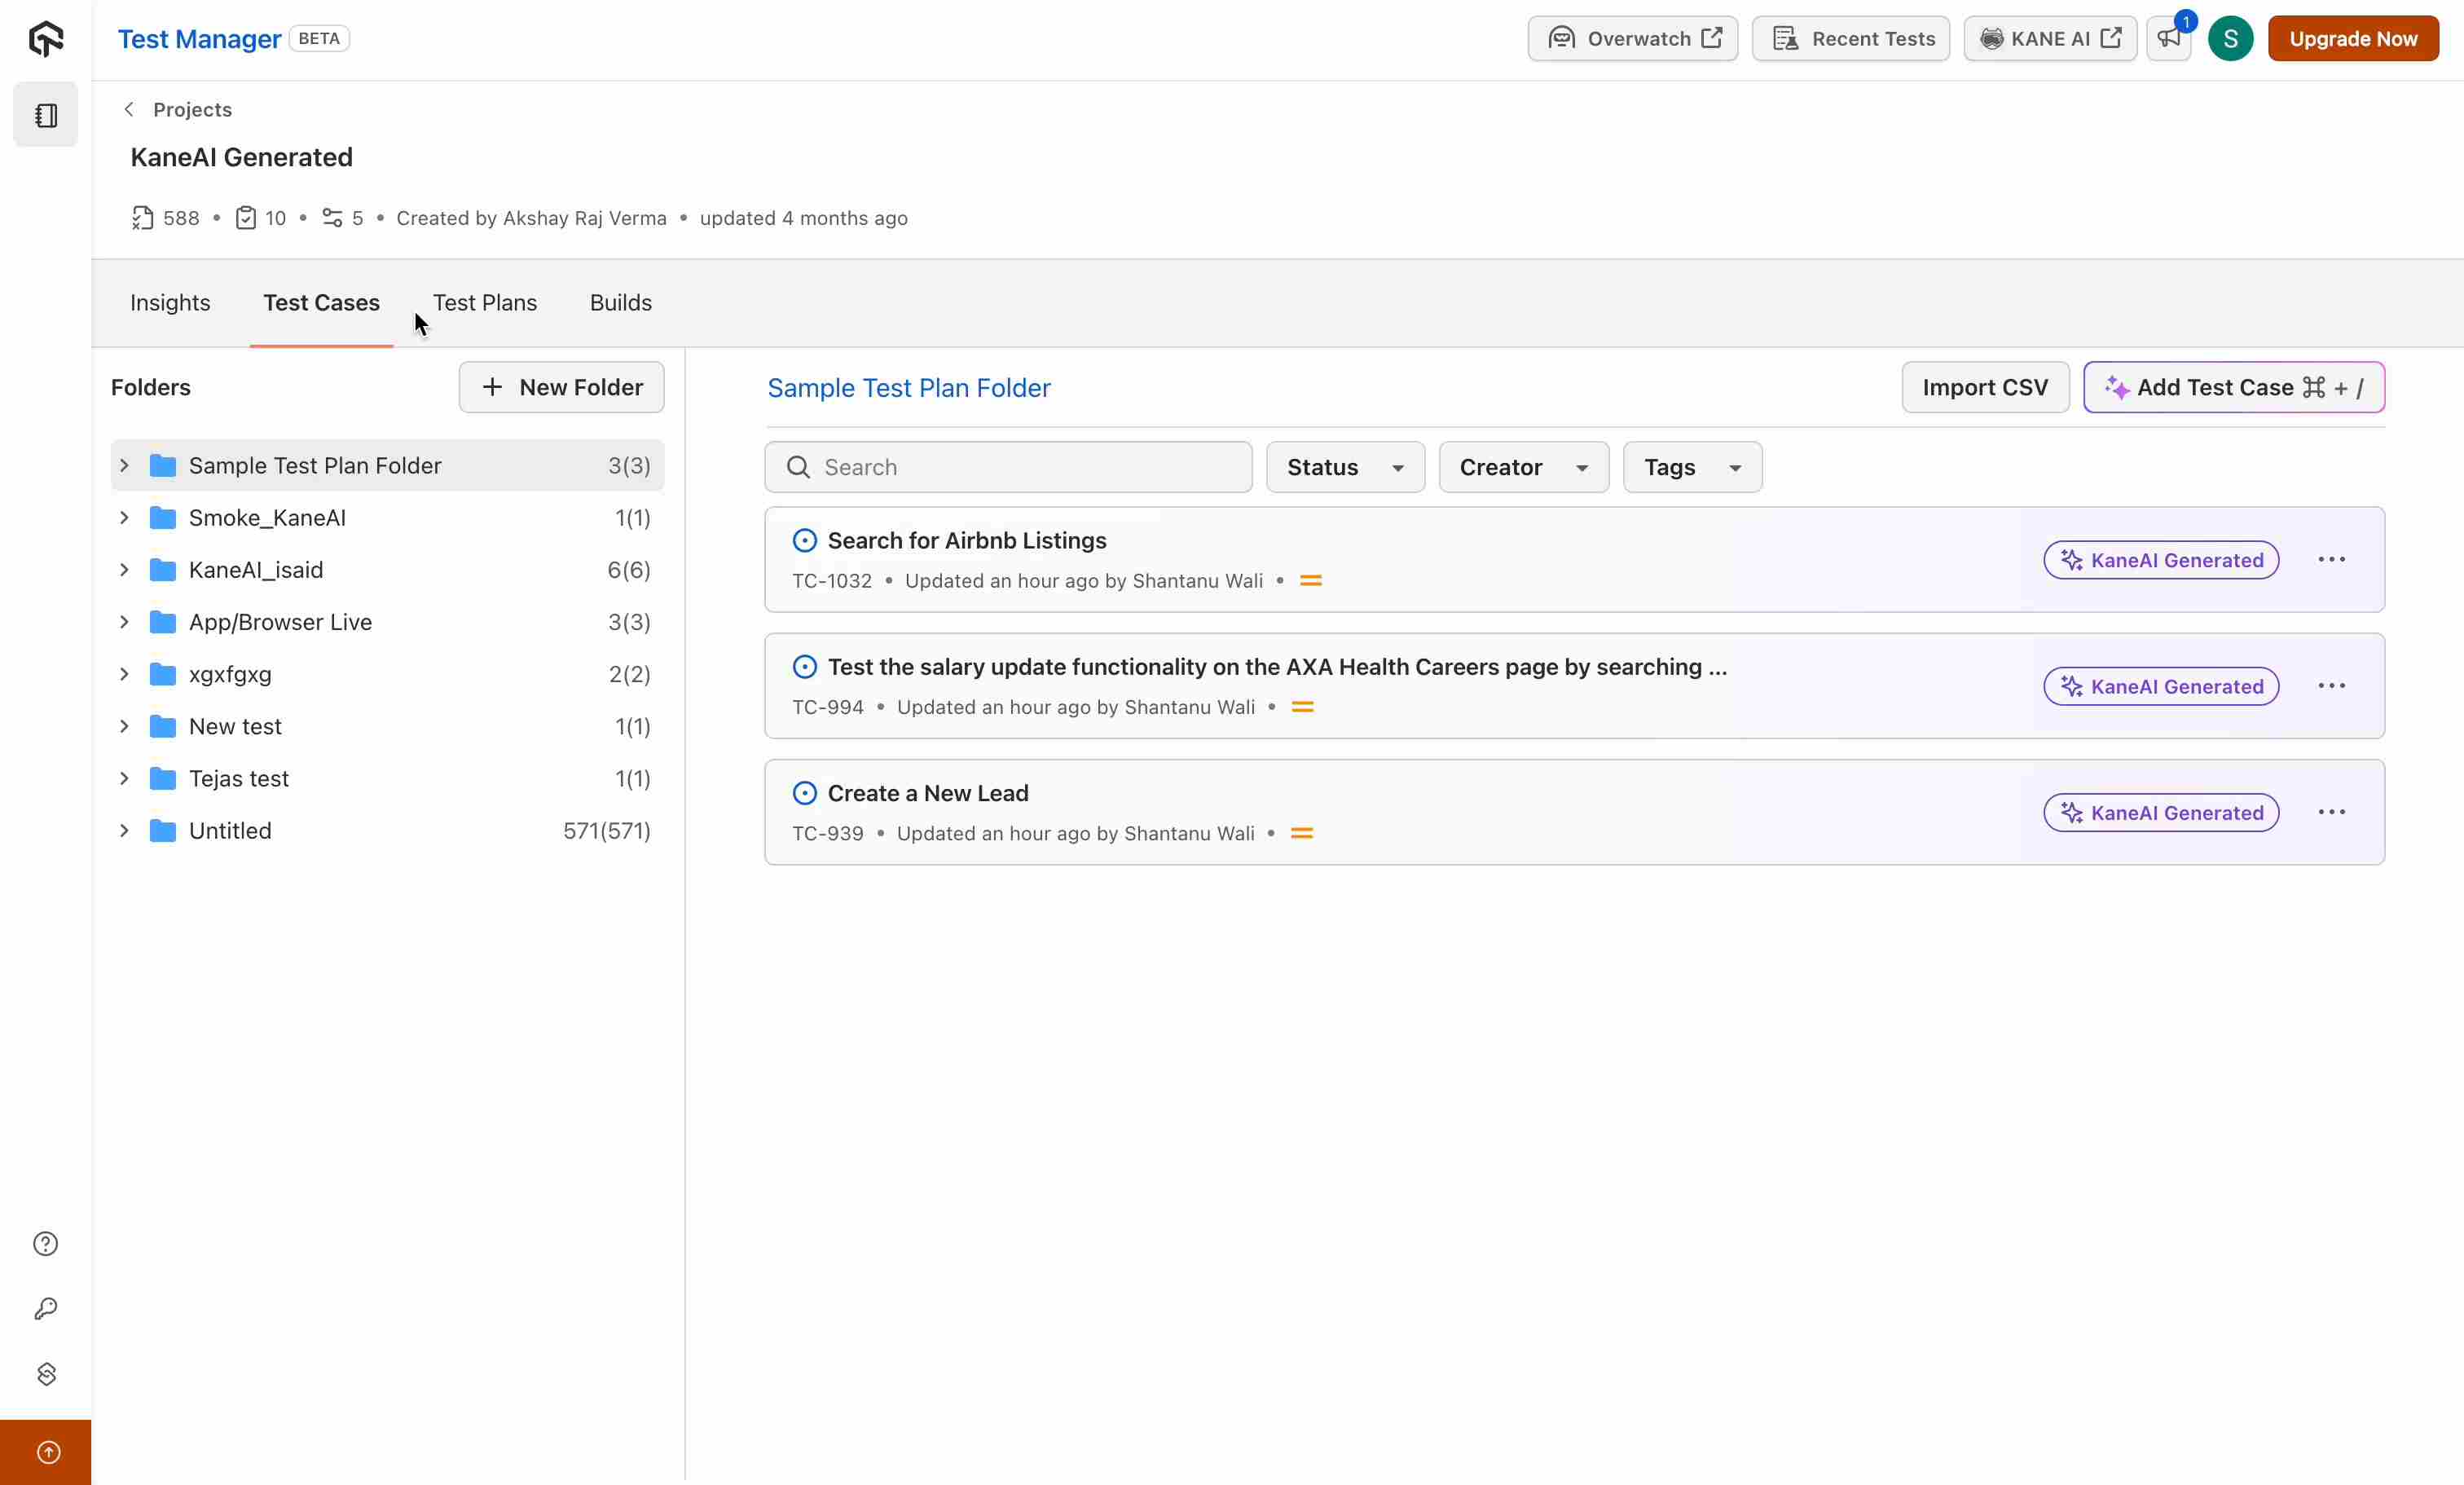
Step 2: View and Select Test Cases
- Review the list of created test cases in the Test Cases section.
- Select the desired test cases and click Create Test Plan.
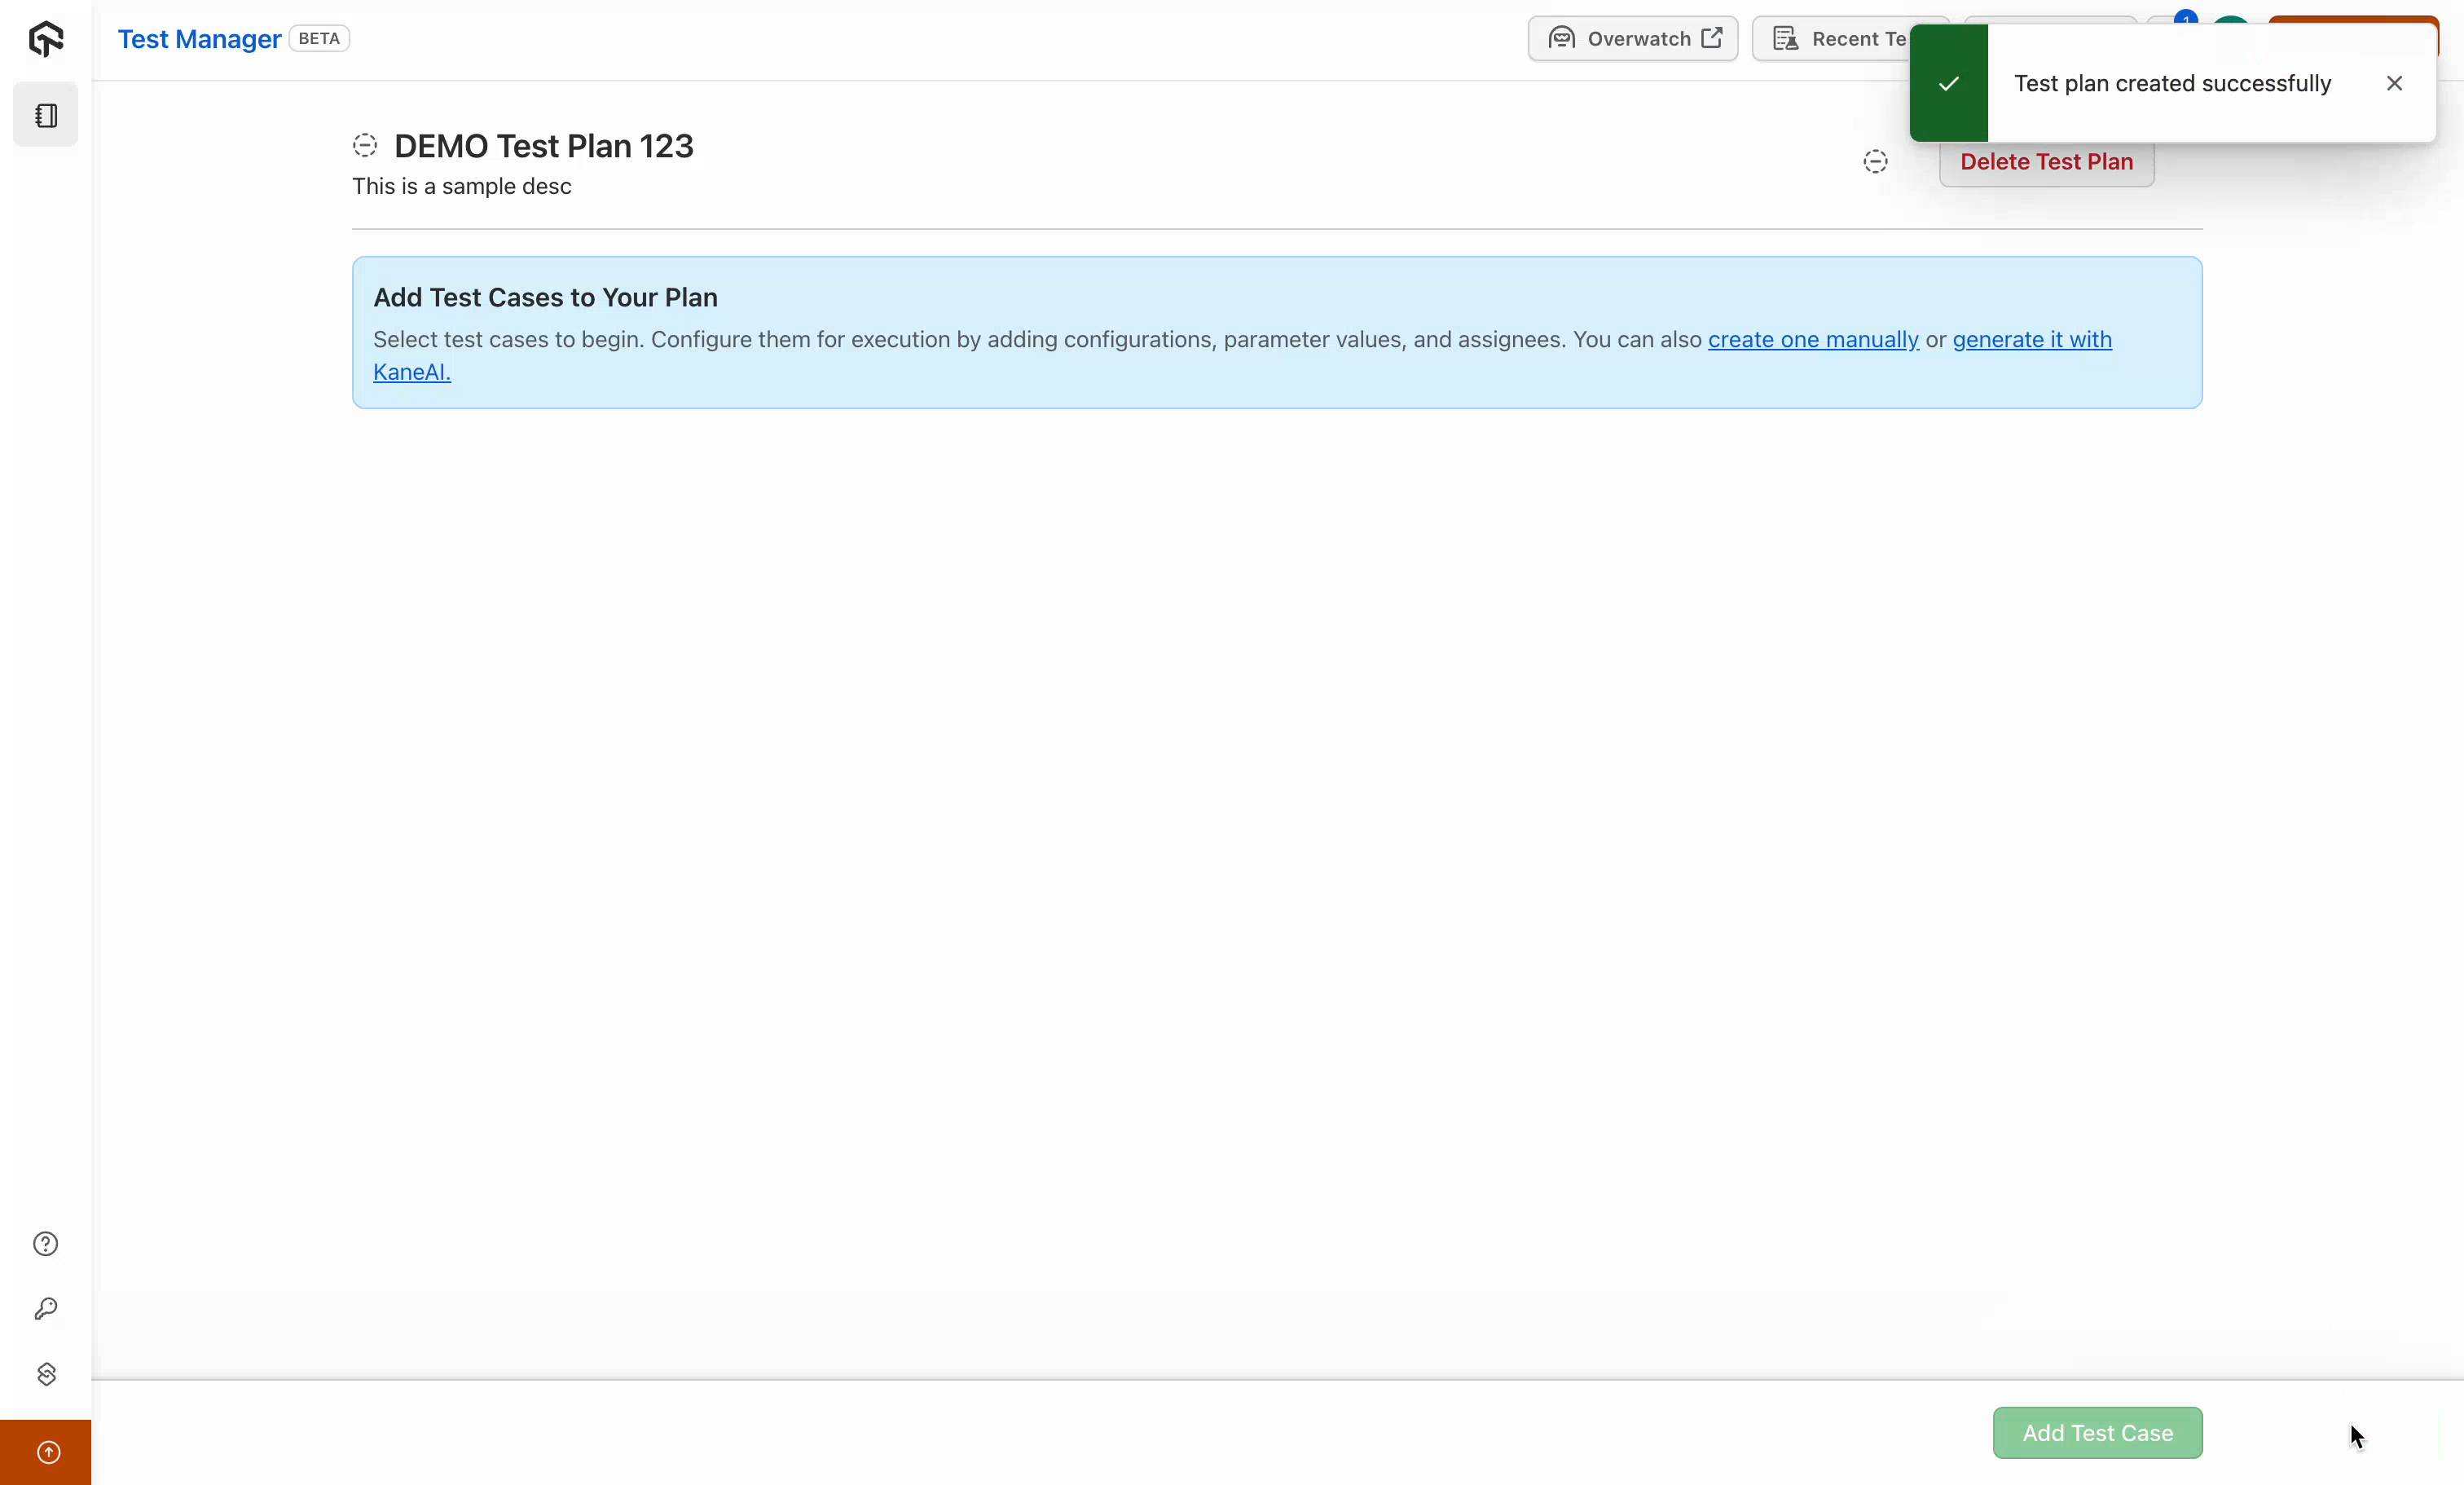
Step 3: Create a Test Plan
- Alternatively, go to the Test Plan section within the project.
- Click Create Test Plan.
- Provide the following details:
- Name : e.g., Demo Test Plan 123.
- Description : A brief overview of the plan.
- Type : Choose KaneAI Generated Test Cases.
Step 4: Select and Add Test Cases
- Click Next to view available test cases.
- Select the required test cases for the plan.
- Click Add Test Case to include them.
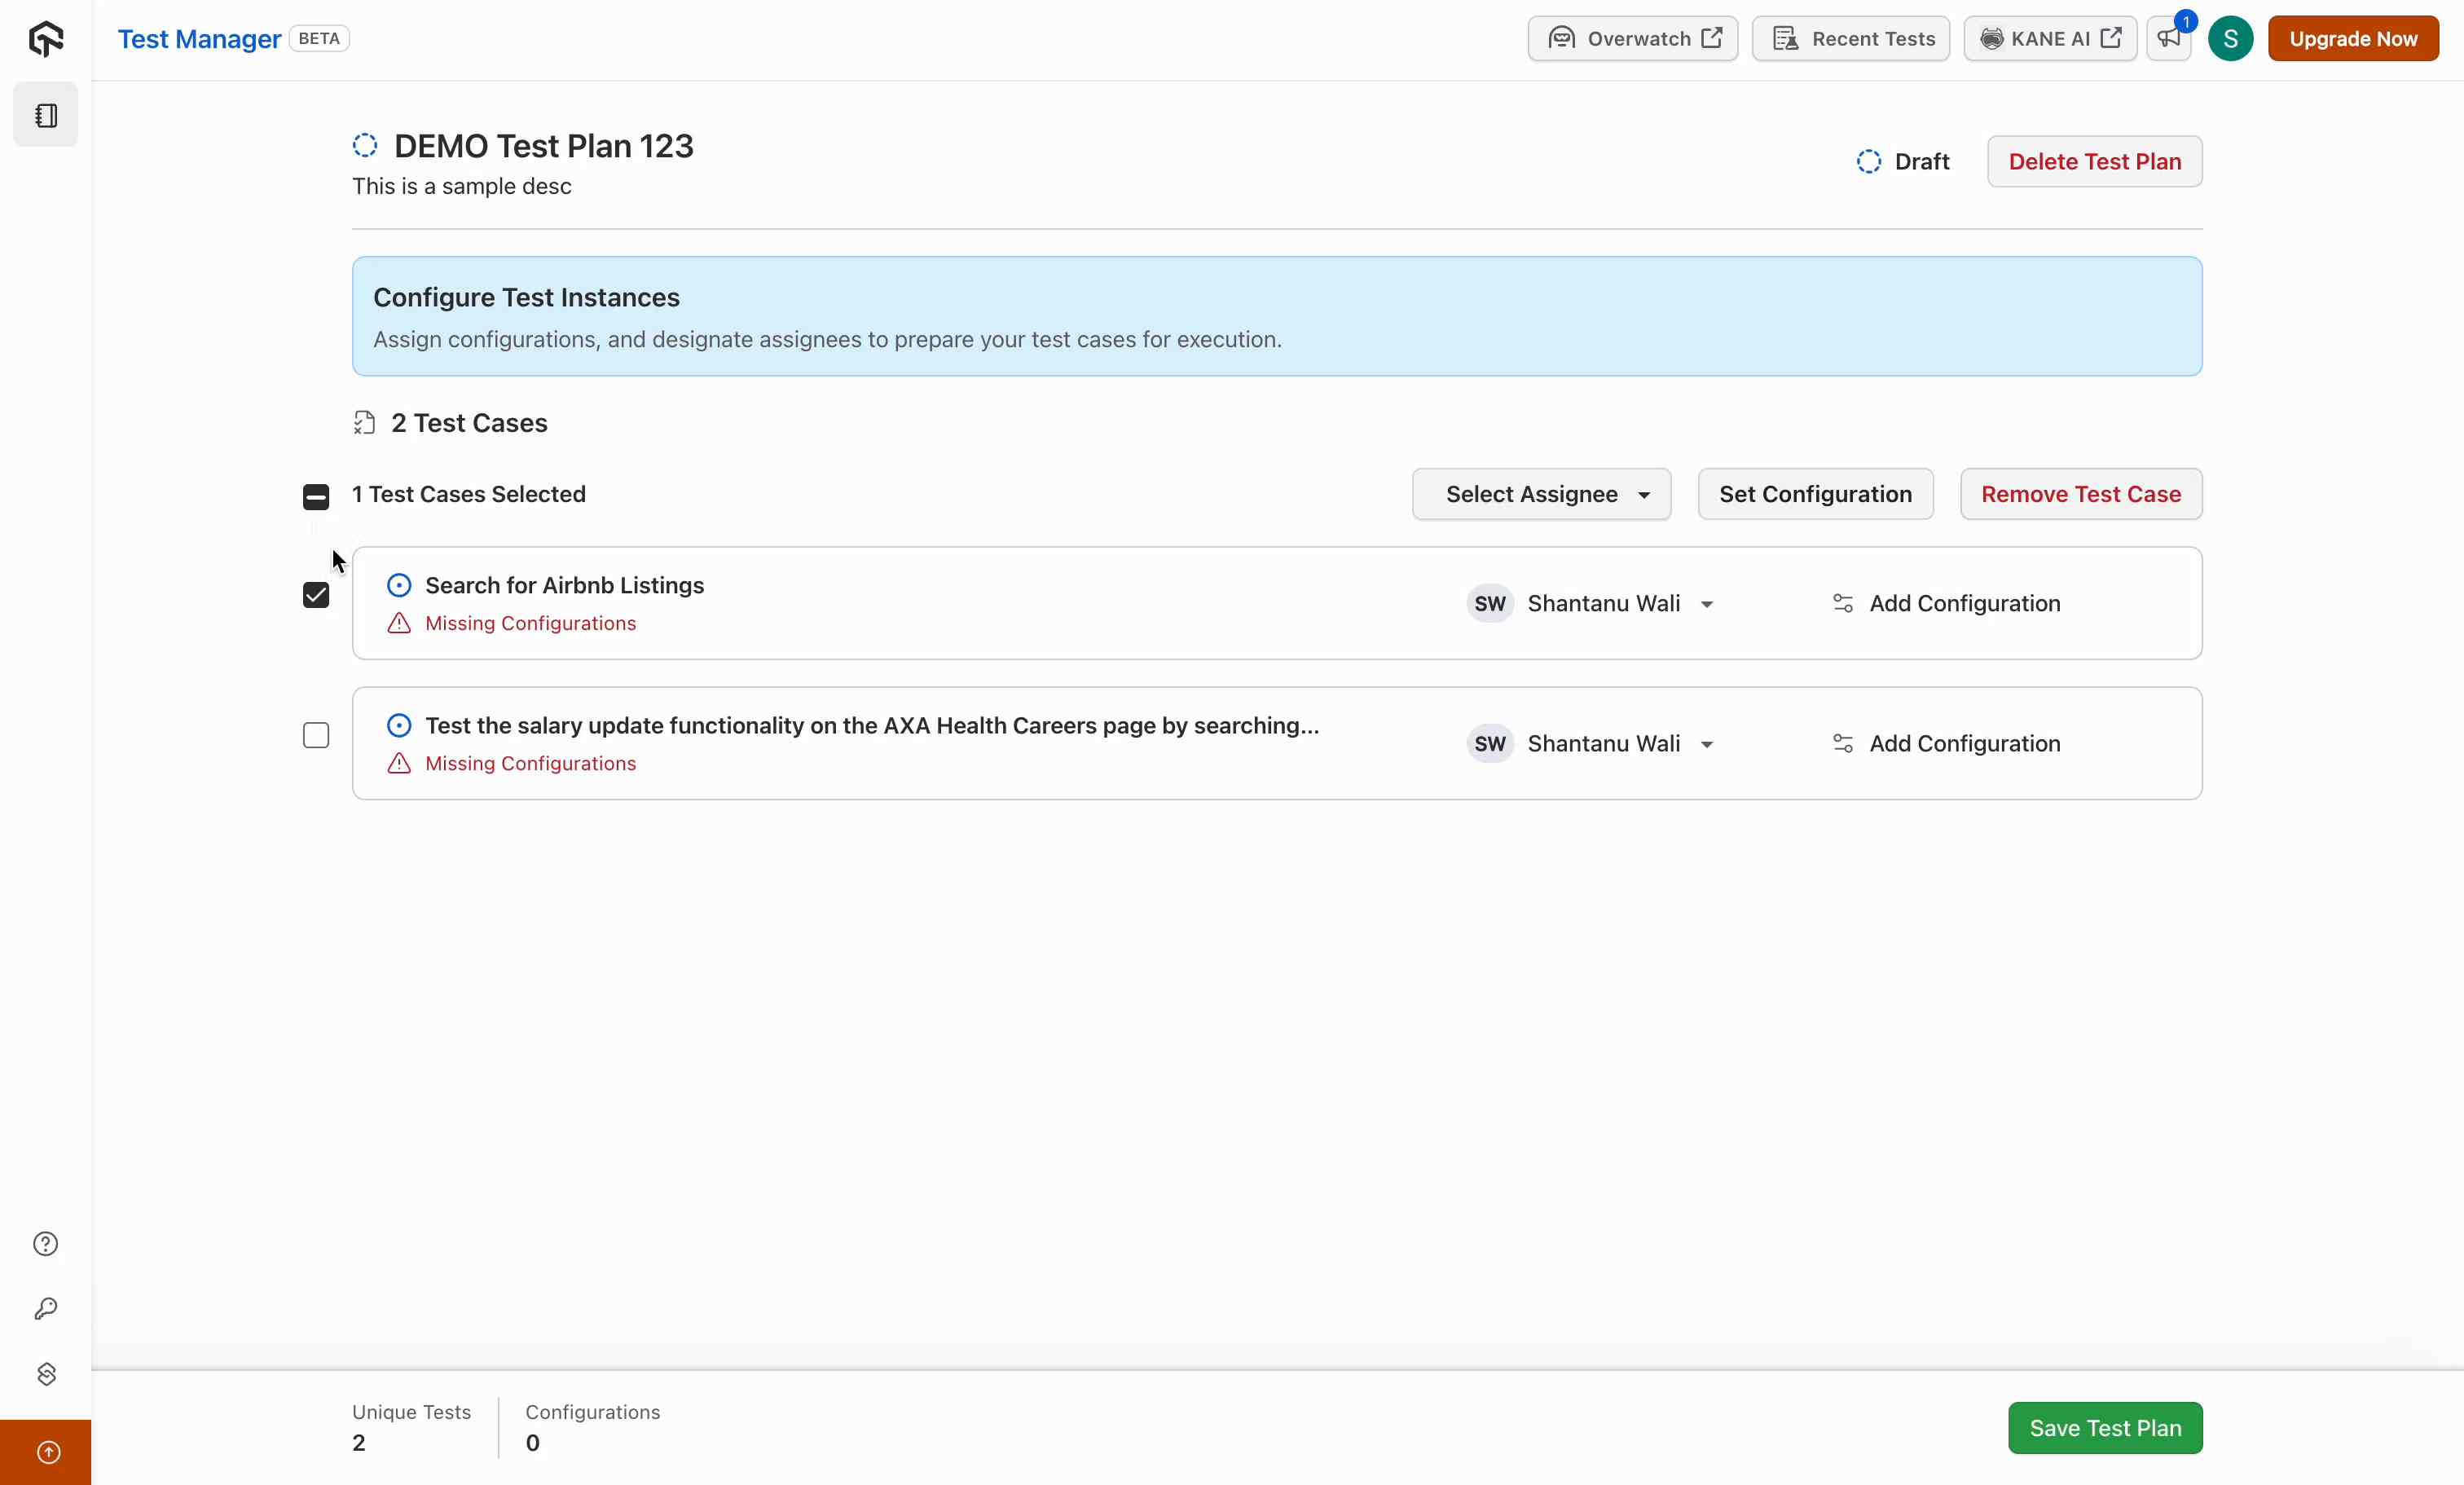
Step 5: Assign and Configure Test Cases
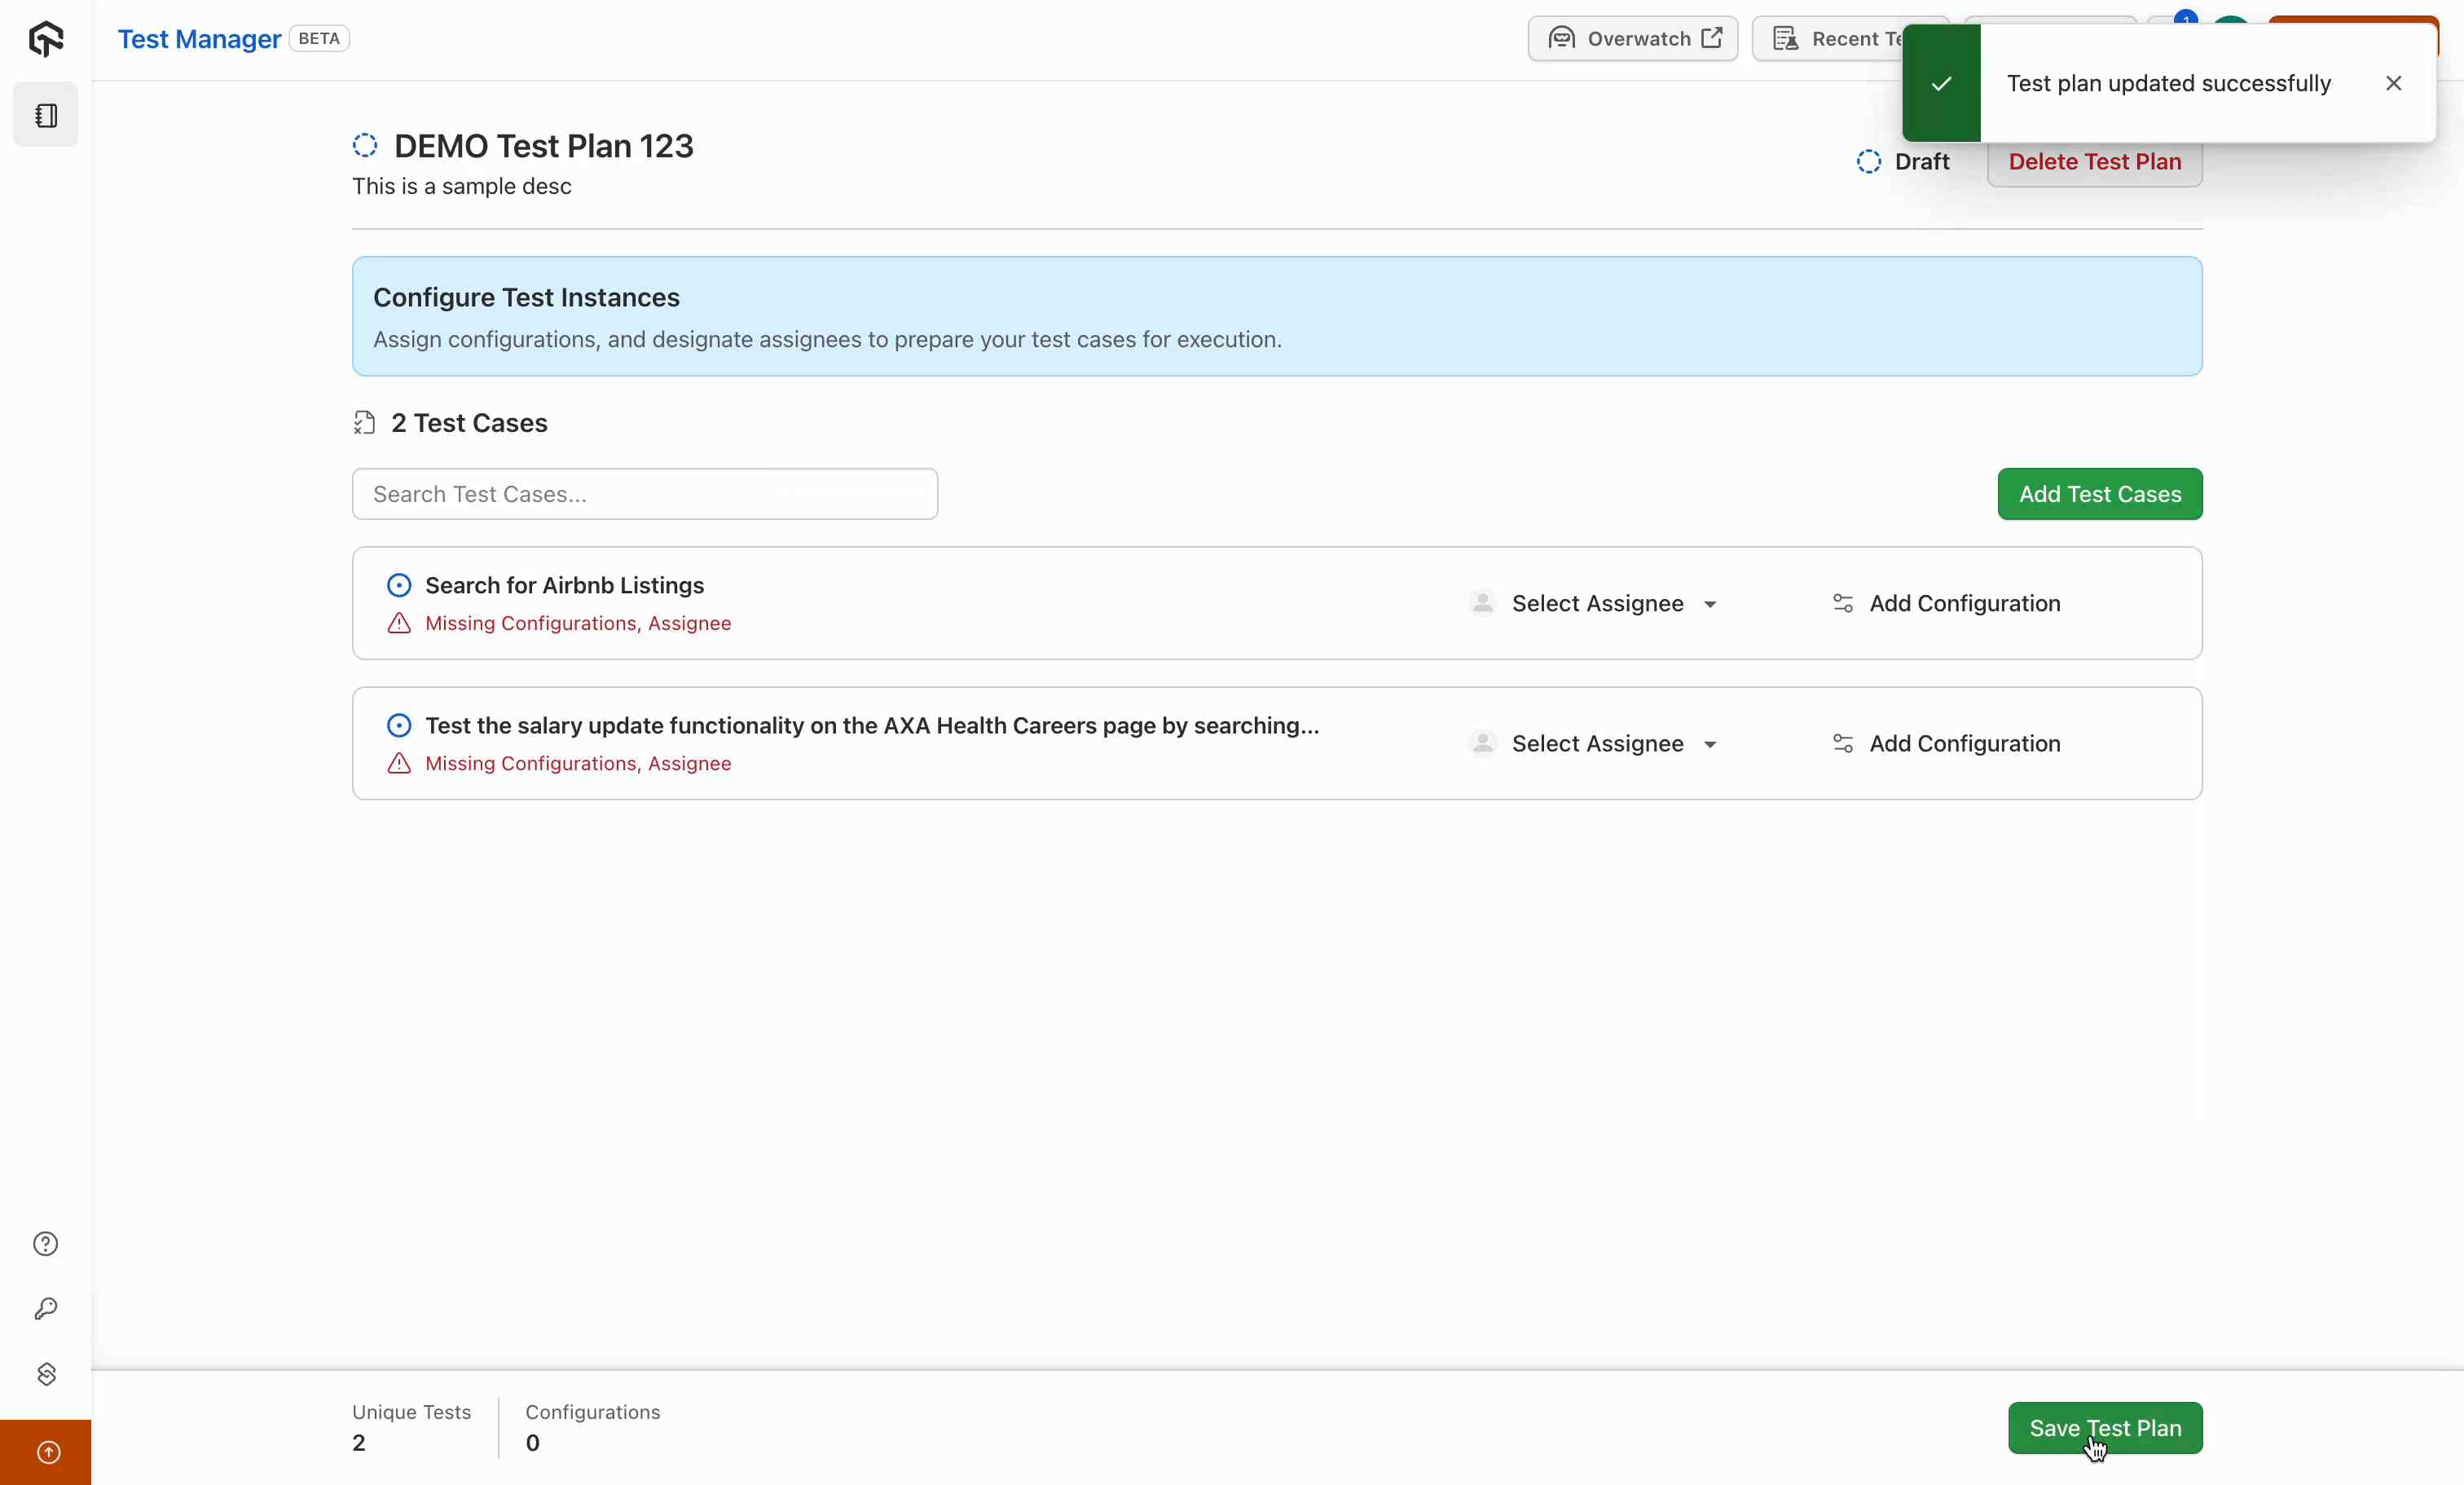
- On the test plan page, review the added test cases.
- Assign team members in bulk.
- Update configurations as required.
Step 6: Set Browser Configurations
- Choose from available browser configurations. If a new configuration is needed, click on Create Configuration button and choose from thousands of configuration options.
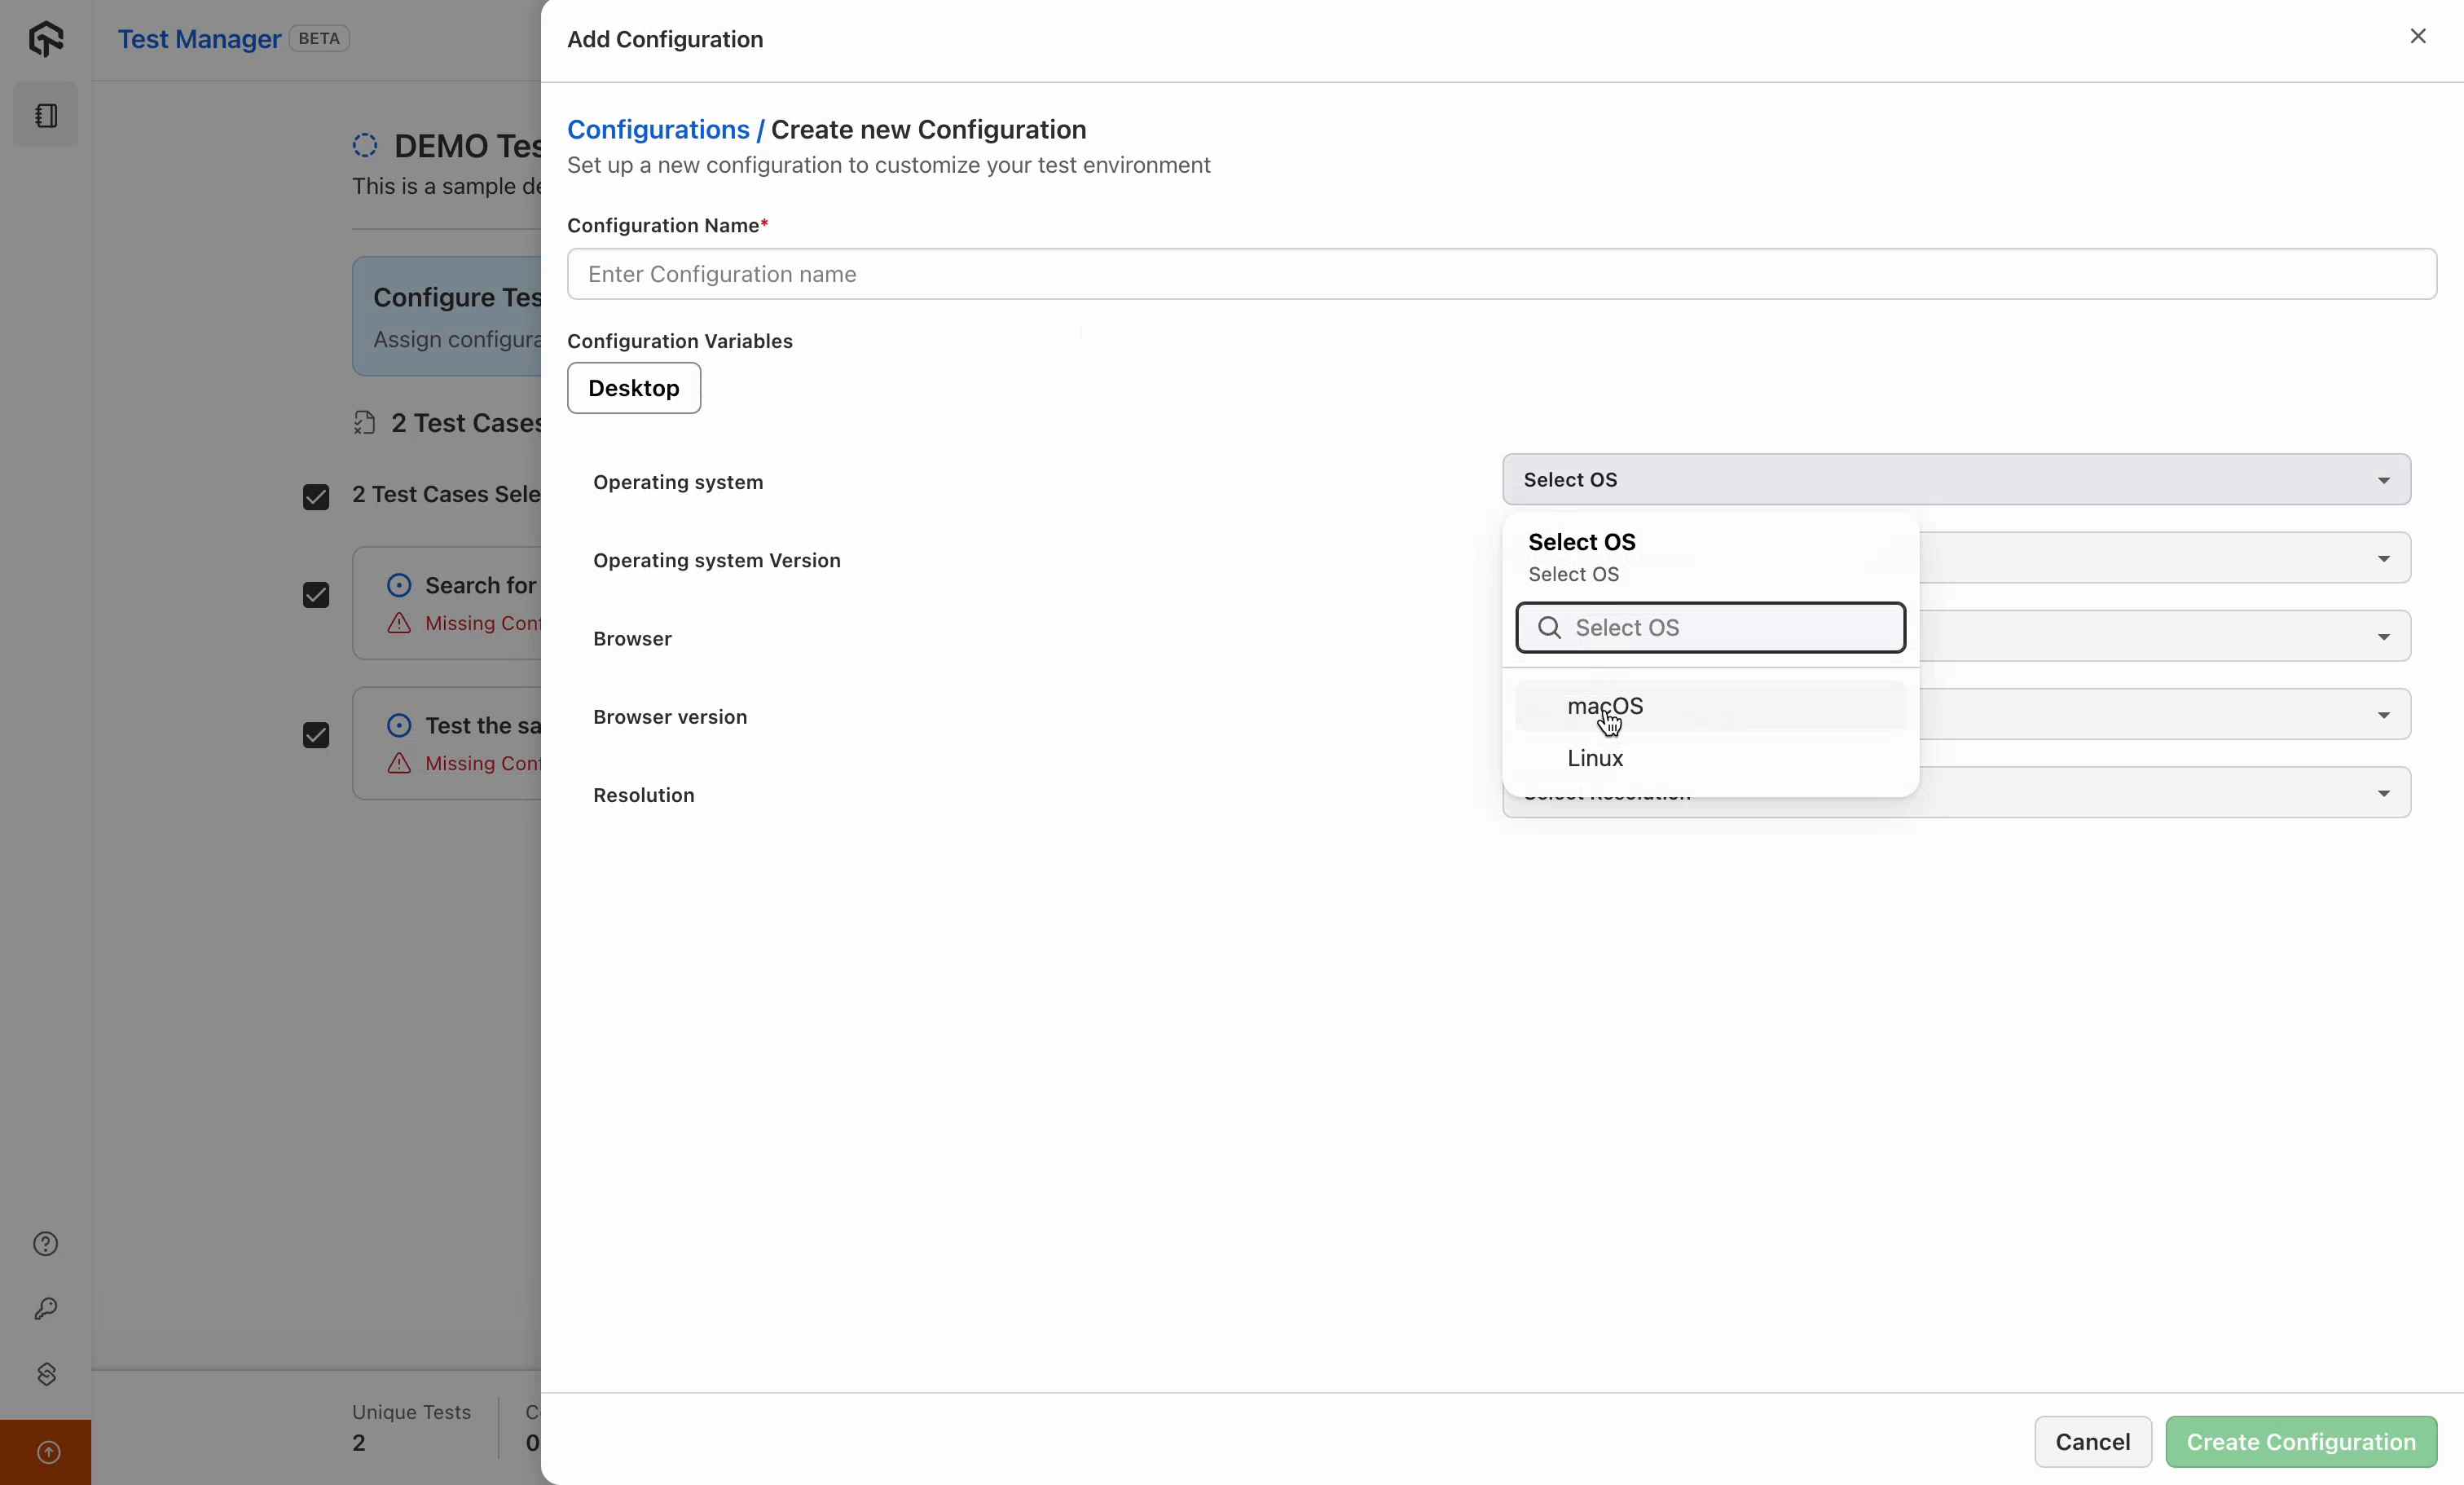
Step 7: Create New Configuration
- Enter the following details:
- OS : e.g., Monterey.
- Browser : e.g., Chrome 131.
- Name : e.g., Chrome 131 Mac OS Monterey.
- Save the configuration.
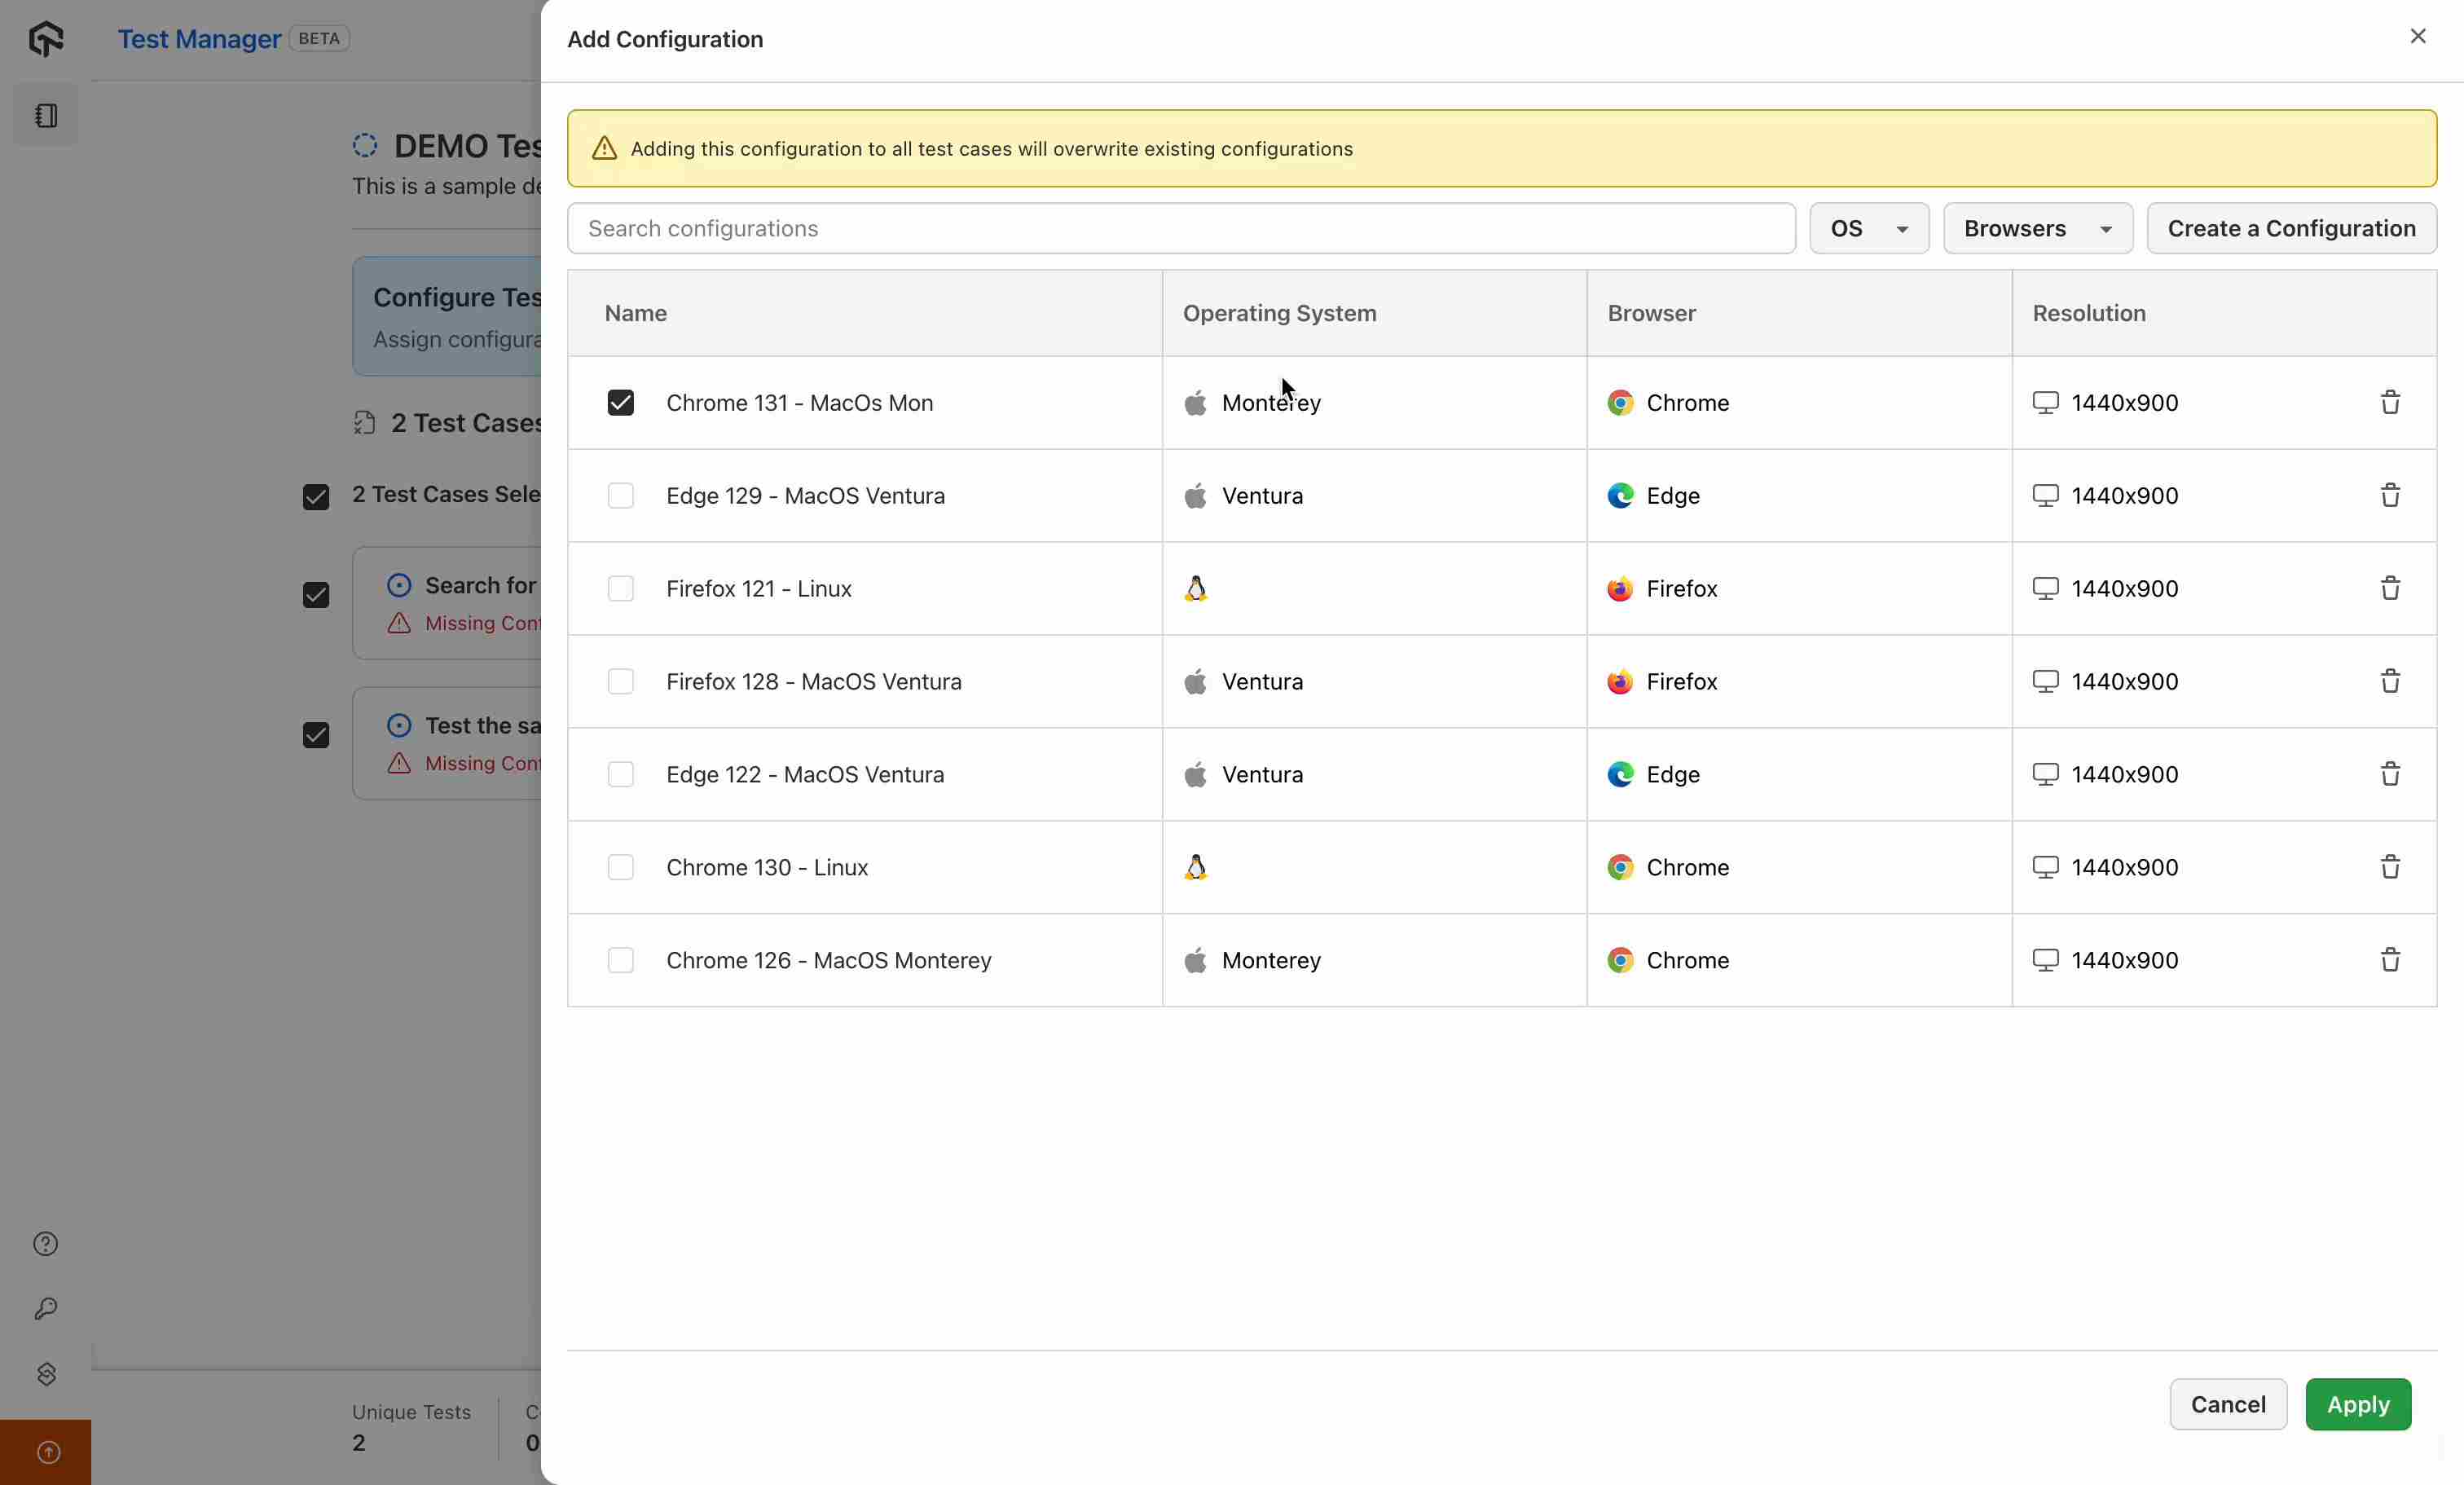
Step 8: Link and Save Test Plan Configurations
- Select the newly created configuration and link it to the selected test cases.
- Confirm configurations and test cases and add additional test cases if required. Save the test plan.
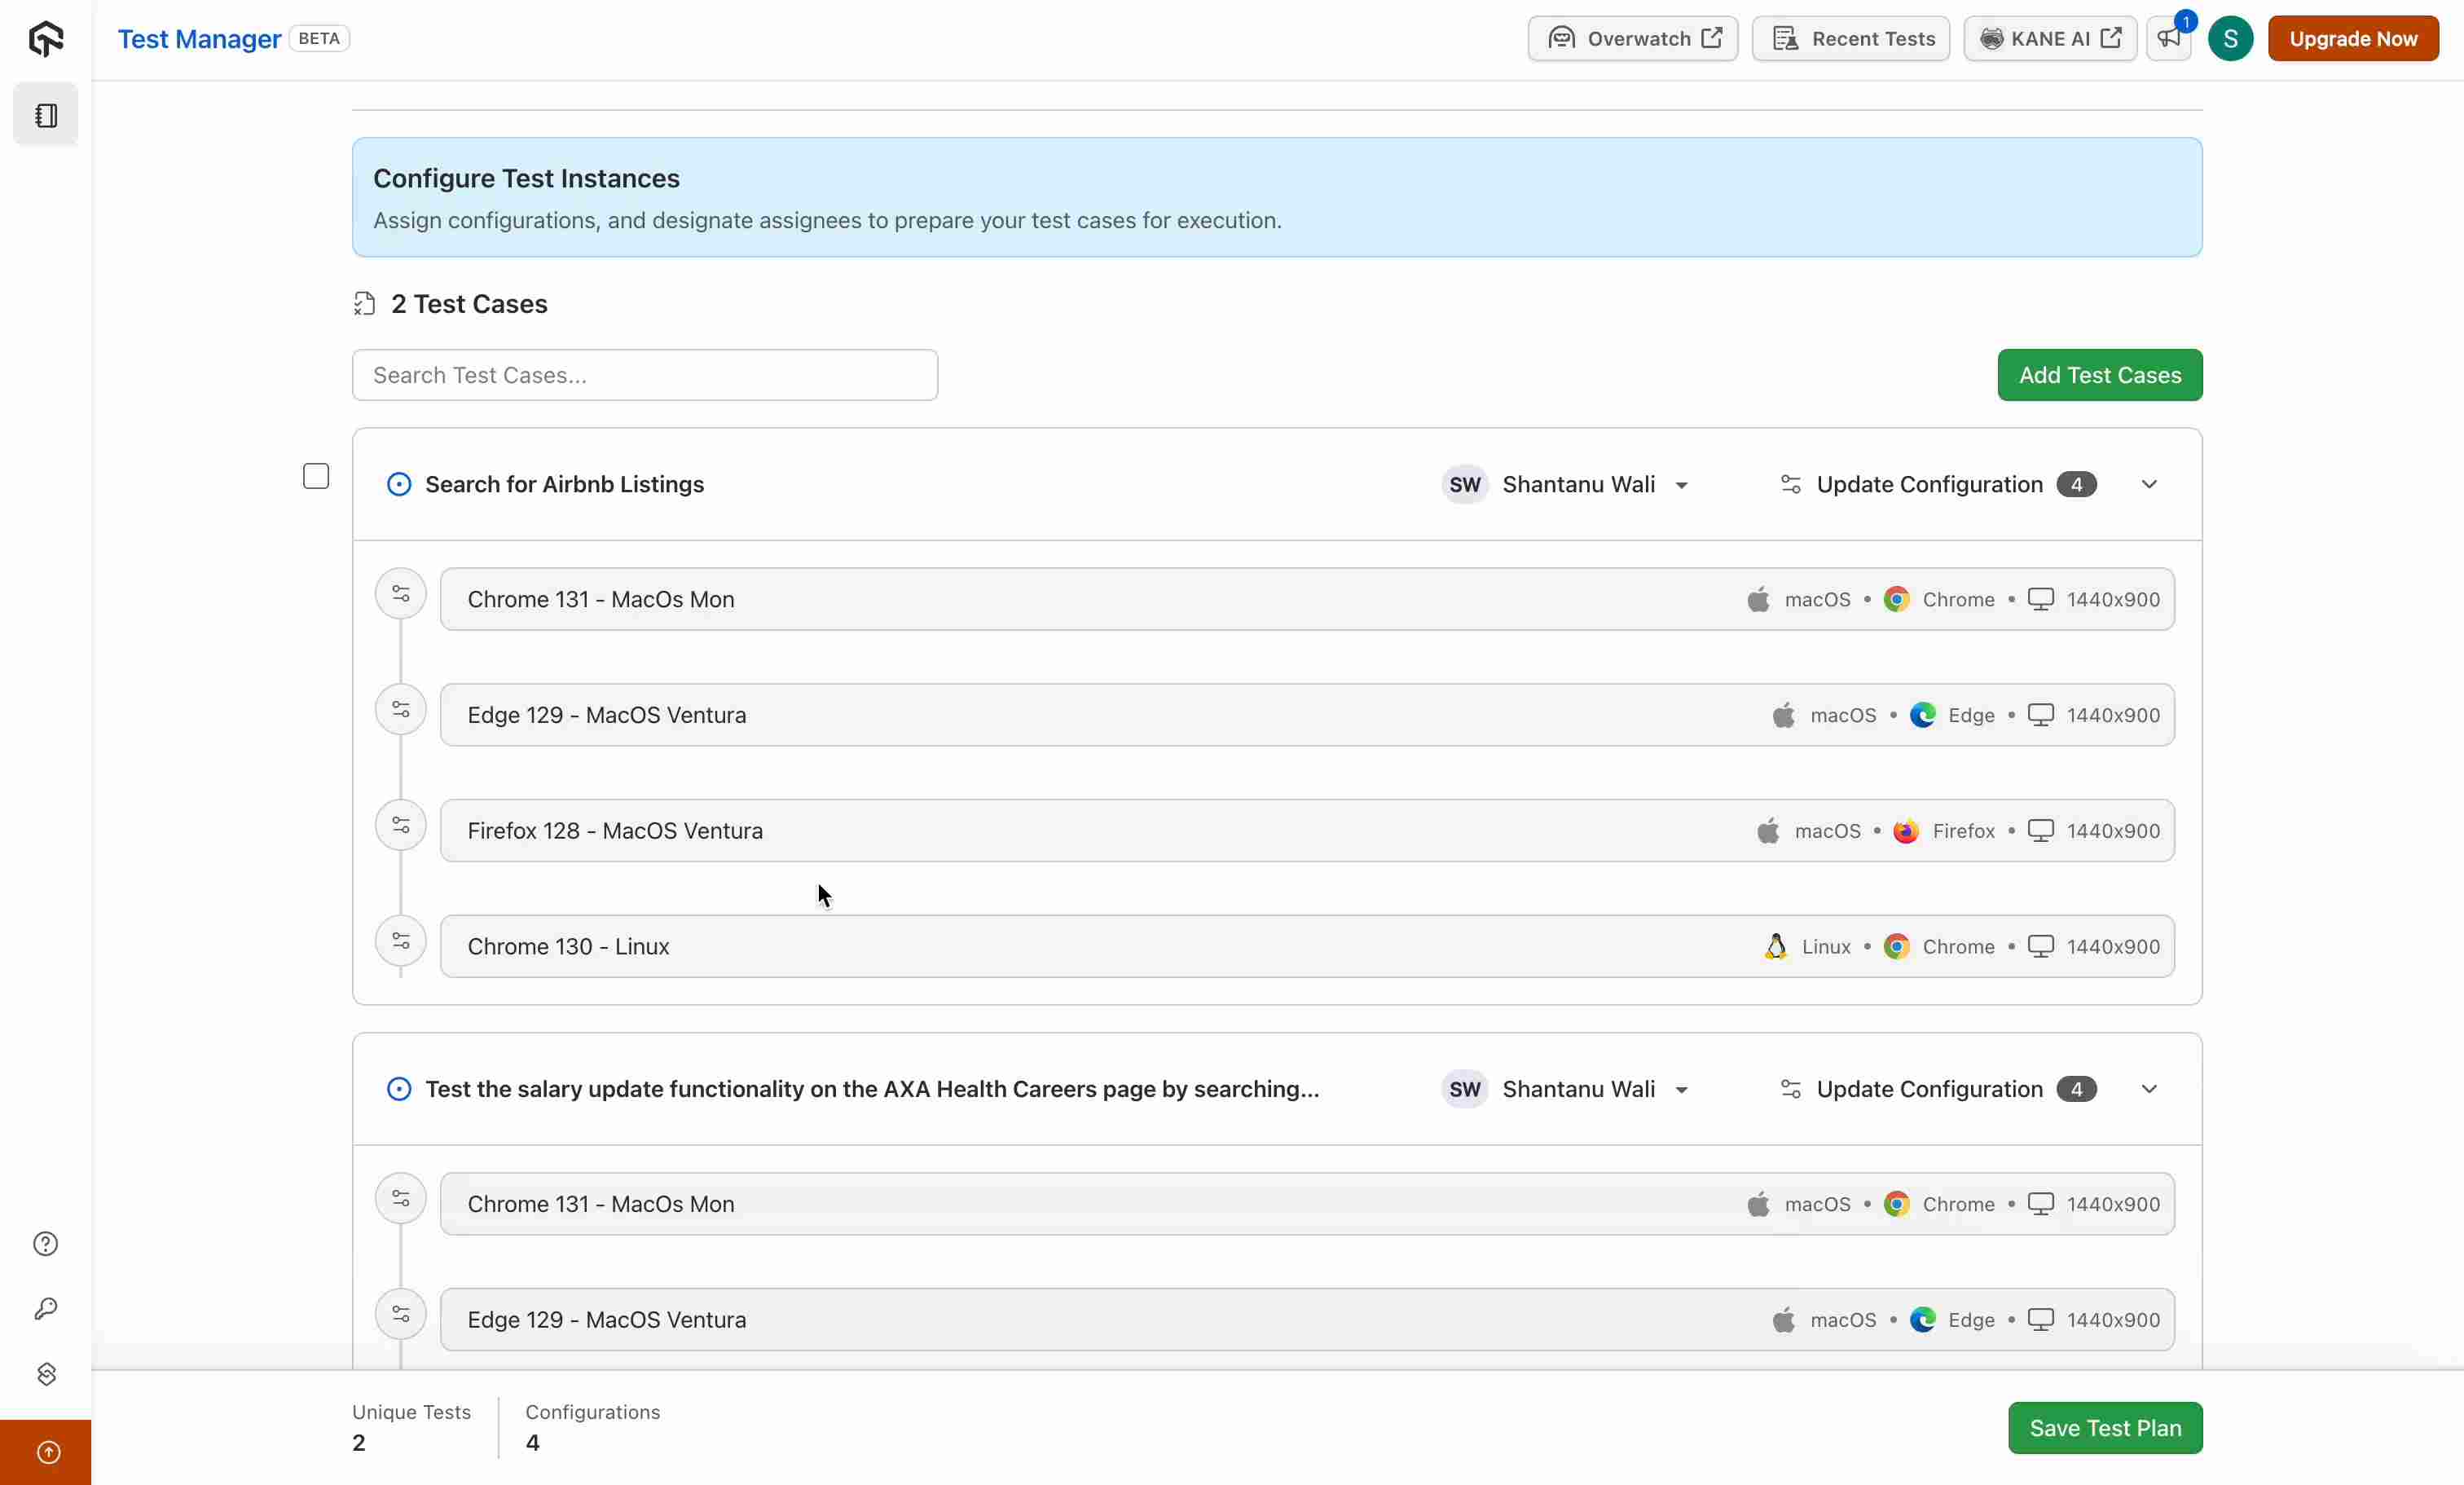
Step 9: Create a Build
- Once the test plan is saved, it will display test cases and configurations. Create a build and provide a name, e.g., Demo Build.
- The test plan is automatically linked to the build. You can also add a tag for filtering our your test plans. Now create the build.
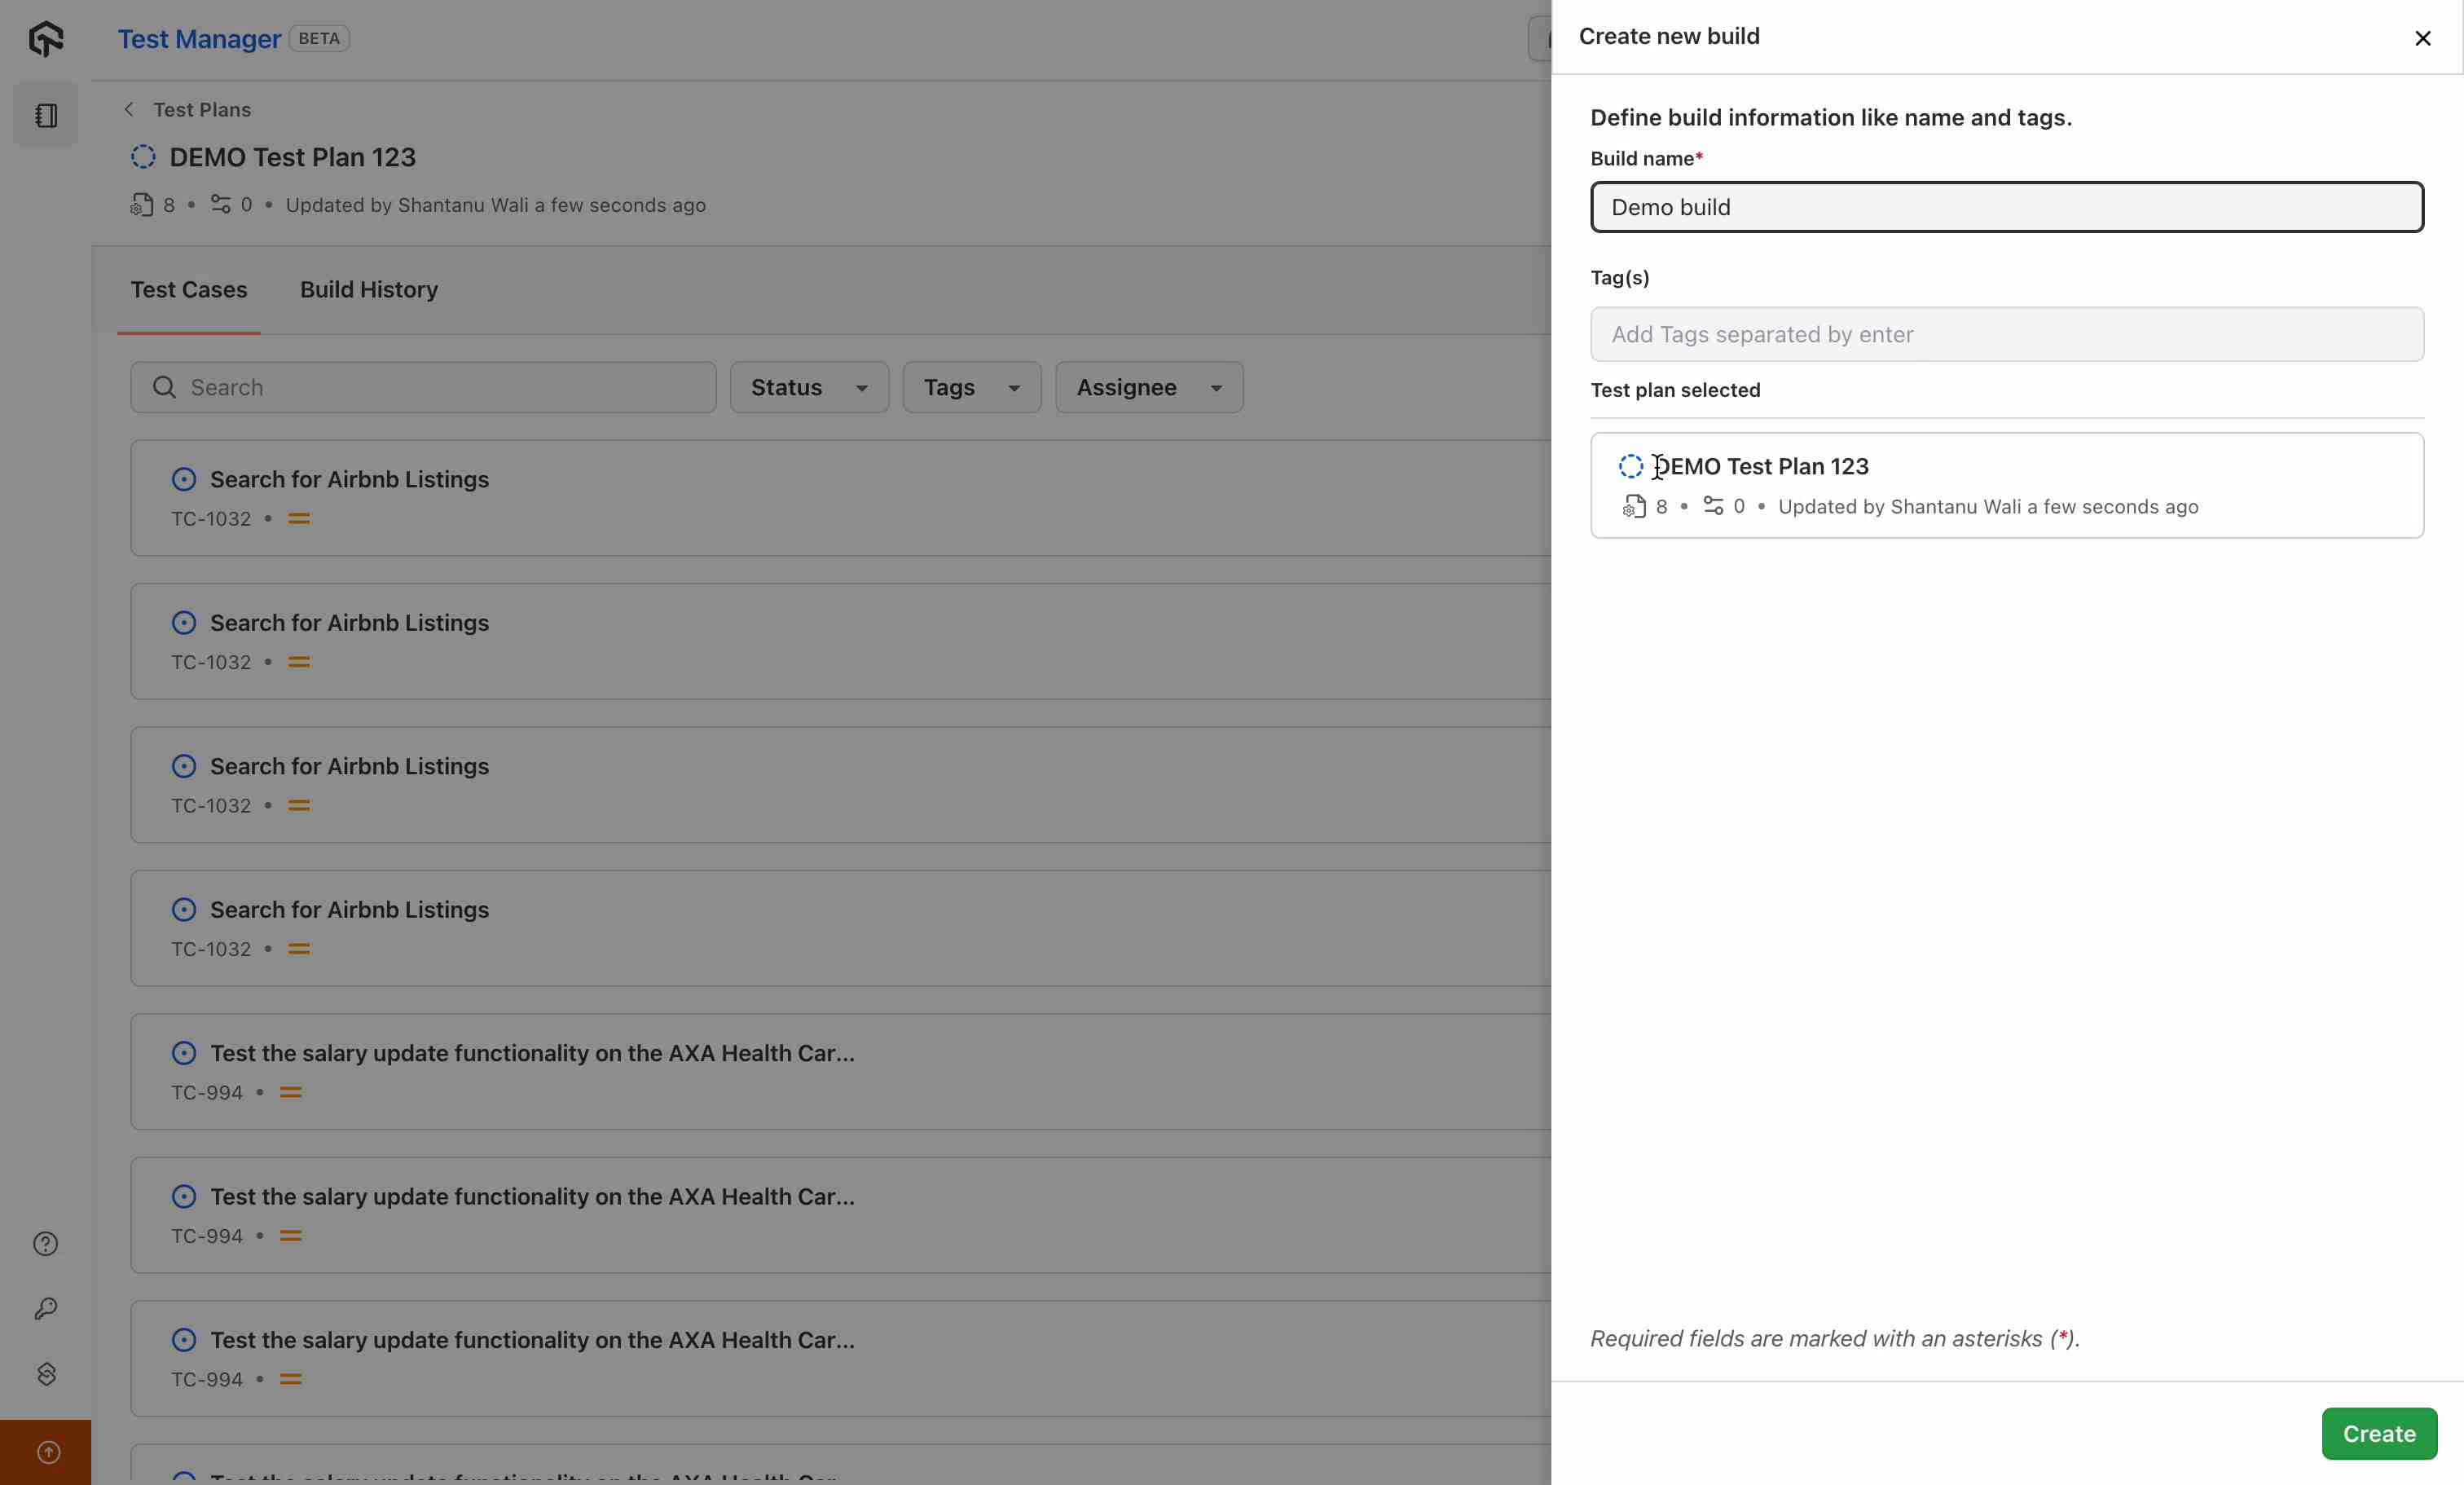
Step 10: Run with HyperExecute
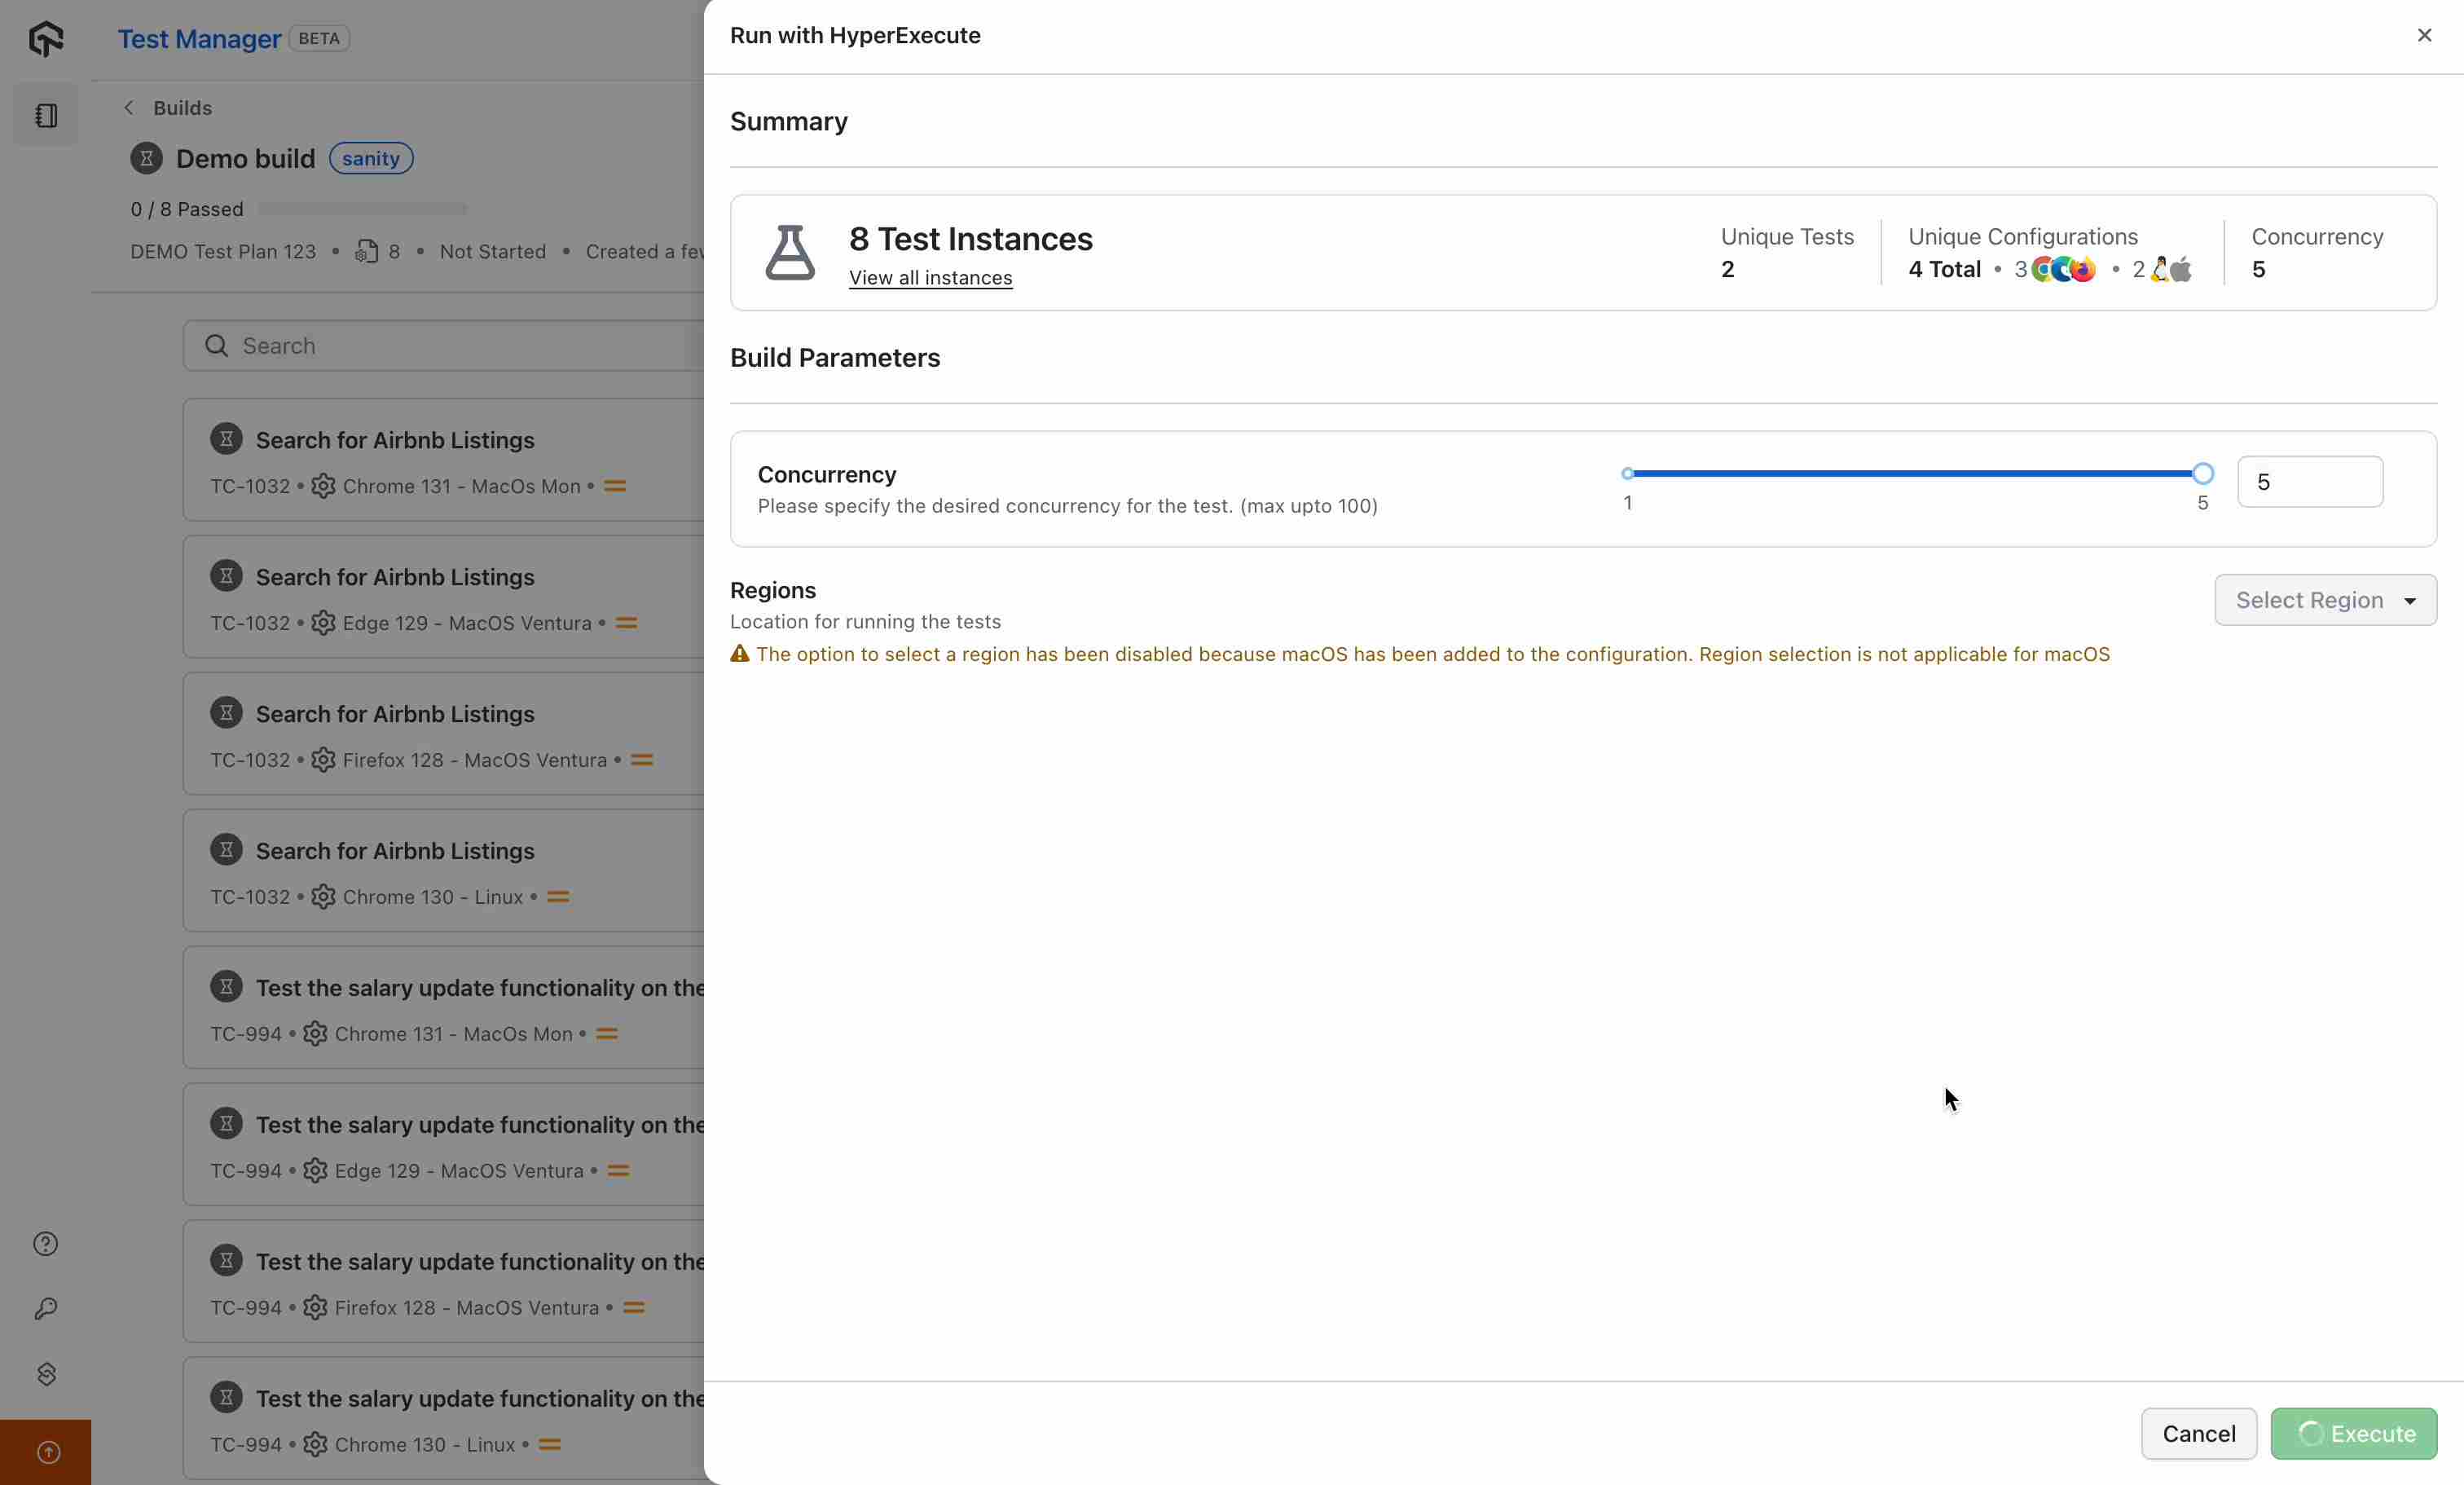
- Initiate the run using HyperExecute by clicking Run with HyperExecute.
- View all test instances in the dashboard.
- Set the desired concurrency level, e.g., 5.
- Click Execute to run the tests.
Step 11: Monitor Execution on HyperExecute
- Navigate to the HyperExecute page.
- Observe the discovery and rapid execution of test cases.
