21 Top React Component Libraries for 2025
Arnab Roy Chowdhury
Posted On: February 7, 2025
![]() 124785 Views
124785 Views
![]() 16 Min Read
16 Min Read
If you are in IT, you must constantly upgrade your skills no matter what’s your role. If you are a web developer, you must know how web technologies are evolving and constantly changing. ReactJS is one of the most popular, open-source web technologies used for developing single web page applications. One of the driving factors of ReactJS’s popularity is its extensive catalog of React components libraries.
When it comes to creating modern React applications, these component libraries not only save us ample time and effort, but also helps us in simplifying Testing React apps. They have various pre-built components such as icon sets, buttons, form input, menu, pagination, date and time picker etc. By leveraging these React component libraries, developers can create mind-blowing user interfaces and modern web designs for desktop, mobile, web and hybrid apps.
What Is A React Component Library?
React is a JavaScript library that lets you develop a top UI for both web and mobile applications. It conveniently integrates with other JavaScript frameworks and libraries and includes small, reusable bits of code called the components. React component libraries not only optimize your UI development process but also provide extreme flexibility due to their high modularity.
Best React Component Libraries In 2025
Picking the correct React component library for an application can be tricky, but don’t worry, you’ve come to the right place. We have compiled 21 best React component libraries that are popular among developers for their usability and accessibility.
So, let’s begin!
1. React Bootstrap
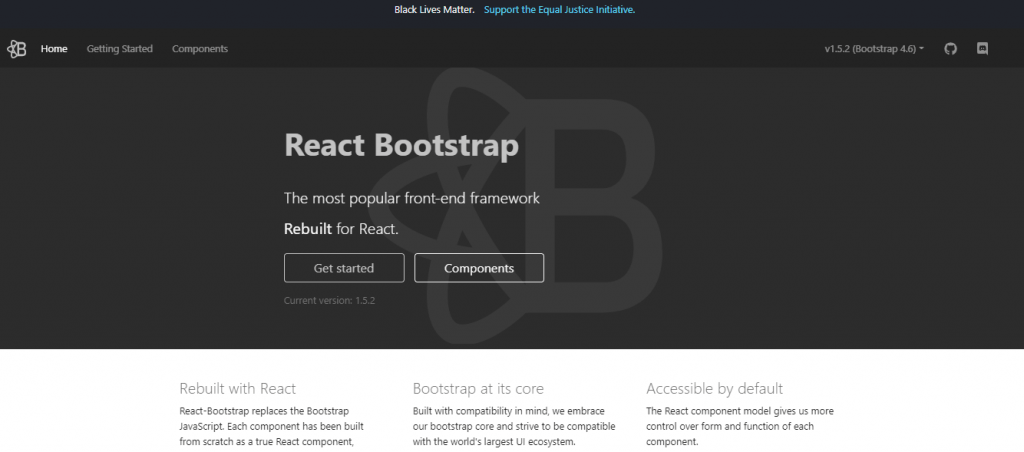
We all love Bootstrap because of the liberty it gives us to play with responsive web components. But Bootstrap has some pain areas. Because of specific unwanted libraries, it tends to reduce the performance of web applications? Suppose you are developing a web app using React. What is the solution if you want to include some all-time favorite bootstrap components?
The answer is – React Bootstrap.
With more than 22.1k stars and 3.6k forks on GitHub, React Bootstrap is among the best React component libraries that completely replaces bootstrap JavaScript with React. Each component is developed in the style of a React component. That means unwanted libraries like jQuery are no longer present. Being one of the oldest libraries, it has evolved a lot. You will get a lot of help from the React community. This makes React-Bootstrap an excellent choice for your app’s UI base.
Installation
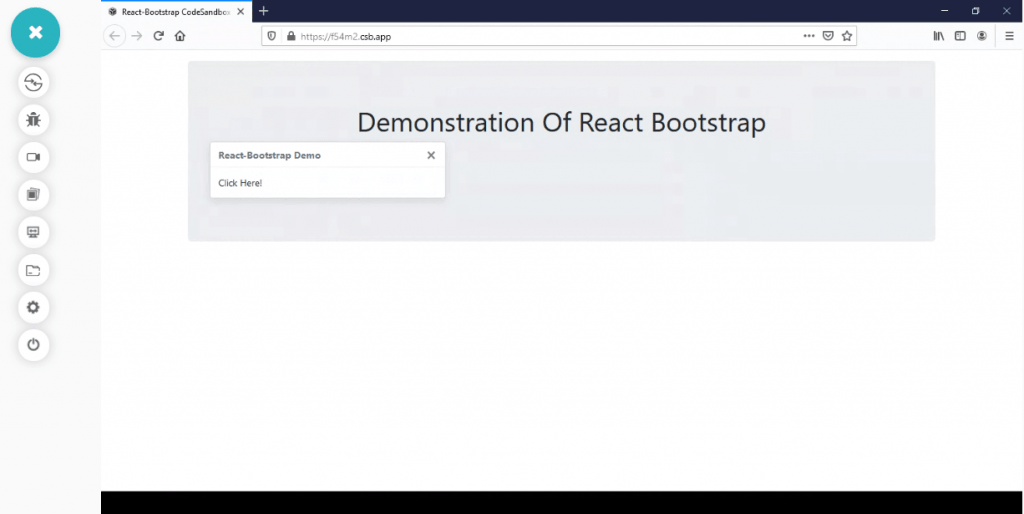
Example
Output
2. Material UI React
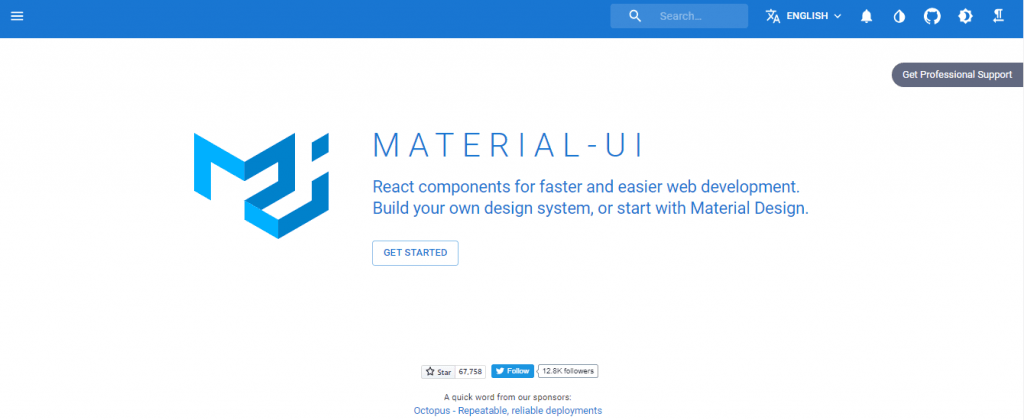
You might have heard about Google’s material design. With a collection of sleek and simplistic elements, the library awed us by providing all the items necessary to build a high-quality digital experience. What if you could have a similar experience in your React app without the pain point of integration?
Material UI is considered one of the best React libraries with all the material design elements to use easily in your React project. It has more than 90.8k stars and 31.1k forks on GitHub. If you are not much of a designer, no issues. Material UI gives you a collection of themes that you can choose for your site. There is extensive documentation so that you can find whatever you need whenever you feel stuck.
Now perform live interactive Material UI testing of your websites on the LambdaTest platform.
Installation
Example
Output

3. Ant Design React

Having more than 89.4k stars and 44.4k forks, Ant Design React is one of the best React component libraries containing many quality components and prototypes for creating rich, engaging user interfaces. It supports internationalization for different languages and uses Less.js for styling components. Ant Design framework provides customization to modify the designs.
Buttons, icons, breadcrumbs, grids, dropdowns, and pagination are among the Ant Design components. Besides, it provides a mobile-friendly version to create mobile applications.
Installation
Example
Output
4. React Router
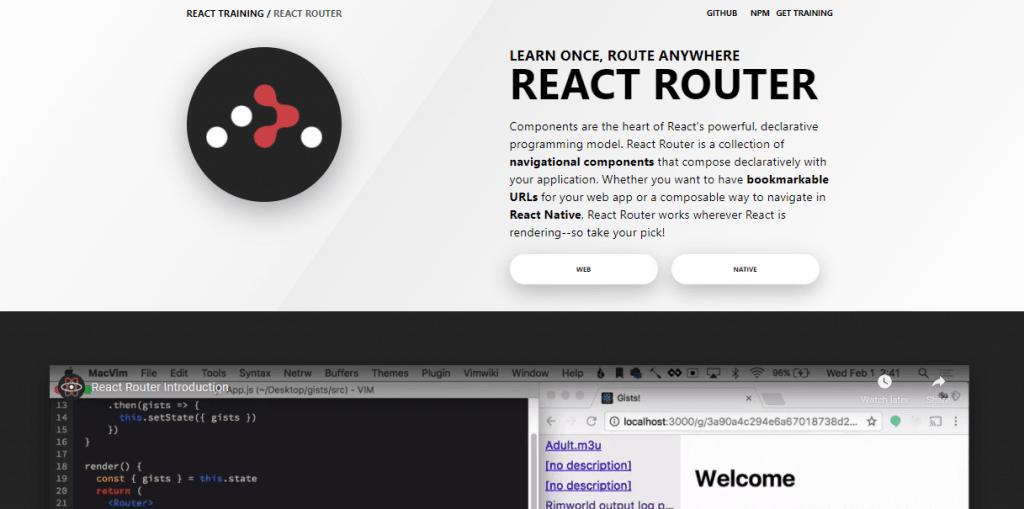
React is well known for its declarative programming model. If you are creating an application with React, it will be great to have some components that you can compose declaratively in your app. React router is a collection of such components. Suppose you want to add some URLs which you can bookmark. Or, what if you want a composable way to navigate in React native? We have a React Router for the solution.
React Router is one of the best component libraries that makes it effortless for the developer to handle navigation in a single-page app. Not only that, but the library also offers smooth screen-to-screen transition, server-side rendering and vivid support for nesting.
Now perform live interactive React Router testing of your websites on the LambdaTest platform.
Installation
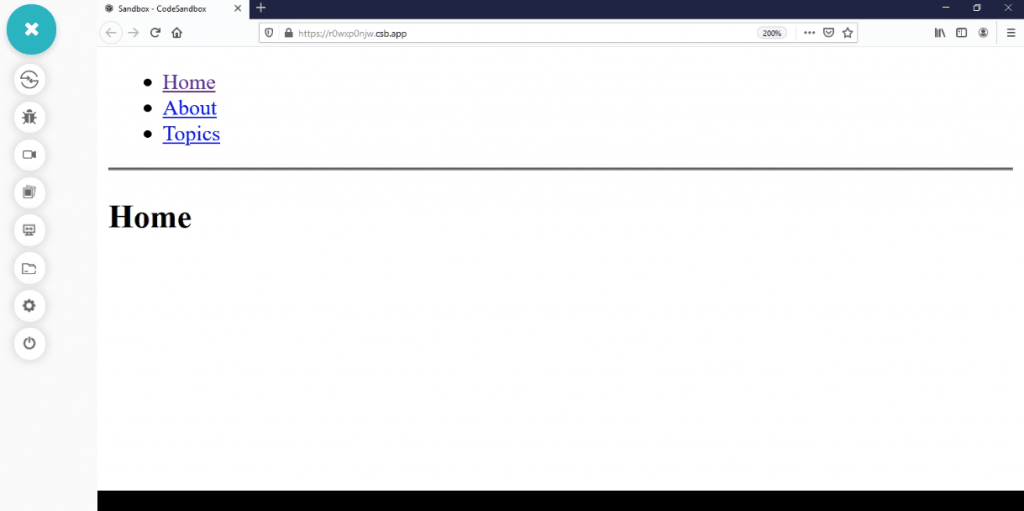
Example
Output
5. Rebass
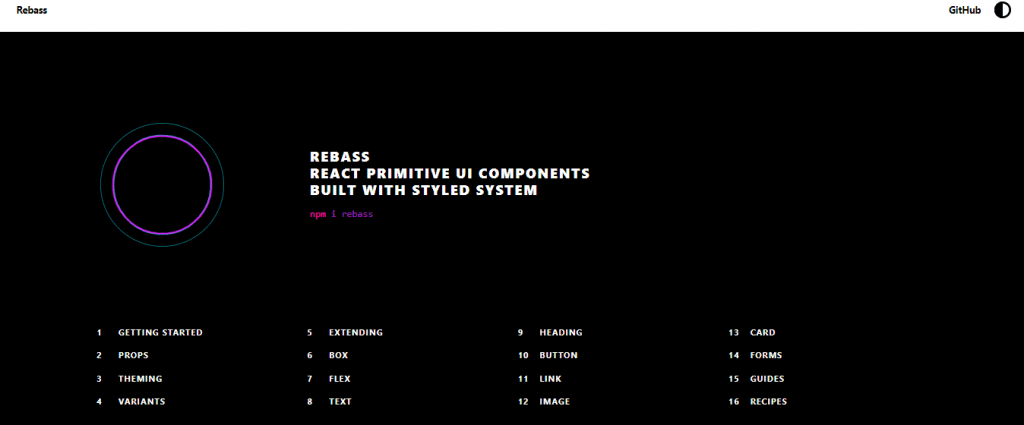
Nowadays, web development has evolved from the complex work of customizing CSS and HTML to dynamic components where styling is mostly auto-generated with the use of libraries. Rebass is one of the best grid libraries that provides UI components, leaving the developer to focus only on page development. It has more than 7.9k stars and 693 forks on GitHub.
Rebass has a theme provider, using which you can install themes that take user experience to a whole new level. The library is easier to adapt to. Developers will quickly get used to the codes and syntaxes. It can also integrate with other libraries to enhance your web app’s performance.
Installation
Example
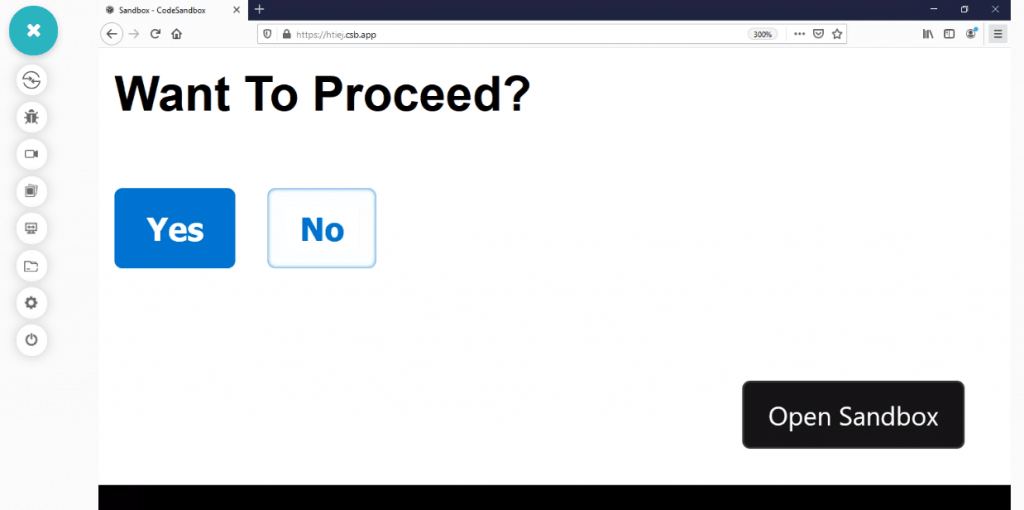
Output
6. Semantic UI React
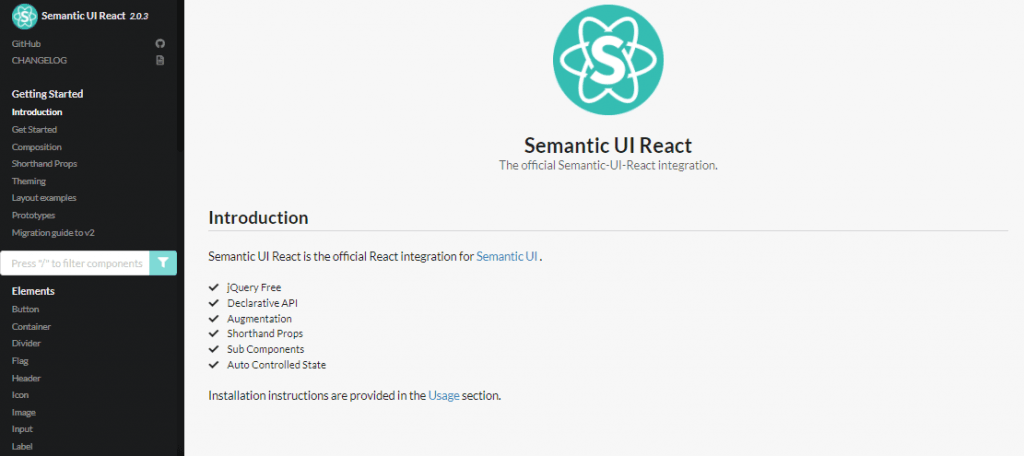
Like Bootstrap, won’t it be better to have a customized library developed by integrating React with Semantic UI? Well, we have another best component library, Semantic UI React. Its star count over GitHub is 13.2k and has 4k forks. The library is free from jQuery because since React has a virtual DOM, it is unwise to keep a library that manipulates DOM. With the Semantic UI React library, developers can easily create stunning and responsive designs with syntactically and coherent code.
There is no shortage of customizable elements, thus leading you to unleash uninterrupted creativity. However, despite all of its unique features, if you do not have hands-on experience in JavaScript, you may find the library a bit complex.
Now perform Semantic UI testing on LambdaTest platform and deliver pixel-perfect Semantic UI-based web experience.
Installation
Once the installation is complete, import the minified CSS file in your project.
Example
Output
7. React Motion
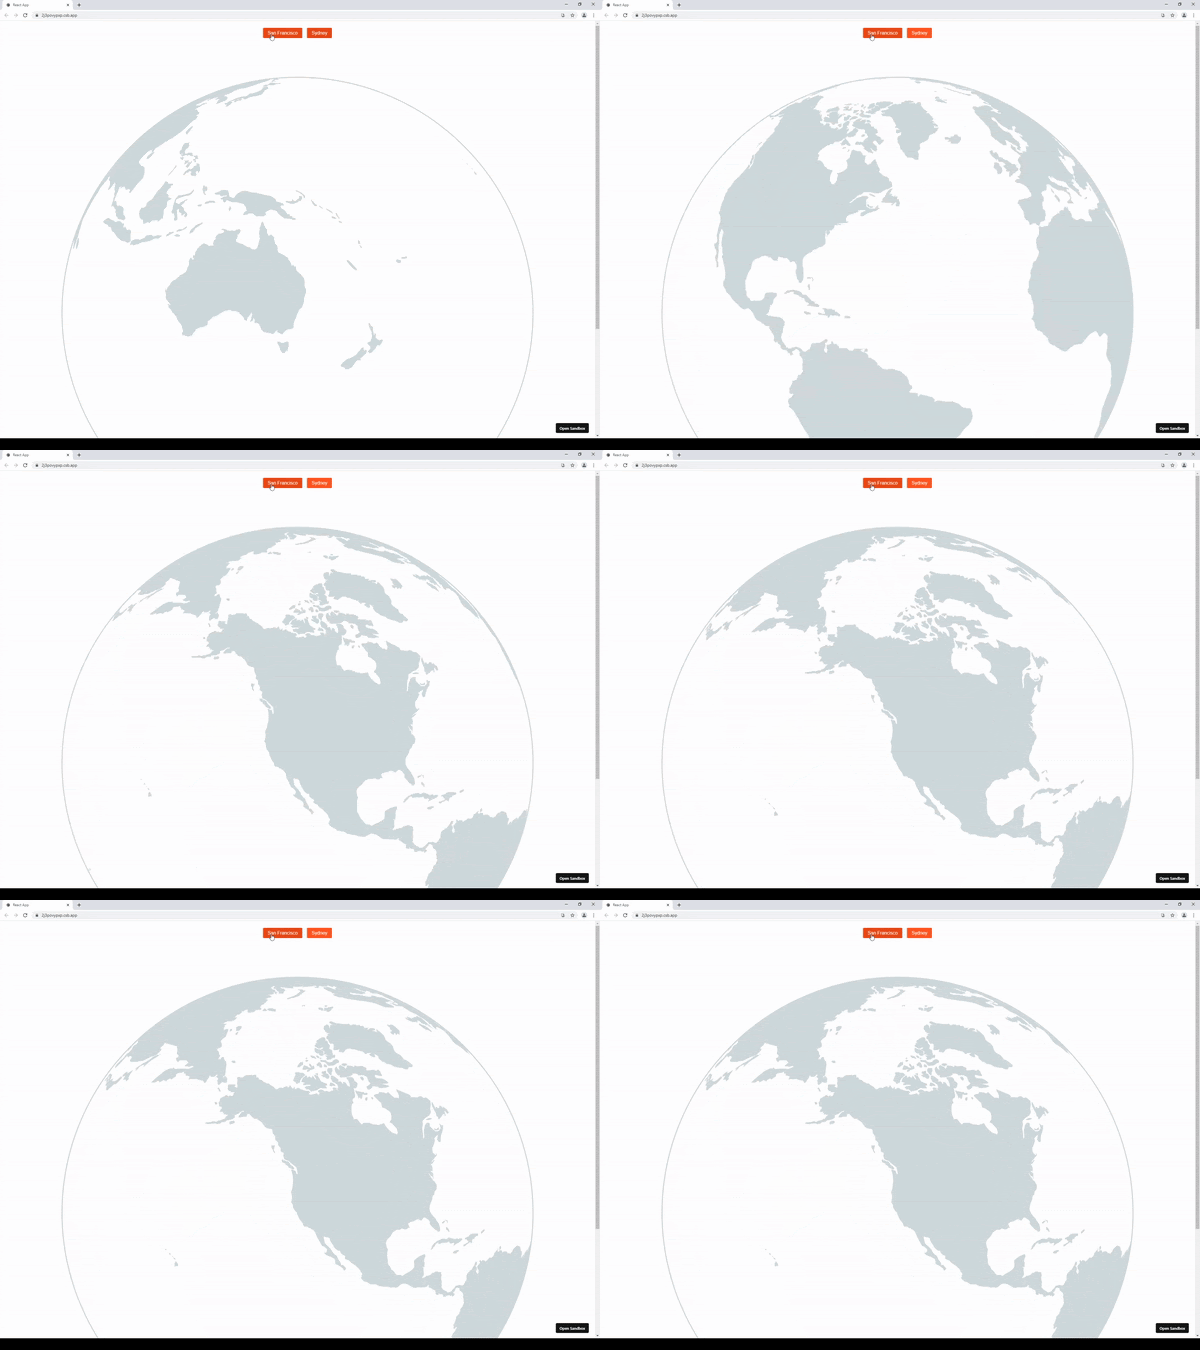
Do you want an easy solution for animating components in React? React Motion is one of the best React libraries you can find. Just by using the law of physics, the library helps you to create realistic animations. All you need to do is –
- Specify values for dampness and stiffness in one of the components that you exported.
- The library will take care of the rest by creating an endless possibility of animations.
- The icing on the cake? You don’t need to worry about interrupting animations. The API becomes simplified to a considerable extent.
React Motion has more than 21.6k stars and 1.2k forks on GitHub. The documentation is pretty easy to get started with, where you can find the source code of each component.
Installation
Example
Output
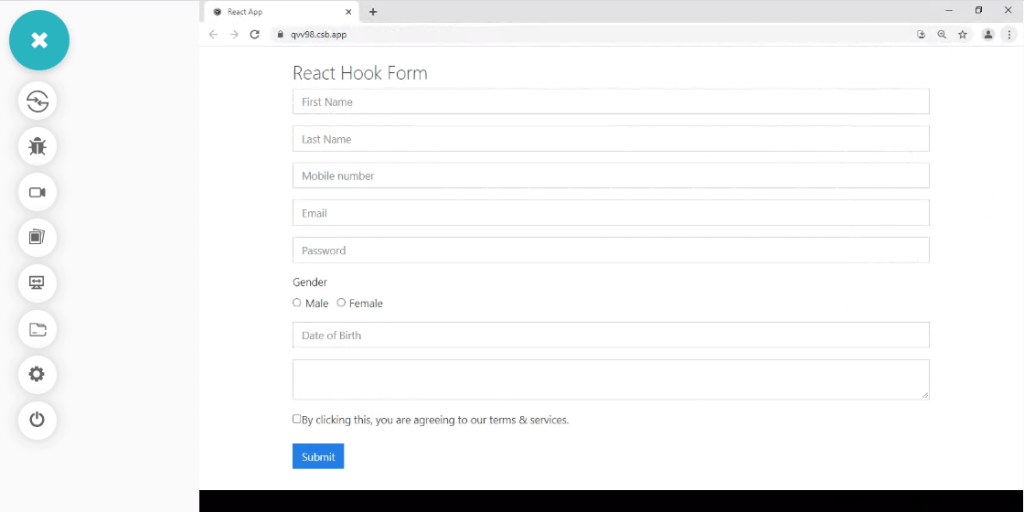
8. React Hook Form
Another best component library in our list is React Hook Form. With more than 38.8k stars on GitHub, as the name says, the library React Hook Form is used with the APIs of React hooks. But what exactly does it? The library aligns UI along with the standards of existing HTML, thus making form validation easier.
Often there are some native HTML inputs and uncontrolled components. The library brings them along. Developed with Typescript, it helps create a form data type, which is to support form values. By using this library, your form becomes error-free, minimizing the rendering time to a vast extent. There is also more. You can integrate and use it with the state management libraries of React.
Installation
Example
Output
9. Redux
When it comes to state management libraries, the one that comes to our mind is Redux. Redux also comes under the category of best component libraries with 60.3k GitHub stars and 15.3k forks. Although it is meant to be used with the library components of React UI, you can also use it with Vue, Angular, Ember, and other JS frameworks.
Redux helps to connect React components to pieces of state by decreasing the need for props or callbacks. The library is often termed as a developer’s best friend. It helps you to write consistent codes and is environment-friendly. You can also edit the code while your app is live. React Native has an official Redux library – React-Redux.
Installation
Example
Output
Start up with your free practical React Redux testing.
10. React 360
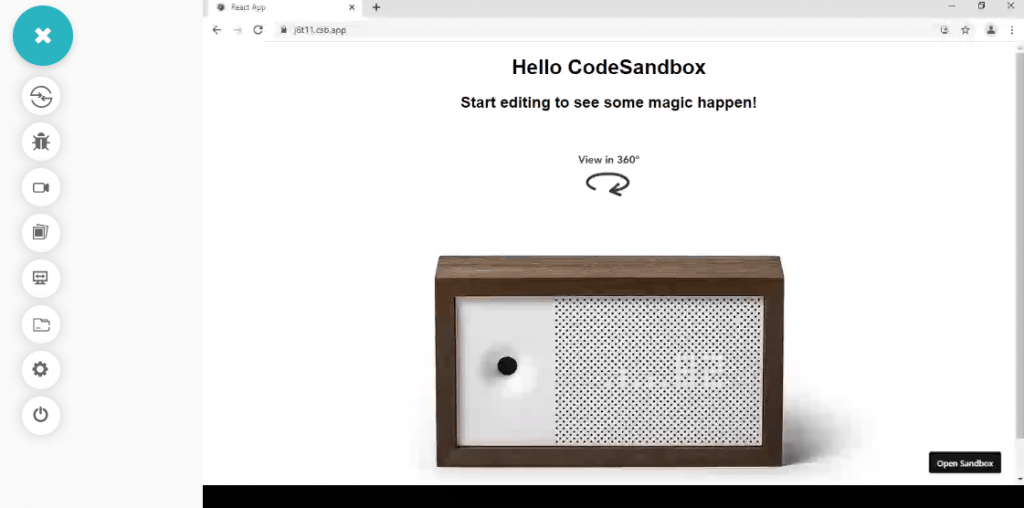
We live in the age of augmented and virtual reality. Nowadays, most businesses, especially retail or e-commerce, provide AR/VR experience to try out their product virtually. It would be pretty helpful if you could create an AR/VR experience in React, won’t it?
React 360 is yet another best React library to help you create VR and 360 experiences using React. Whatever you create runs smoothly on mobiles, desktop as well as VR devices. The goal of this library is to simplify the process of creating complex VR and 3D UI. Just like its predecessor, React VR, this library also boasts of providing an engaging experience to its users by using familiar concepts and tools.
Installation
Before installing the React 360, ensure you have NodeJS installed in your machine.
Example
Output
11. FABRICS React
Developed by Microsoft, Fabrics React is among the best component libraries that provide an MS Office-like experience. The components that you will find in Fabrics React are developed using the latest frameworks like SASS, ES6, and Webpack. All of the components are simplistic in design, thus making them easier to use.
Developers can use them by easily integrating with libraries like redux-form. You can use the library on all platforms like mobile, laptop, desktop, and even Office365 or OneNote. The FABRIC core is a set of SASS components combined with CSS classes, allowing access to various colors, animations, etc.
Installation
Example
Output
12. React Virtualized
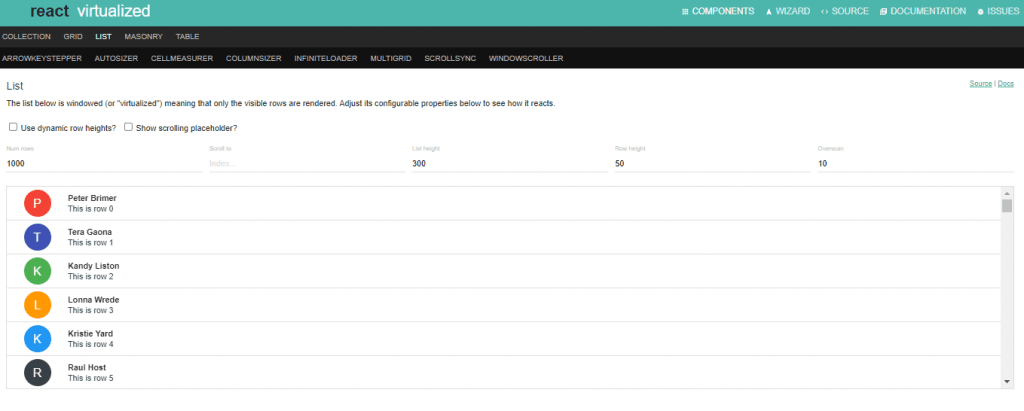
React Virtualized is among the best React grid libraries that target specific aspects of a user interface. With 25.7k GitHub stars and 3.1k forks, React Virtualized is developed for solving a single goal – render tables and list efficiently on your page. You may think that rendering a table is not that much difficult. Well, it is when your table has thousands of elements. The library is trying to tackle this kind of exceptional case.
In addition, web developers can add various JavaScript-based usability features to their interfaces, such as an infinite loader, window scroller, arrow key stepper, cell measurer, auto sizer, and so on.
Installation
Example
Output
13. React Desktop
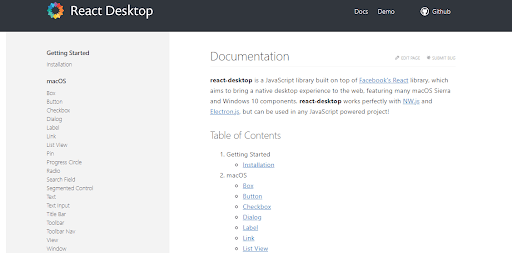
React Desktop is a JavaScript-based and library built on React. The goal of this library is to bring the experience of using a native desktop on the web. It supports multiple windows and macOS components like Checkbox, dialogue, radio, nav pane, etc. The library has a rating of more than 9.5k stars on GitHub.
React Desktop is one of the best React libraries to create web apps that help to provide various javascript Developers can effectively replicate the user interface provided by both Windows and macOS by using the UI components from the React Desktop library. It facilitates a streamlined process from a native desktop application to a web application.
Installation
Example
Output
14. Chakra UI

Chakra UI is a React component library that aims for developers to spend less time in writing codes and more time building a great user experience for the users. It gives you modular, accessible, and simple UI components that you need for building apps.
- The components are accessible and follow WAI-ARIA standards.
- You can customize the components easily to match your design specs.
- You will have both light and dark UI themes. The components are designed with composition as the primary goal. You can create new components easily.
- The community of Chakra UI is very active. You will get all the help required whenever you feel stuck.
Installation
Example
Output
15. React Final Form
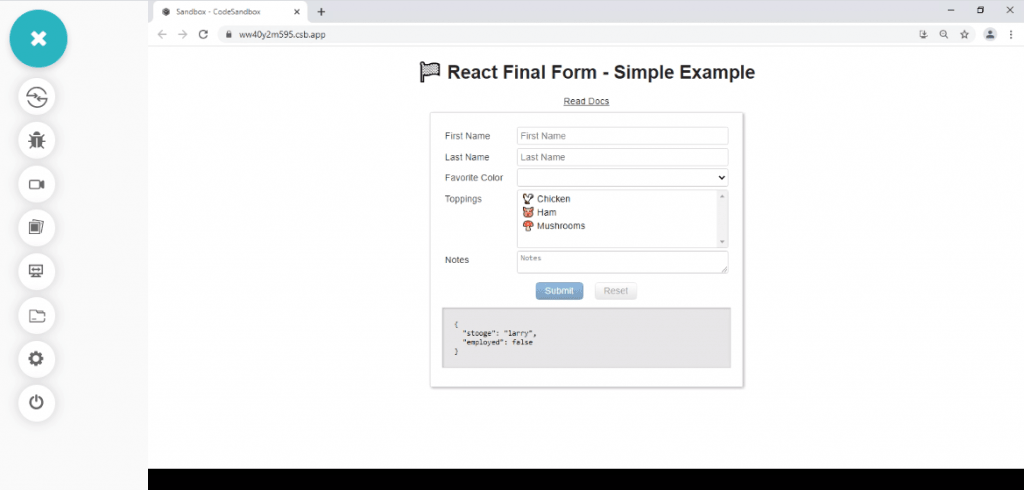
React Final Form is yet another best React component library. It is a subscription-based library for the state of form management in React. The library was designed to be modular. When your signup form has just a few fields, why do you need to download a large and complex code that is meant for handling hundreds of fields?
The developer just needs to put some pieces together and create a customized library based on their requirements. A developer should worry about bundle size if he thinks of performance. React final form provides a lean solution of form management with a library that occupies only 5.4kb. It offers hooks API so that you can flexibly compose the features of your form. The best feature of this library is, the form elements get notified whenever there is some change in the form’s state.
Installation
Via npm
Example
| import React from 'react' | |
| import { render } from 'react-dom' | |
| import Styles from './Styles' | |
| import { Form, Field } from 'react-final-form' | |
| const sleep = ms => new Promise(resolve => setTimeout(resolve, ms)) | |
| const onSubmit = async values => { | |
| await sleep(300) | |
| window.alert(JSON.stringify(values, 0, 2)) | |
| } | |
| const App = () => ( | |
| <Styles> | |
| <h1>🏁 React Final Form - Simple Example</h1> | |
| <a href="https://github.com/erikras/react-final-form#-react-final-form"> | |
| Read Docs | |
| </a> | |
| <Form | |
| onSubmit={onSubmit} | |
| initialValues={{ stooge: 'larry', employed: false }} | |
| render={({ handleSubmit, form, submitting, pristine, values }) => ( | |
| <form onSubmit={handleSubmit}> | |
| <div> | |
| <label>First Name</label> | |
| <Field | |
| name="firstName" | |
| component="input" | |
| type="text" | |
| placeholder="First Name" | |
| /> | |
| </div> | |
| <div> | |
| <label>Last Name</label> | |
| <Field | |
| name="lastName" | |
| component="input" | |
| type="text" | |
| placeholder="Last Name" | |
| /> | |
| </div> | |
| <div> | |
| <label>Favorite Color</label> | |
| <Field name="favoriteColor" component="select"> | |
| <option /> | |
| <option value="#ff0000">❤️ Red</option> | |
| <option value="#00ff00">💚 Green</option> | |
| <option value="#0000ff">💙 Blue</option> | |
| </Field> | |
| </div> | |
| <div> | |
| <label>Toppings</label> | |
| <Field name="toppings" component="select" multiple> | |
| <option value="chicken">🐓 Chicken</option> | |
| <option value="ham">🐷 Ham</option> | |
| <option value="mushrooms">🍄 Mushrooms</option> | |
| </Field> | |
| </div> | |
| <div> | |
| <label>Notes</label> | |
| <Field name="notes" component="textarea" placeholder="Notes" /> | |
| </div> | |
| <div className="buttons"> | |
| <button type="submit" disabled={submitting || pristine}> | |
| Submit | |
| </button> | |
| <button | |
| type="button" | |
| onClick={form.reset} | |
| disabled={submitting || pristine} | |
| > | |
| Reset | |
| </button> | |
| </div> | |
| <pre>{JSON.stringify(values, 0, 2)}</pre> | |
| </form> | |
| )} | |
| /> | |
| </Styles> | |
| ) | |
| render(<App />, document.getElementById("root")); |
Output
16. Styled Components
If you are using traditional CSS in your React app, you may often face problems by accidentally overwriting a selector that you have used at another place.
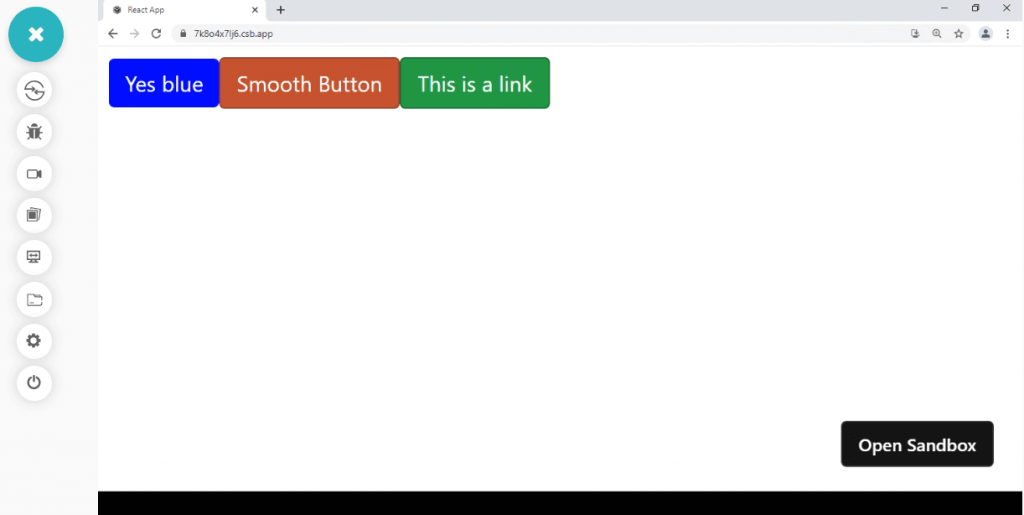
Styled Components is one of the best React libraries that help you to organize your project. You can build reusable components to customize the look of your app. And the issue that we discussed earlier? You can avoid that by directly using a CSS syntax inside your components. The library is quite popular and used by popular sites like IMDb, Reddit, Vimeo, Coinbase, and many others.
Installation
Example
Output
17. OnsenUI

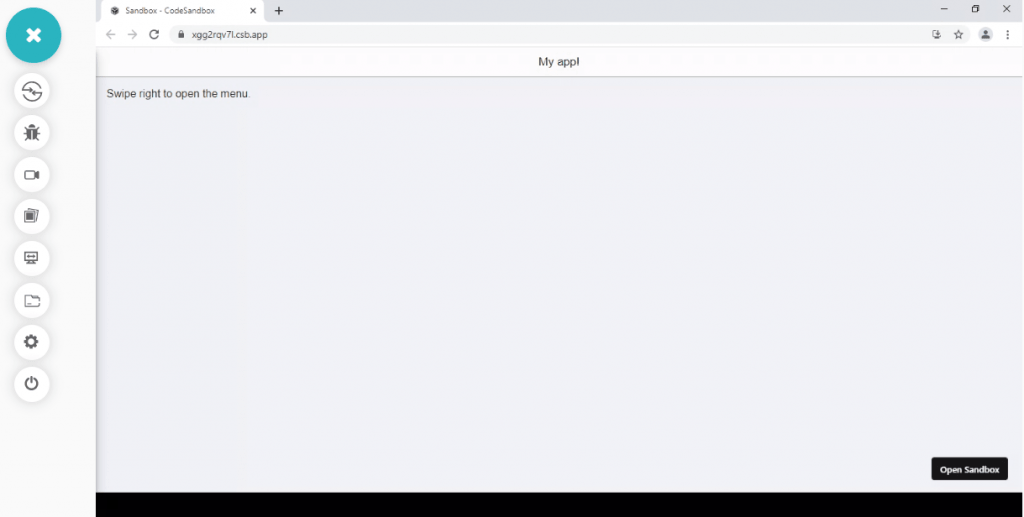
Nowadays, almost all companies work with developing cross-browser compatible mobile apps. If you are an app developer who has often faced the pain of dealing with device or OS-compatible issues, you should be interested in OnsenUI.
OnSenUI is yet another best component library for React that uses JavaScript and HTML5 and integrates with React, Vue, and Angular. The components get styled automatically based on the platform. It means a single source code works in both Android and iOS. Although the collection of elements use pure CSS, there are custom elements for helping you out if you want some more detailing.
Installation
Example
Output
18. Enzyme
We have Jasmine or Karma for testing JavaScript or Angular. A library dedicated to testing React apps would be great. Enzyme is among the best React libraries that allows you to manipulate, transverse, and simulate the output of React components so that you achieve the desired result. Unlike other testing libraries, it is more straightforward and valuable.
It has the power to mimic jQuery API and DOM, thus more flexible and intuitive. Enzyme also offers a unique API known as Shallow Rendering API. This API allows you to test only the components that you feel to be necessary as per your requirement. Thus ensuring that your application is not overloaded by testing multiple components at any point in time.
Installation
Example
Output
19. React Admin
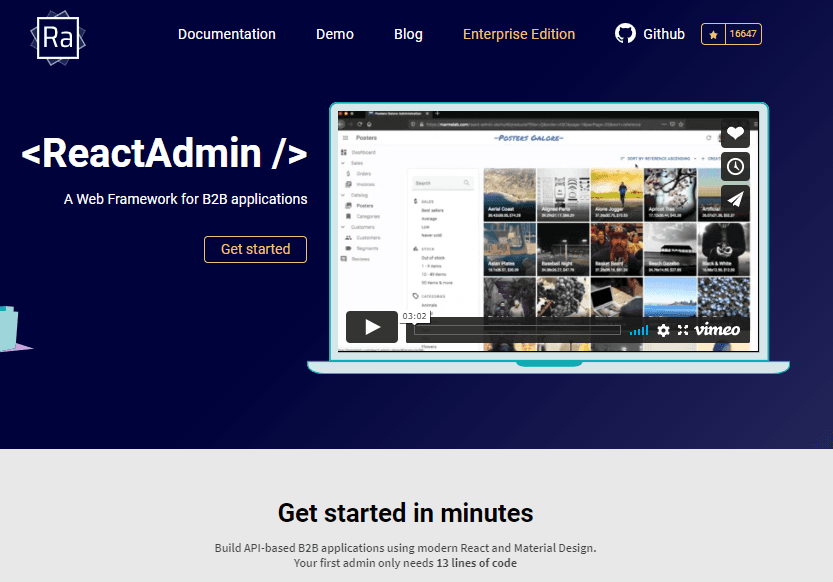
With over 23.6k stars on GitHub, React Admin is also considered one of the best React libraries to use if you are developing B2B admin apps based on GraphQL or REST API. The library allows you to customize the design of such apps. It is built with a collection of well-known libraries like Material UI, Redux, and React Router.
Although developers mostly use the free version, React Admin also has an enterprise version. The enterprise version provides professional support from the creators, along with access to specific components of private modules.
Installation
Example
Output
20. React Toolbox
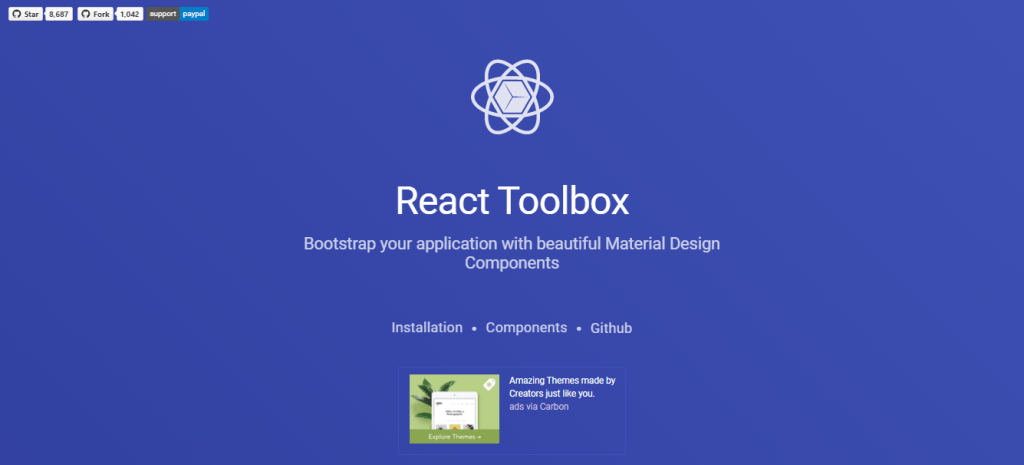
React Toolbox is a collection of React components that work by implementing Google’s material design. Powered by CSS, the library integrates with your webpack workflow., apart from giving you the liberty of using any other module binder.
While working with this library, you can import the components in bundles, or, if you want to skip importing unwanted bundles or CSS, you can import them in raw form.
Installation
Example
Output
21. React Suite
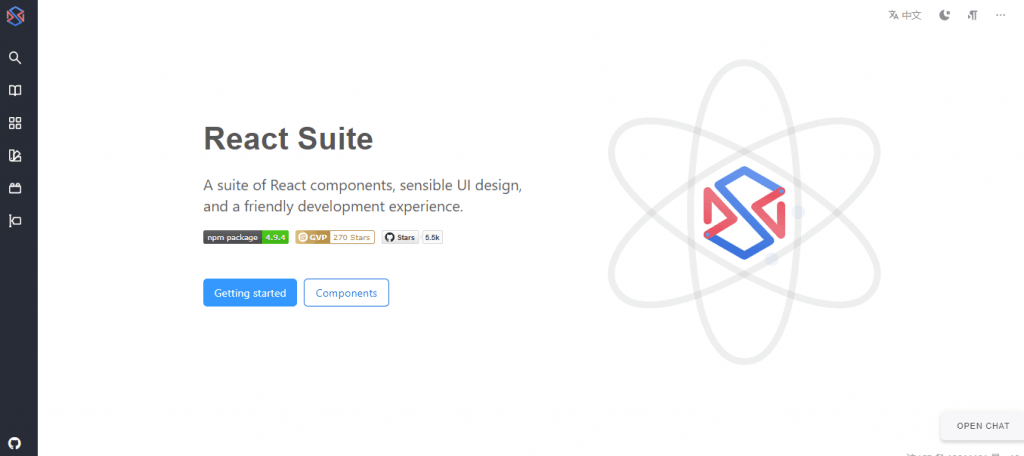
React developers prefer a library that is designed not only for UI but also backend and middle platforms. React Suite is also considered one of the best React libraries that provide those mentioned above all the necessary components to create an interactive app and a friendly experience for a developer.
The library supports all major browsers like Chrome, Edge, IE, Firefox, and Safari. However, IE 9 is no longer supported. Apart from cross-browser support, the library also supports server-side rendering. If you are using React suite, you will get the support of Next.js for building web apps.
Installation
Example
Output
Wrapping Up!
Once you’ve developed the application with any of the above-mentioned frameworks, you can perform browser compatibility testing of your web application to check whether it renders correctly across different browsers and operating systems. LambdaTest is an AI-powered test orchestration and execution platform that enables you to test your website across 3000+ browsers and OS combinations.
You can also perform mobile responsive testing of your website to check its responsive web design. LT Browser is a developer-friendly tool that lets you check your website across 50+ pre-built device viewports for mobiles, tablets, desktops, and even laptops.

That’s all from our side. Although there are multiple other React libraries that developers find helpful, we have discussed the best ones. Also, let us know if you have used any other library that surpasses the usability of the ones mentioned in the list. We hope you had a pleasant experience reading this blog, and it proves to be valuable for any React developer. Learn to implement react testing with this react end to end testing guide.
Got Questions? Drop them on LambdaTest Community. Visit now


