Making Testing Fun with Playwright [Testμ 2023]
LambdaTest
Posted On: August 22, 2023
![]() 6026 Views
6026 Views
![]() 11 Min Read
11 Min Read
The current testing state needs an enjoyable developer experience and powerful tools. It needs more test writing, code deployment, and resource inefficiencies. There is a need for a solution that makes end-to-end testing more accessible, efficient, and confidence-inspiring for developers.
Max Schmitt has talked about how Playwright can be more fun helping you write those tests and have more confidence in your code. And how easy it is to start with end-to-end testing using Playwright. Along with testing, Max Schmitt also guides you through the VS code extension, the locator picker to help us best locate an element on the page, and codegen, which will generate your test code on user interaction.
Let’s dive into the learning process of the playwright with Max Schmitt, covering the aspects of end-to-end testing and fun learning. If you’re looking to improve your playwright interview skills, check out our curated list of questions and answers at Playwright interview questions.
About the Speaker
Max Schmitt is a Senior Software Engineer at Microsoft, where he contributes to the Playwright team. Passionate about Open Source and developer tooling, Max is dedicated to improving end-to-end testing for web applications, making their setup seamless, the execution non-flaky, and their maintainability straightforward.

If you couldn’t catch all the sessions live, don’t worry! You can access the recordings at your convenience by visiting the LambdaTest YouTube Channel.
Max started with a kickoff guide, helping our viewers gain insight into the session and our learning points. Max started with the installation of the Playwright plugin using VS Code.
Agenda
- VS Code extension
- Locating elements in Playwright
- UI Mode
- GitHub Repo
- Demo
VS Code Extension
Max started by guiding his viewers and helping them install the plugin, downloading the Playwright from the marketplace or the Extension tab from VS Code. He also addressed that having an extension will help you run, write, and debug tests from VS Code.
Max has been navigating through end-to-end testing using Playwright using the VS Code extension. Check now: pic.twitter.com/BA2eHCf13W
— LambdaTest (@lambdatesting) August 22, 2023
Max added an extension to the VS Code to do the same, following the mentioned steps.
- Open the VS Code and click on the extension icon from the left-hand side.
- Search Playwright in the search bar; the extension will be displayed. Click on the Install button.
- To run the installation, follow the command.
- Select Test: Install Playwright. Then, from the drop-down, select the browser you want to run your test on.
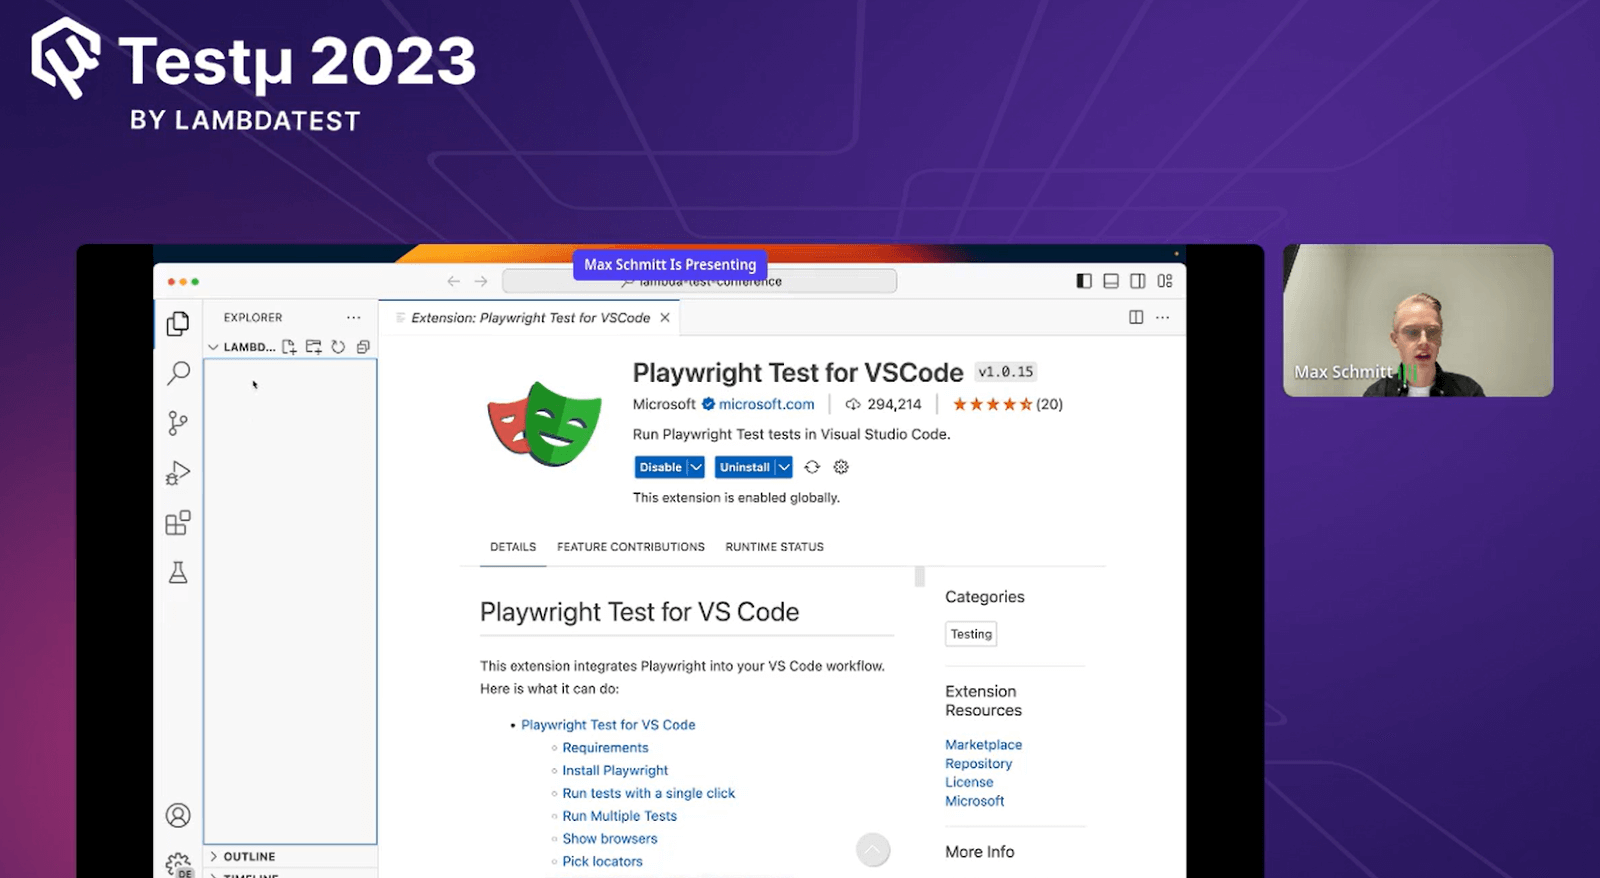
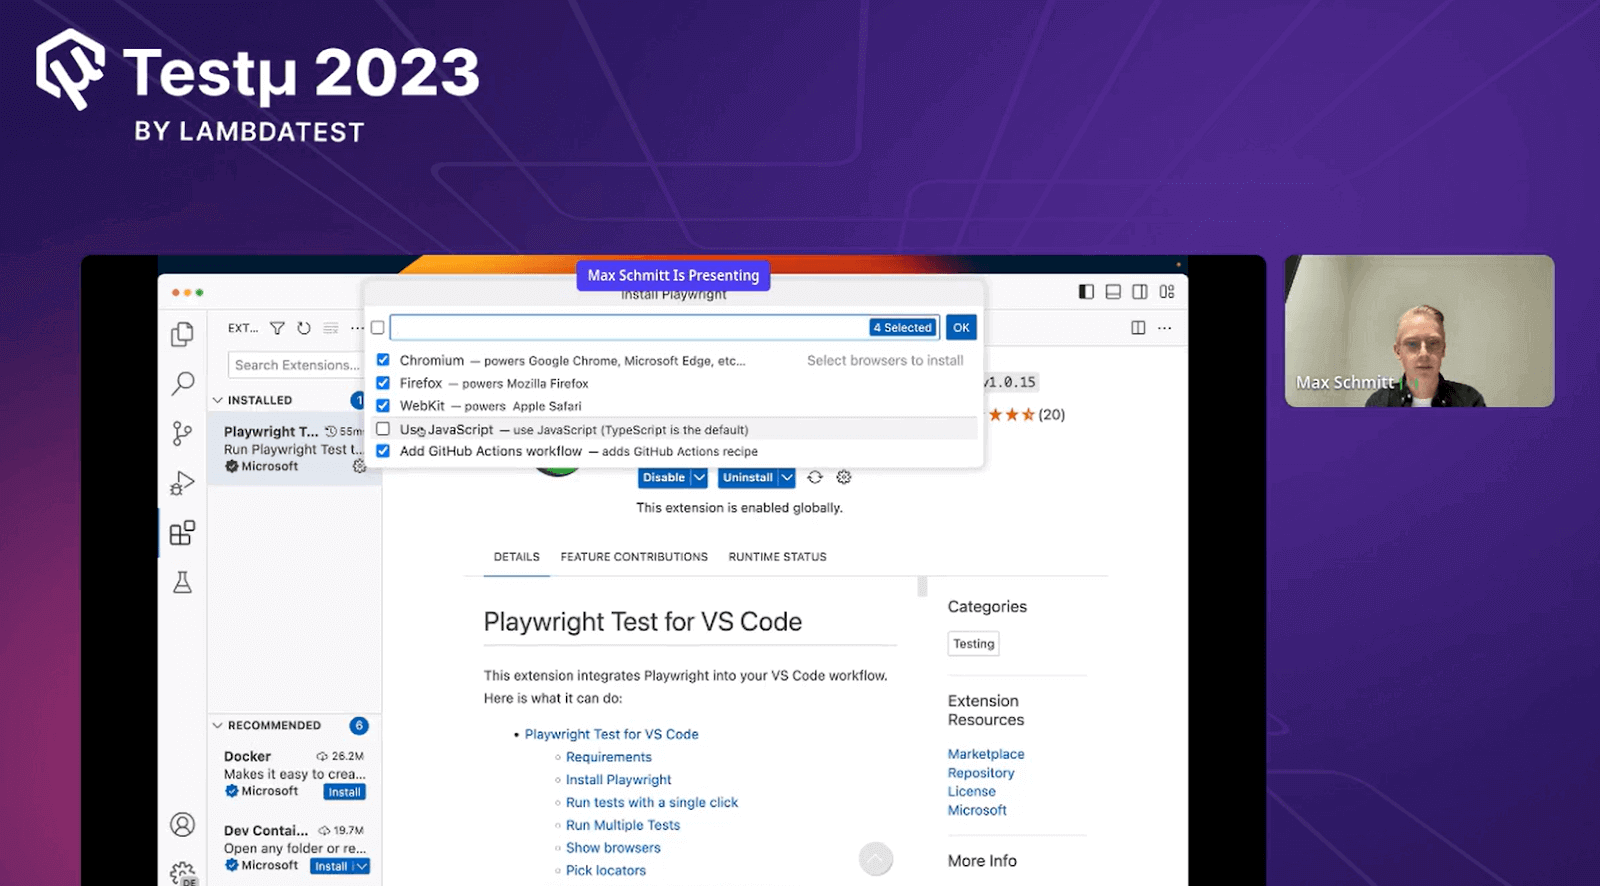
Max mentioned that he would like to test on all three browsers, and he wants to use TypeScript as he no longer prefers using JavaScript. Max preferred TypeScript. He also mentioned GitHub, which he will discuss further.
Writing Tests
Before writing the code, you must create a project. Once you run the install command, Choose between TypeScript or JavaScript, then give a name for your test project and Add a GitHub Actions workflow to run tests on CI efficiently.
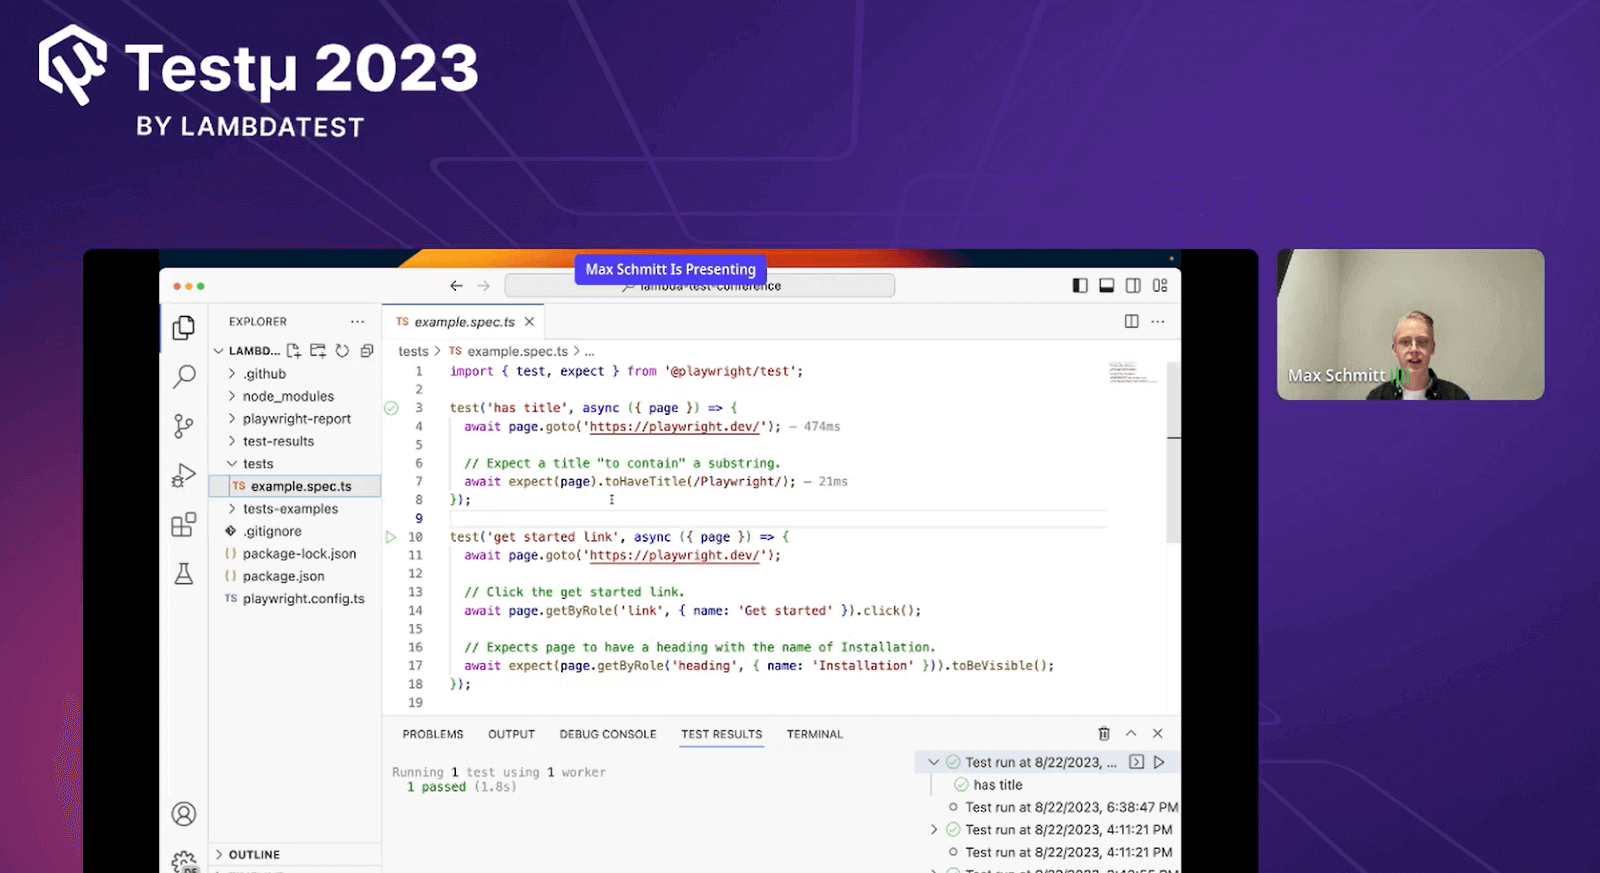
Since Max started with his existing example file, he has referred to the official site of Playwright to get the sample code.
Want to get started with Playwright? Join the live demo session! pic.twitter.com/glkRPFQSnB
— LambdaTest (@lambdatesting) August 22, 2023
Max briefed about the code that the code is created using Playwright’s testing library to automate interactions within web browsers and conduct result assessments on web pages.
The explanation code goes as follows.
- The first line of the code is the Import statement. It imports functions from “@playwright/test” for testing.
- The second set of code verifies the title of a page, while the third line clicks a link and checks if specific content appears.
- The tests are executed using Playwright’s Runner, which opens the browser, runs tests, and reports results.
Running Tests
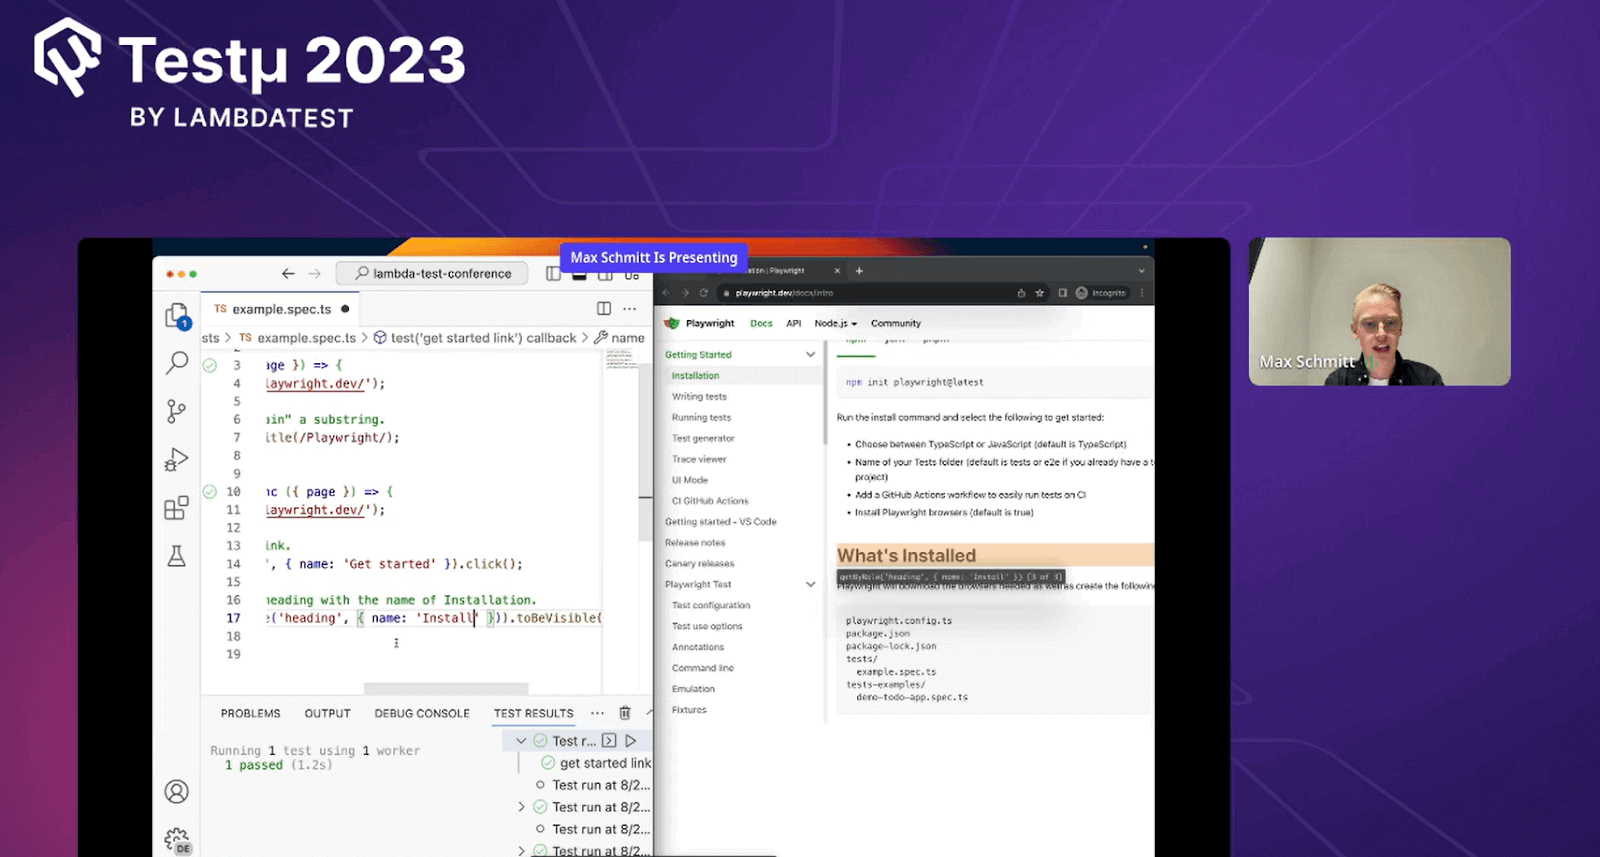
There are many ways to run the test using UI mode and CLI. Max has used UI mode to show how to debug by having the site UI and the code side-by-side.
Execute your tests in UI Mode for an enhanced developer experience featuring time-travel debugging, watch mode, and additional benefits. To do so, you follow the command.
Output
Debugging Tests
As Playwright operates within Node.js, you can debug it using your preferred debugging methods, such as employing console.log, utilizing your integrated development environment (IDE), or directly within VS Code through the VS Code Extension. Max, for instance, used VS Code to run the tests directly.
Locating Elements
The Playwright provides various built-in ways to locate elements. For robust tests, it’s advised to give importance to attributes that users interact with and clear agreements like using page.getByRole().
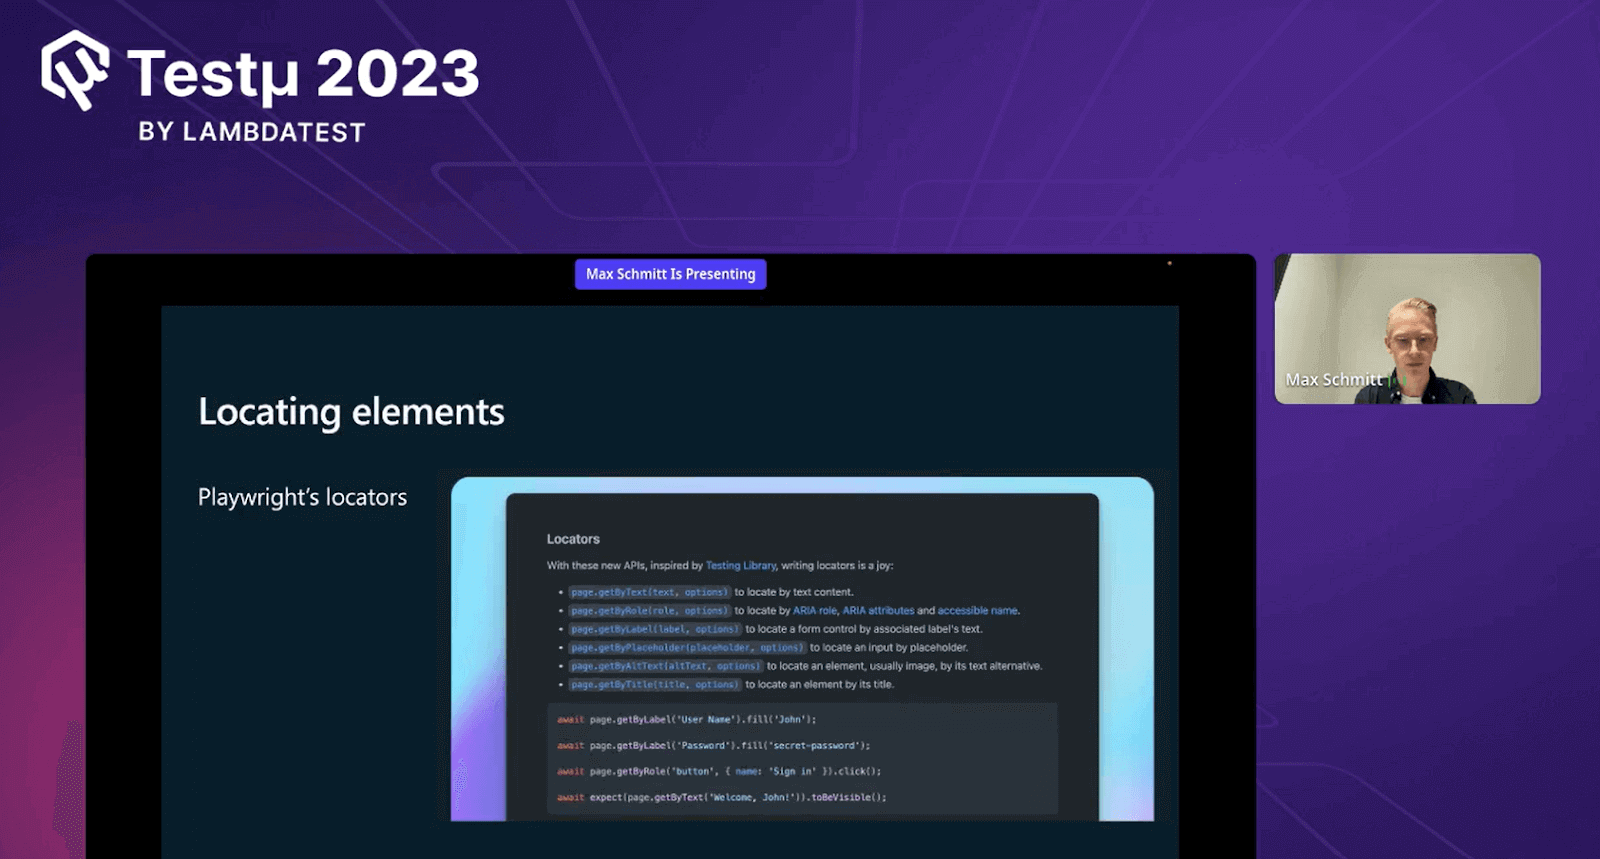
Max demonstrated the locator functionality for a button using page.getByRole().
Max has highlighted some of the most commonly used locators like Locate by role, Locate by label, Locate by test id, and more. Visit the official Playwright documentation to get complete insight on each locator.
Test Reports
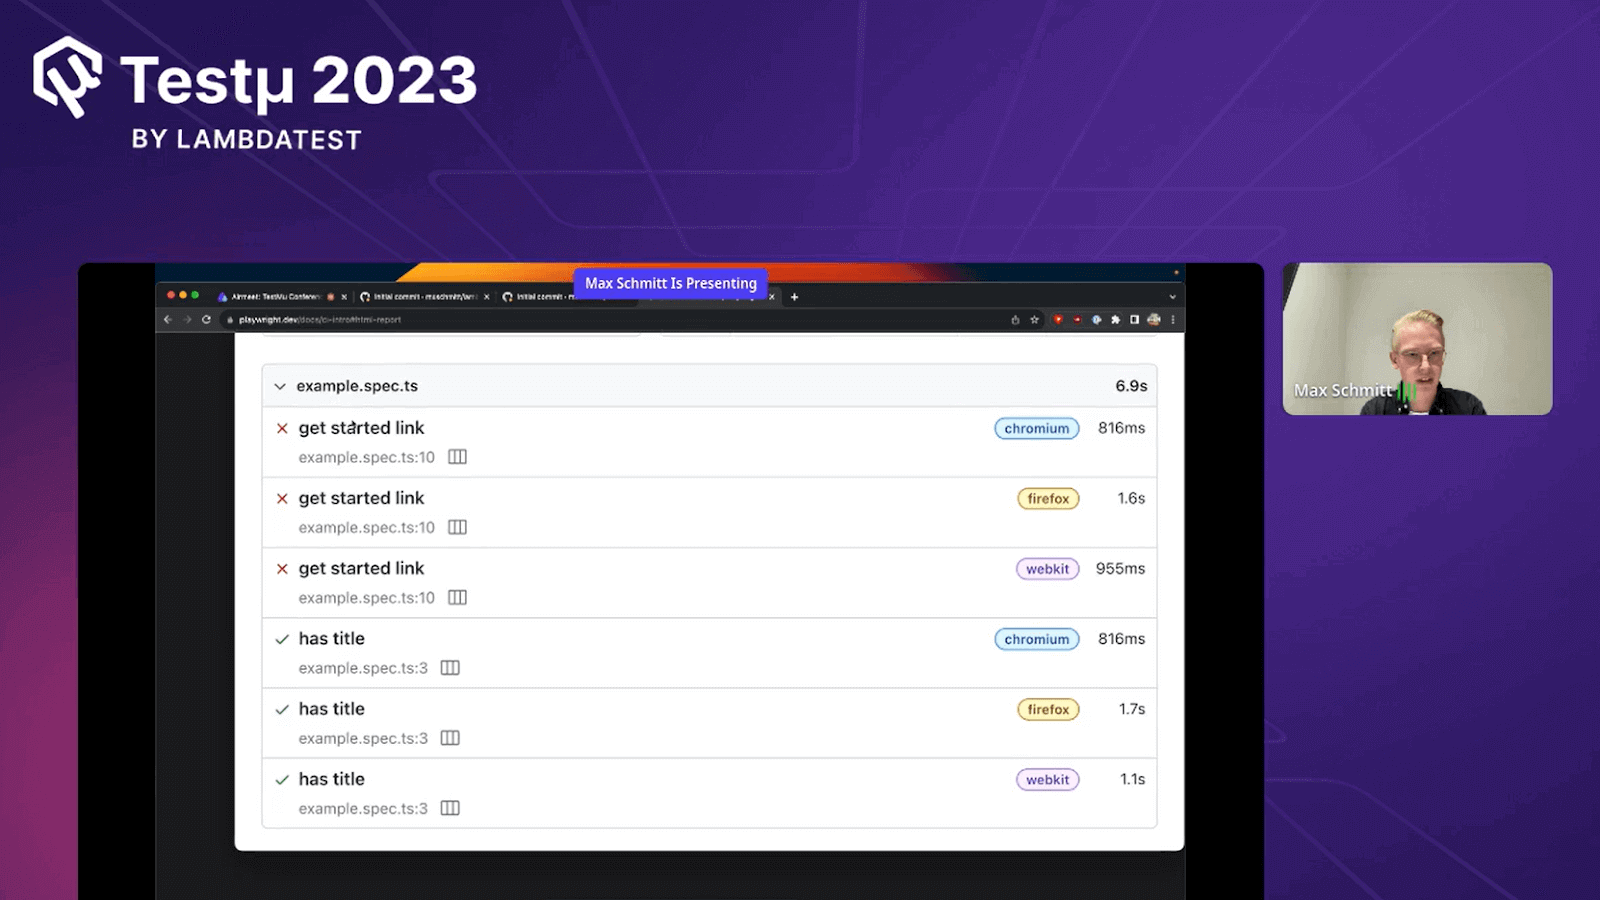
The HTML Reporter provides a comprehensive test report that lets you filter results by browsers, passed, failed, skipped, and unreliable tests. The HTML report is automatically displayed when tests fail.
Test Generator
This feature presents two windows: a browser window for interacting with the target website and the Playwright Inspector window. Within the Inspector, you can record, copy, clear, and even switch the language of your generated tests.
Max has explained a simple example to his viewers: Record by Cursor.
Record by Cursor
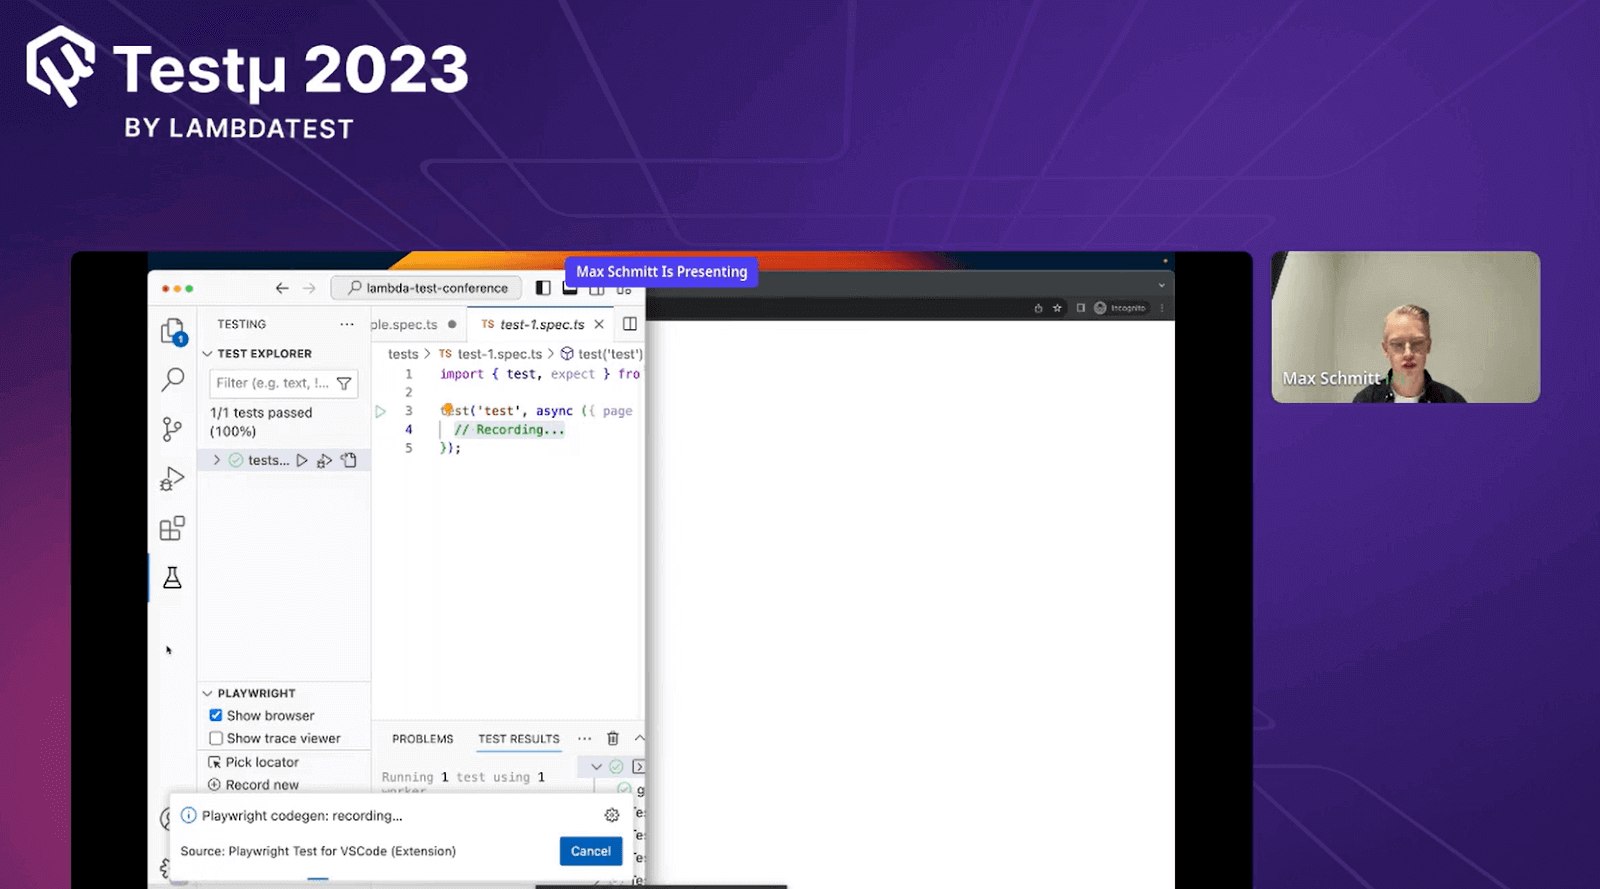
If you want to capture actions starting from a certain point in your test, just put your cursor where you want to begin recording more actions. Then, go to the Testing sidebar and press the “Record at cursor” button. If your browser window isn’t open yet, start the test with the ‘Show browser’ option on, and after that, click the “Record at cursor” button. This way, you can add actions to your test from that specific spot.
UI Mode
UI Mode in Playwright offers an interactive way to explore, run, and debug tests with time travel capabilities and a watch mode. Test files are organized in the sidebar, allowing you to execute, view, and debug each test individually. You can filter tests by text, tags, status, or projects. The mode provides a detailed test trace, action-by-action hover, and the option to view the DOM snapshot separately for improved debugging.
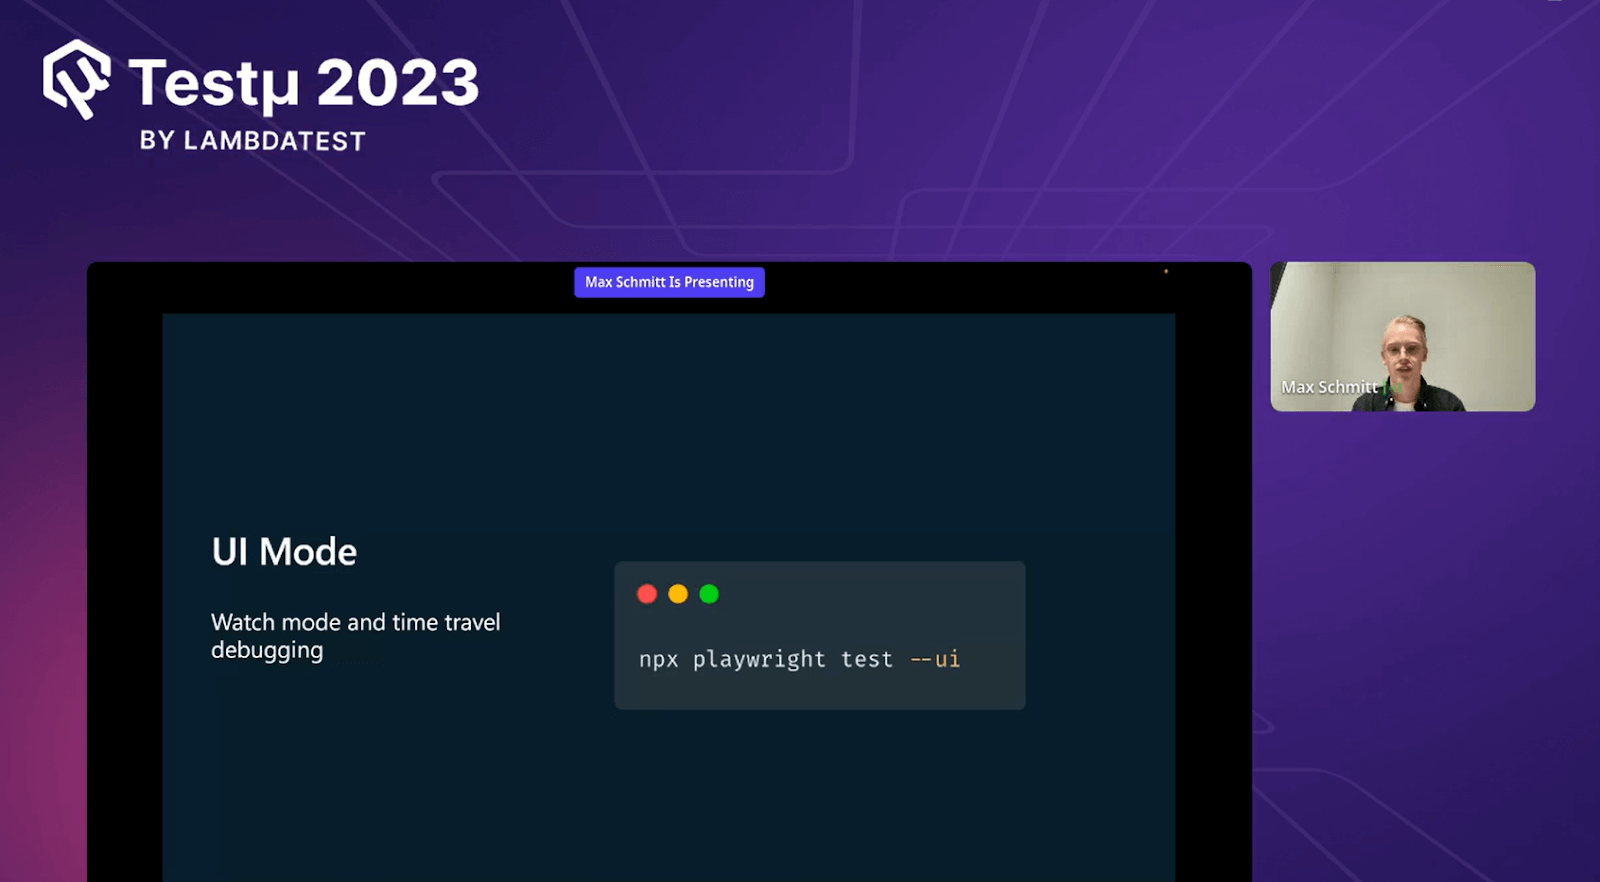
Max runs the command in the terminal to open the UI mode.
Max deep dives into how to use retry mechanism in Playwright. More details at https://t.co/Cv48uN6uCR pic.twitter.com/5u8vlnHYOT
— LambdaTest (@lambdatesting) August 22, 2023
Viewing Trace
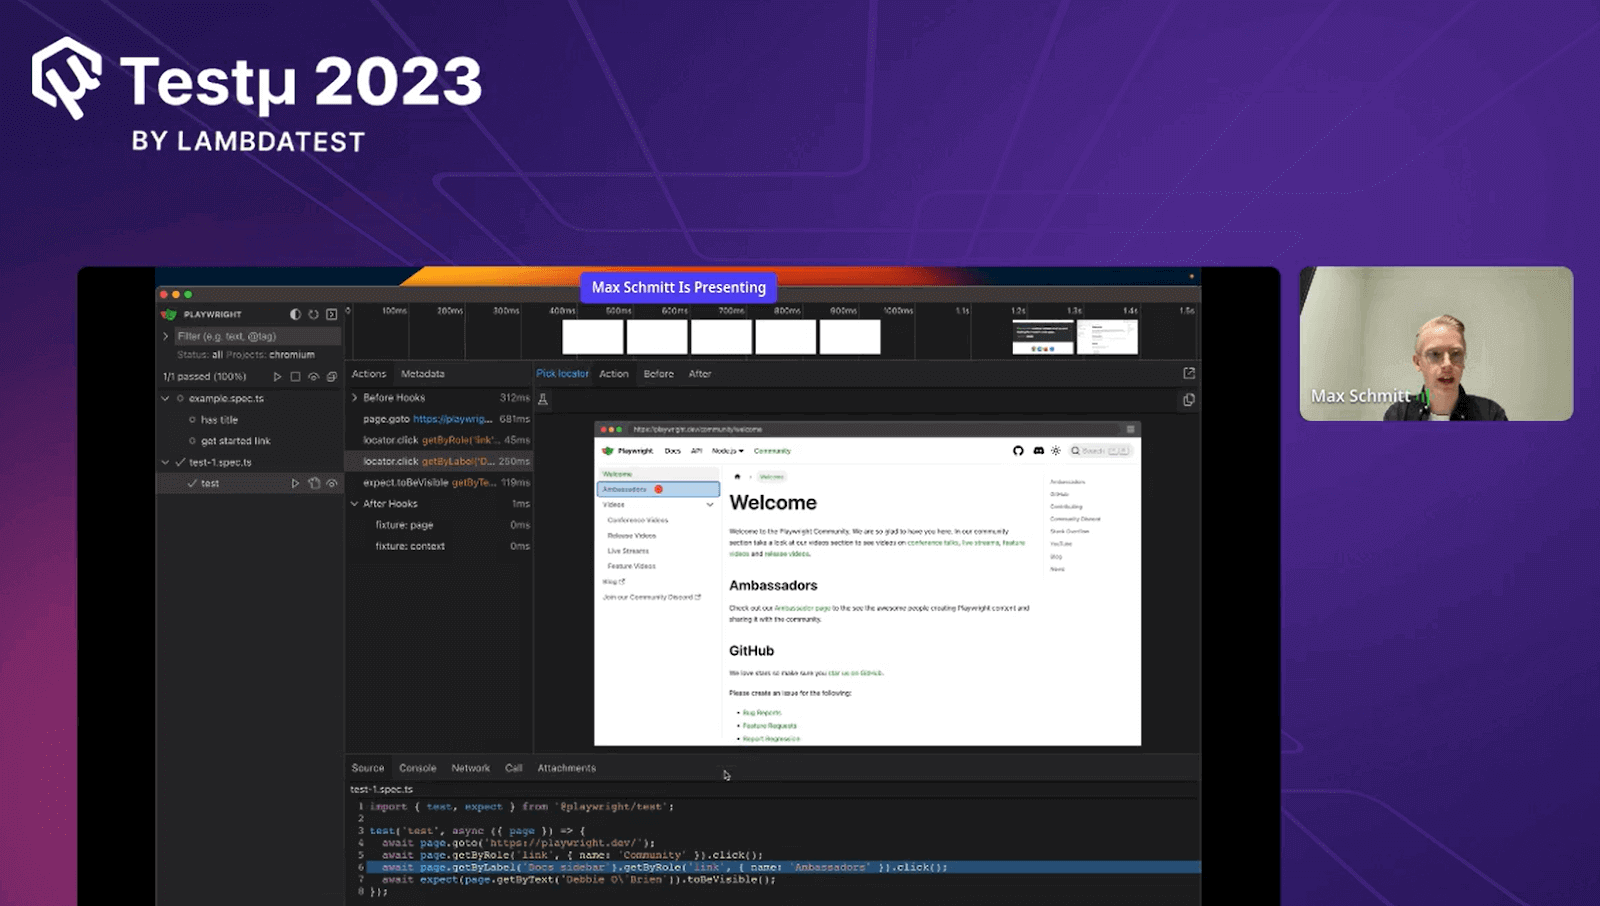
Review your test traces by navigating through each action on the timeline or hovering over them. This lets you observe the page’s state before and after each action. You can examine logs, source code, and network activity at every step.
The Trace Viewer creates a snapshot of the DOM, enabling you to interact with it and access developer tools as needed.
Push to GitHub
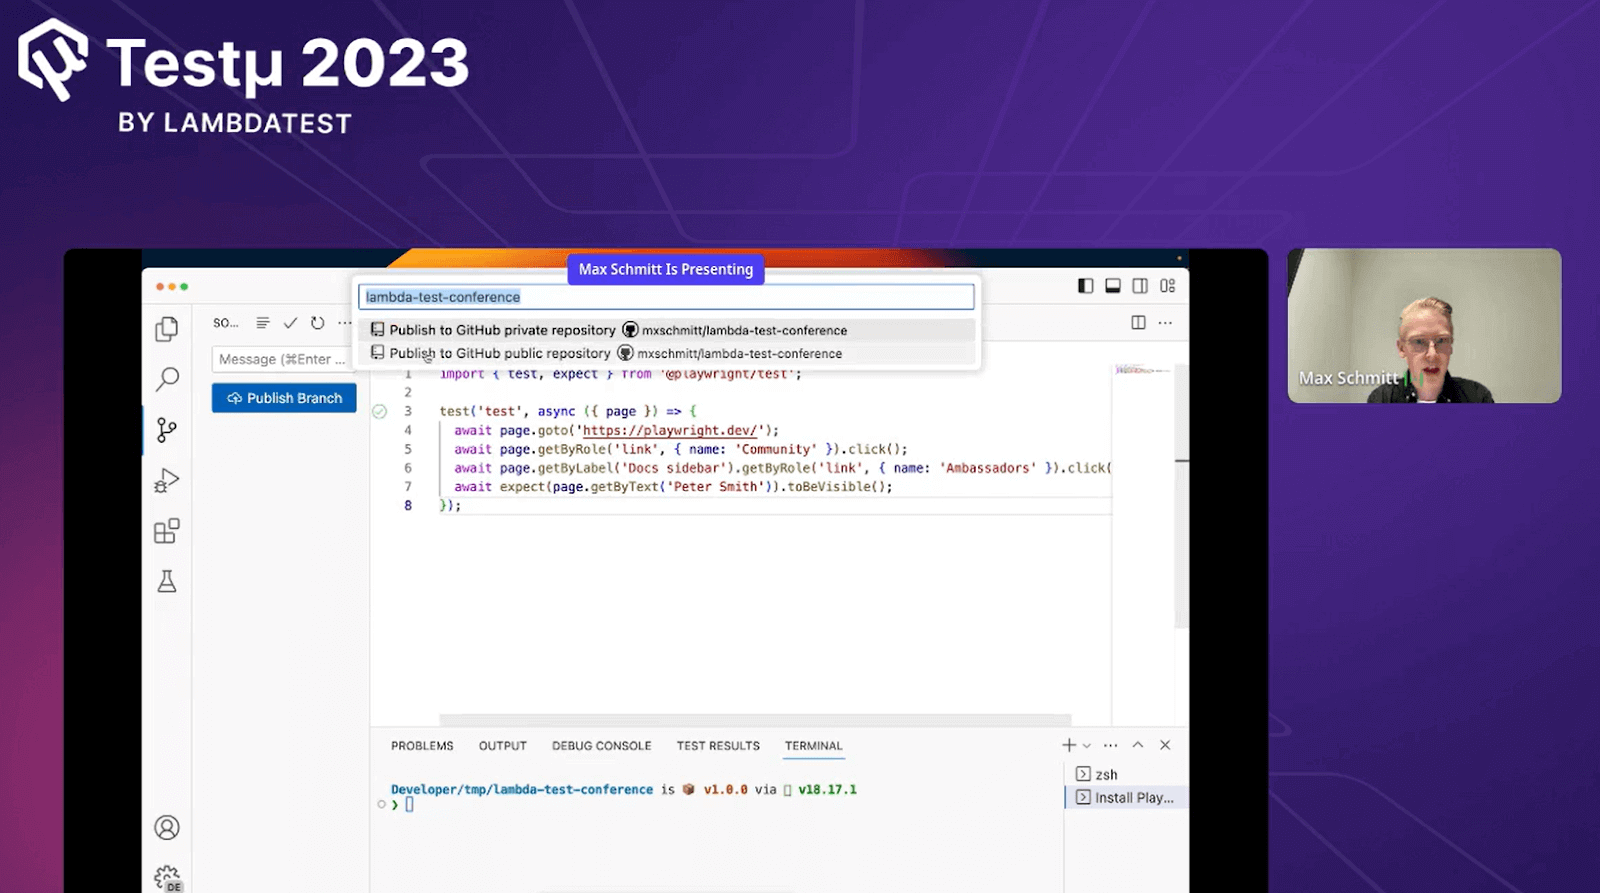
Max gave a complete demo on creating a repo and pushing code to the new repository. He discussed the GitHub workflow he started with the Playwright installation process, including the GitHub Actions setup, by stating it is the users’ choice. This results in a playwright.yml file being generated within a .github/workflows folder. This configuration ensures that your tests are automatically executed for every push and pull request to the main/master branch.
GitHub Action Workflow Setup
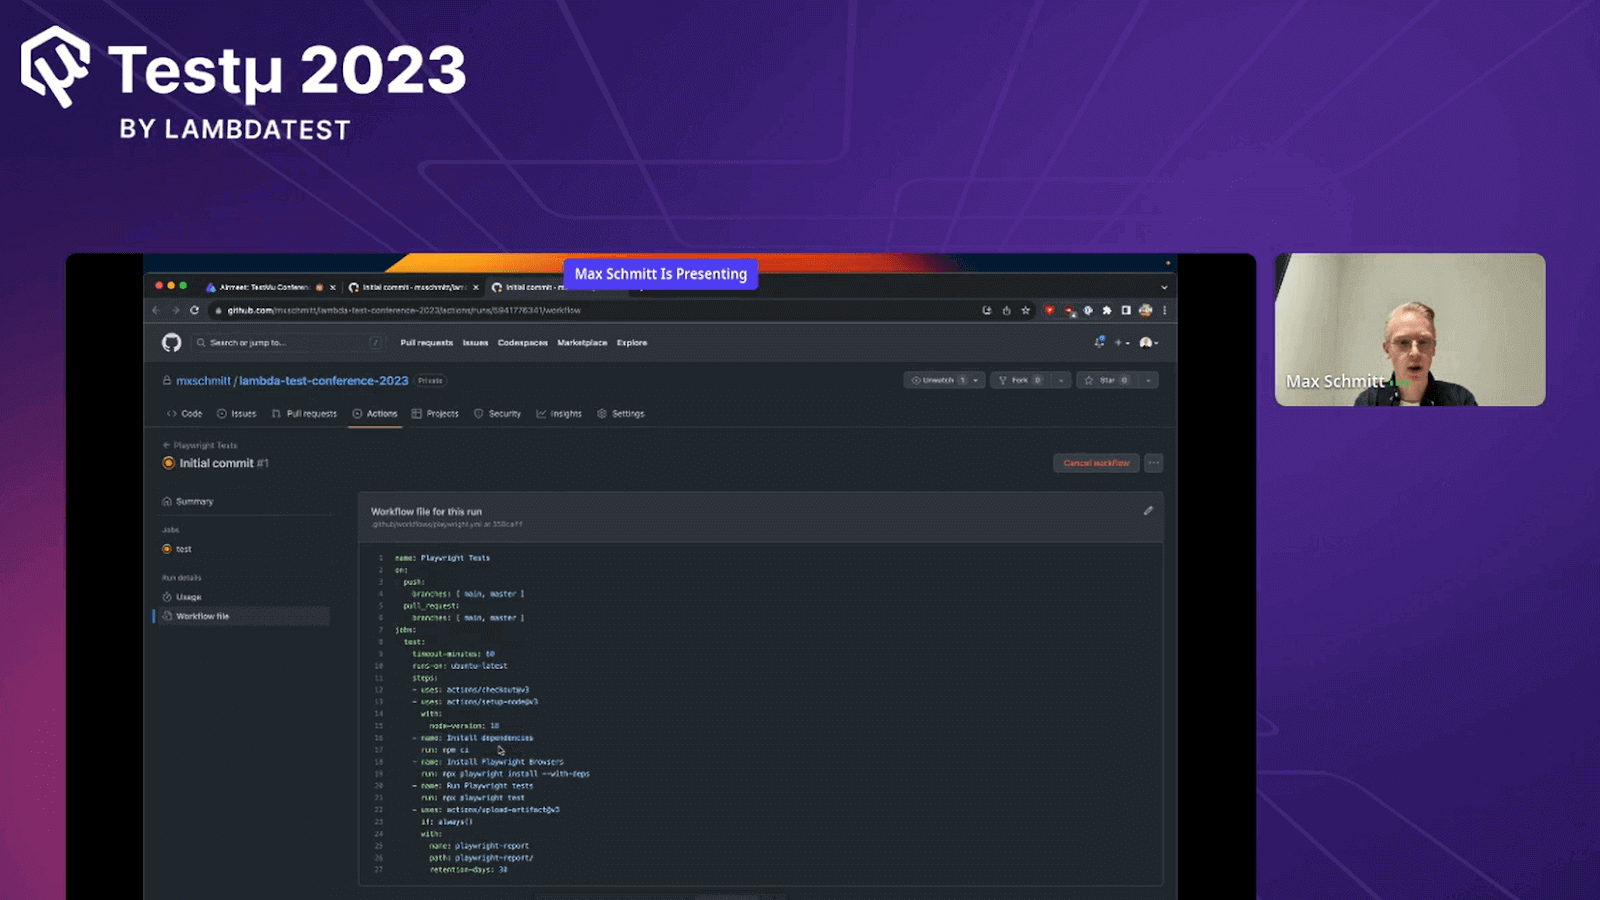
Max shared a useful guide with the viewer on creating a GitHub Action Workflow for Playwright. He explained how to set it up by creating a special file in the repository, essentially giving GitHub instructions. This allowed tests to run when new code was added, even on different systems like Windows or Mac. He focused on the importance of proper Playwright setup and guided them through adding test steps. Viewers could then check outcomes in GitHub’s “Actions” section.
The above set of instructions helps the workflow install all dependencies, set up Playwright, and then execute the tests. Additionally, it generated the HTML report.
Create Repo to Push to GitHub
Max began by establishing a GitHub repository. He used his existing repository to upload all the code during the session. For those interested in creating a new repository, he recommended following the instructions on GitHub. He also emphasized the importance of initializing a Git repository using the command “git init.” This simple step allows you to include, confirm, and share your code within the repository.
Opening the GitHub Action Workflow
Max guided his viewers to click on the Actions tab. This is where they could determine whether their tests had passed or failed.
Viewing the Test Log
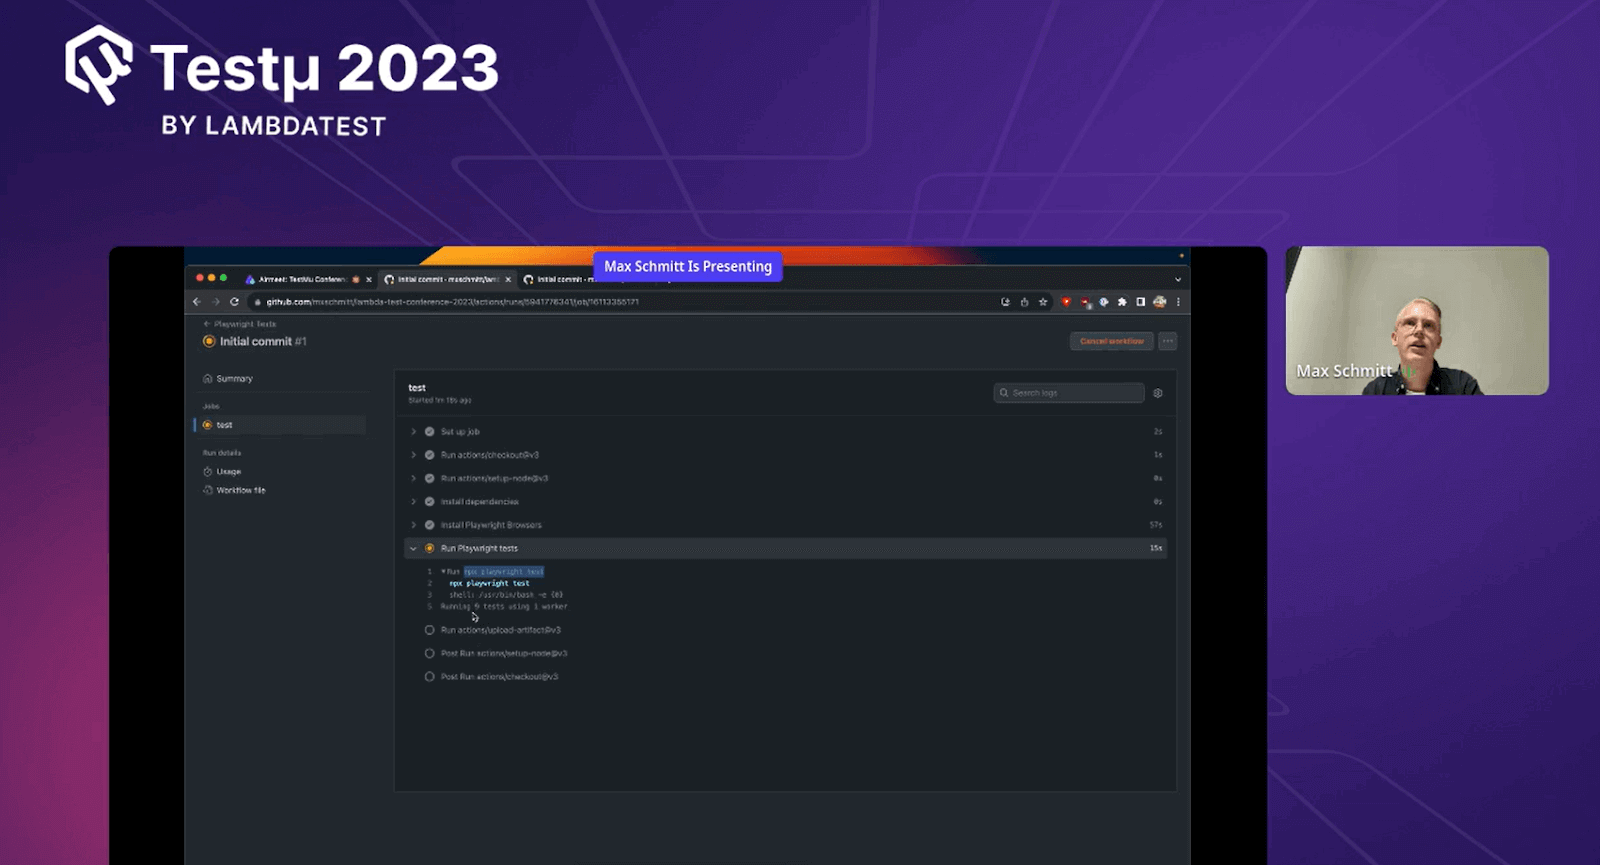
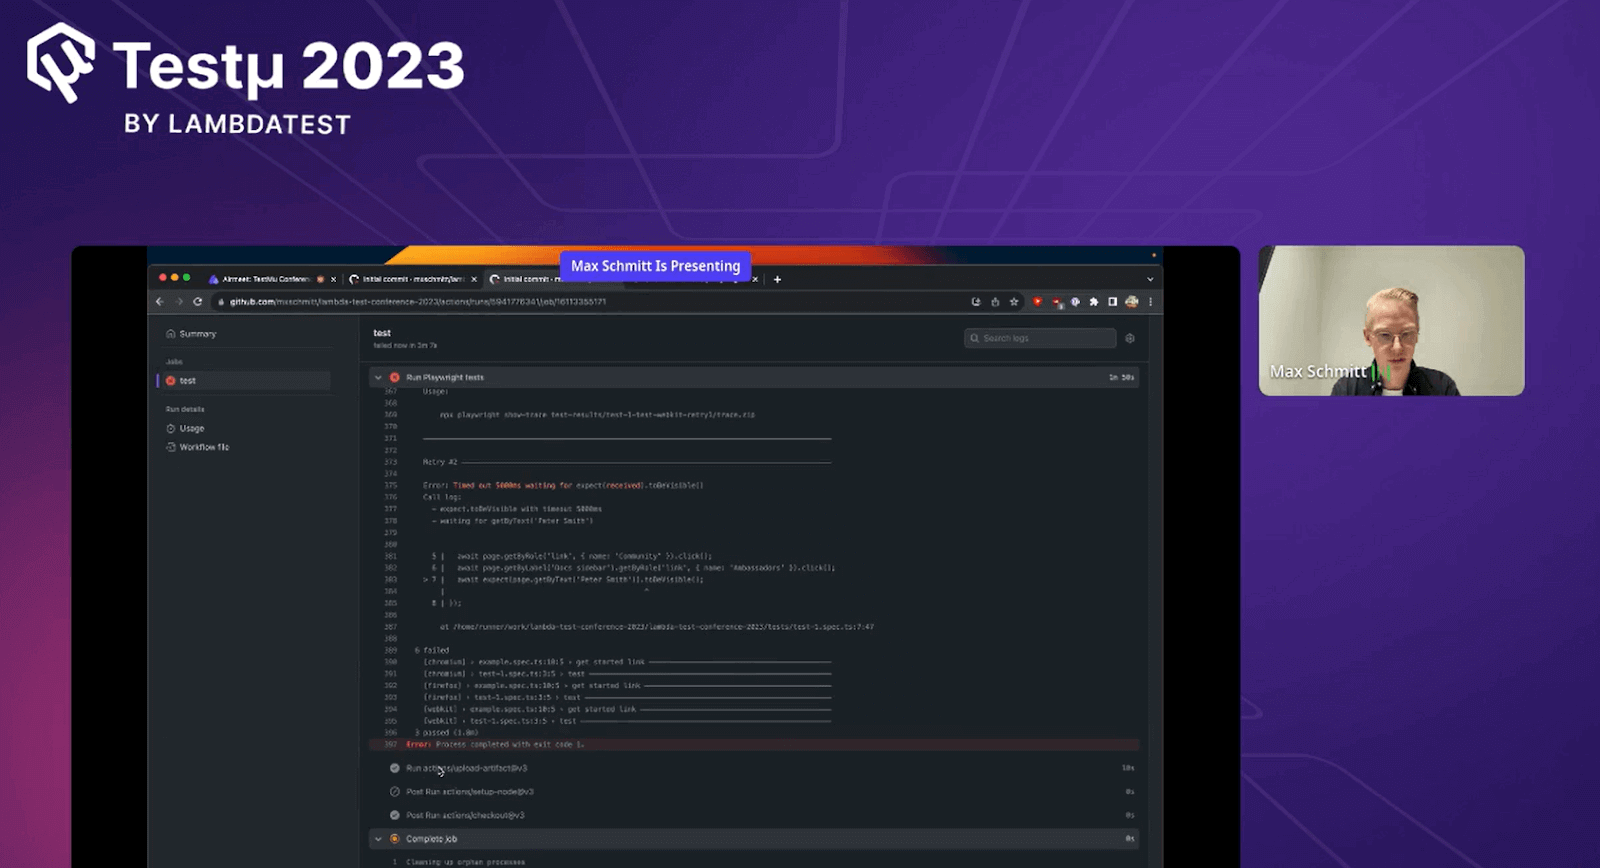
Max directed his audience to click on the workflow run. He explained that doing so would reveal all the actions that GitHub had executed. Max also advised them to select “Run Playwright tests” to access details like error messages, expected outcomes, received outcomes, and the call log.
HTML Reports
The HTML Report displayed a comprehensive test overview. Within the report, it was possible to filter results by various criteria such as browsers, passed tests, failed tests, skipped tests, and tests with inconsistent results.
Viewing HTML Report
Opening the report locally won’t function as intended; a web server is required for proper functionality. Begin by extracting the zip file, preferably in a folder with Playwright installed. In the command line, navigate to the report directory and execute npx playwright show-report followed by the extracted folder’s name. This action serves the report, allowing you to conveniently view it in your browser.
Run this command to view the HTML report.
It was an excellent session by Max, and he ended the session by answering some of the Q & A’s by the attendees.
Enhance your testing strategy with our detailed guide on Playwright Headless Testing. Explore further insights into Playwright’s capabilities in this guide.
Q & A Session
- How would a Playwright work with MFA?
- How does it implement parallelism and multithreading?
- Is it possible to have time stamps inside the run result reports?
- How do you see the future of Playwright?
- Which is better, JavaScript or Python script, for the Playwright?
Max Schmitt: Indeed, Playwright is compatible with Multi-Factor Authentication (MFA). It enables the automation of tasks such as entering verification codes and managing MFA prompts, enhancing testing accuracy and coverage.
Max Schmitt: Yes, Playwright supports parallelism and multithreading. It achieves this by running tests concurrently across multiple browser instances, optimizing test execution, and reducing time.
Max Schmitt: Yes, Playwright allows you to include timestamps in the run result reports. This helps track when tests were executed and assists in analyzing the test runs.
Max Schmitt: The direction and evolution of technologies like Playwright depend on various factors and developments in the software industry; it’s hard to predict the future.
Max Schmitt: Both JavaScript and Python (py script) are well-supported with Playwright. The choice depends on your familiarity and project requirements. JavaScript is often preferred due to its strong ties with web development, while Python is known for its simplicity and versatility.
Feel free to add questions or clear your doubts on the LambdaTest Community.
Got Questions? Drop them on LambdaTest Community. Visit now


